


80 ST-133 Controller Manual Version 3.B
Changing the ST-133 Line Voltage and Fuses
The appropriate voltage setting for your country is set at the factory and can be seen on
the back of the power module. If your voltage source changes, you will need to change
the voltage setting and you may need to change the fuse configuration.
Use proper fuse values and types for the controller and detector to be properly protected.
To Change Voltage and Fuse Configuration:
Before opening the power module, turn the Controller OFF and unplug the
powercord.
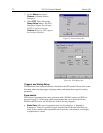
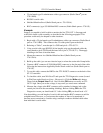
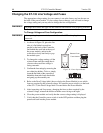
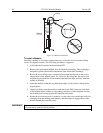
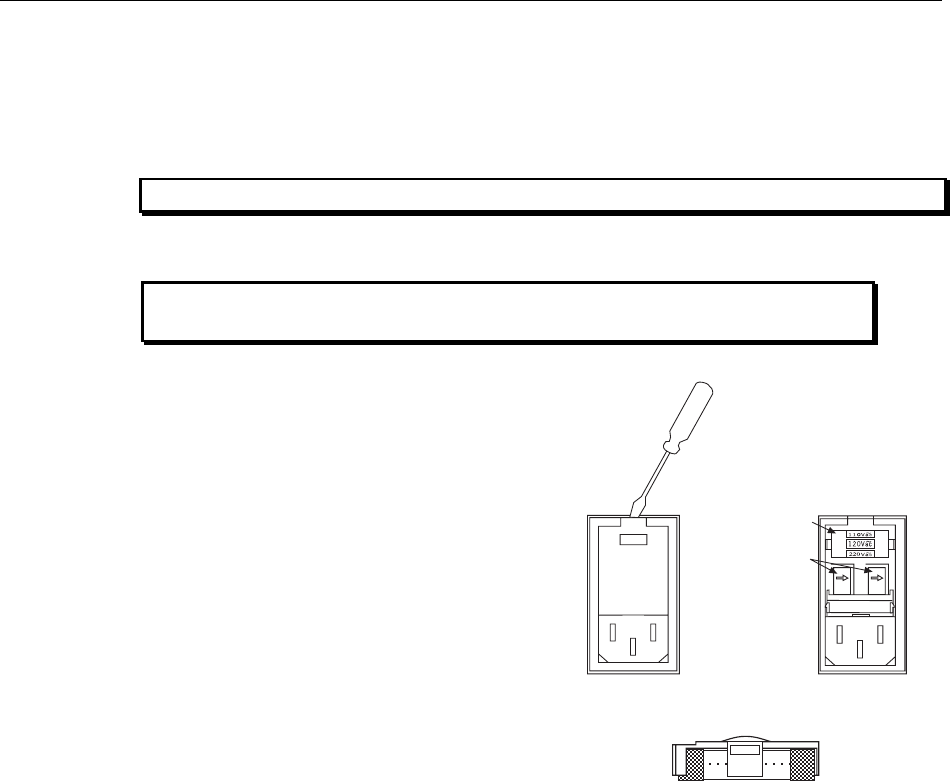
1. As shown in Figure 39, place the flat
side of a flat bladed screwdriver
parallel to the back of the Controller
and behind the small tab at the top of
the power module, and twist the
screwdriver slowly but firmly to pop
the module open.
2. To change the voltage setting, roll the
selector drum until the setting that is
closest to the actual line voltage is
facing outwards.
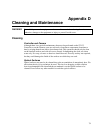
3. Confirm the fuse ratings by removing the
two white fuse holders. To do so, simply
insert the flat blade of the screwdriver
behind the front tab of each fuse holder
and gently pry the assembly out.
120Vac
~
Selector Drum
Fuse Holders
Figure 39. Power Input Module
Figure 40. Fuse Holder
4. Refer to the Fuse/Voltage label (above or below the Power Module) to see which
fuses are required by the selected voltage. If Controller power switch is on the back
of the ST-133, the Fuse/Voltage label is located below the Power Module.
5. After inspecting and if necessary, changing the fuses to those required by the
selected voltage, reinstall the holders with the arrow facing to the right.
6. Close the power module and verify that the correct voltage setting is displayed.
7. Verify that the Controller power switch is in the OFF position and then plug the
powercord back into the power module.
WARNING!
WARNING!