171
With Windows
Rev0.10
Section 5
7
Copy the WAV or AIFF files you want to import.
1) Click the “BOSS_BR-600” (or “Removable disk
(*:)”) icon.
2) Drag the imported WAV or AIFF file to the “USB”
folder in the “ROLAND” folder.
* Only one file can be imported at a time in each import
operation. Do not drag and drop more than one file at a
time.
fig.05-240
When you have finished Copying the data, the Idling
screen returns to the display.
8
Quit the connection to the computer.
With Windows XP
In My Computer, right-click on the “BOSS_BR-600”
icon (or “Removable disk (*:)” icon) to “Eject” the disk.
* If this procedure fails to eject the disk, use the procedure
below.
1)
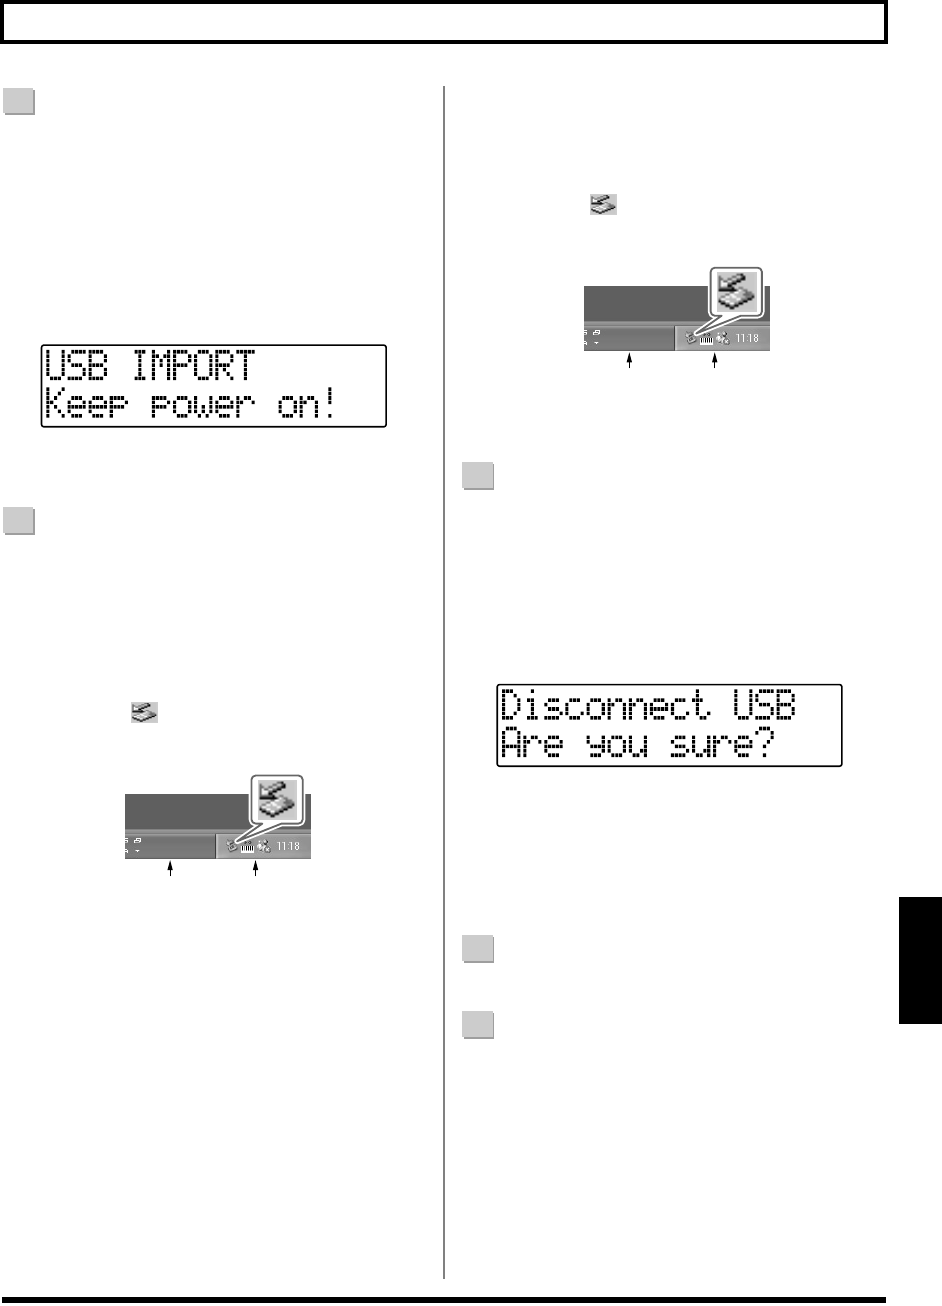
Click the icon in the task tray, then click the
“Stop USB Disk–drive (*:)” message displayed there.
fig.05-080
2) Click [OK] in the “Safe To Remove Hardware”
dialog box that appears.
With Windows 2000/Me
1) In My Computer, right-click on the “BOSS_BR-
600” icon (or “Removable disk (*:)” icon) to
“Eject” the disk.
2)
Click the icon in the task tray, then click the
“Stop USB Disk–drive (*:)” message displayed there.
fig.05-080
3) Click [OK] in the “Safe To Remove Hardware”
dialog box that appears.
9
Press [EXIT].
The WAV or AIFF file is imported.
The contents of the “USB” folder are automatically
deleted at the time the import is finished.
* If you press [EXIT] without quitting the connection to the
computer, the following screens appear. In this case, pressing
[ENTER] imports the WAV or AIFF file.
fig.05-270
Once the import is complete, you are returned to the
screen for specifying the import-source track/V-Track.
At this point, you can safely disconnect the USB cable
from the BR-600 and the computer.
10
Repeat Steps 4–9 as needed.
11
When you have finished importing the WAV or AIFF
file(s), press [EXIT] repeatedly to return to the Play
screen.
Task Tray
Task Bar
Task Tray
Task Bar
BR600_e2 171ページ 2006年4月17日 月曜日 午前9時3分


