Operation Instruction
56
NOTE: Any cameras that are Off, have lost video or are set to Covert (unless the user has
authority to view covert cameras) will be excluded from the Cameo sequence.
You can define the screen layout in a variety of formats and set the DVR to sequence through the
different screen layouts (pages) so that all the cameras will be displayed. You can also set up the
DVR to display one camera or a group of cameras all the time while cycling through the remaining
cameras in a “cameo” window. This can be done with one camera displayed full screen while
displaying the cameo window as a PIP (picture in picture), or displaying the cameras in a grid
pattern with the bottom right window as the cameo.
NOTE: Sequence cannot be used in the 3x3 and 1+7 modes of the 8-channel DVR, and 2x2
mode of the 4-channel DVR.
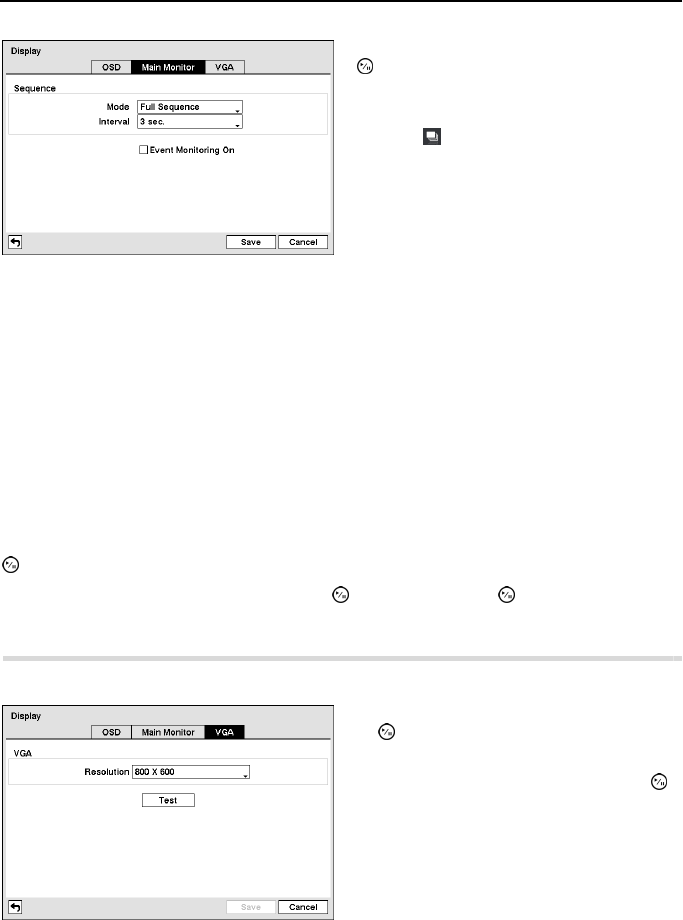
You can adjust the display dwell time by highlighting the box beside Interval and pressing the
button. You can select dwell intervals ranging from 1 second to 1 minute.
Highlight Event Monitoring On and press the button. Pressing the button toggles between
On and Off. When it is On, the DVR will display the camera associated with the event when an
event occurs.
Highlight the VGA tab, and the VGA setup screen appears.
Figure 62 ─ Main Monitor setup screen.
Highlight the box beside Mode and press the
button. You can select between Full
Sequence and Cameo Sequence. (8-ch Model
Only)
Selecting (Sequence) in the Live Monitoring
menu
causes the DVR to sequence cameras, and
the DVR can sequence cameras in two modes:
“Full” and “Cameo”. In the Full mode, the
DVR sequences through the cameras and
displays them full screen. In the Cameo mode,
the bottom right window in a multi-screen
format sequences through the cameras.
Figure 63 ─ VGA setup screen.
Highlight the box beside Resolution and press
the
button. You can select from 800x600,
1024x768 and 1280x1024.
Highlight the box Test box and press the
button to test how the screen will be displayed
with the resolution you set.
