


45
•••••••••••••••••••••••••••••••••••••••••••••••••••••••••••••••••••••••••••••••••••••••••••••••••••••••••••••••••••••••••••••••••••••••••••• Operations
ENGLISH
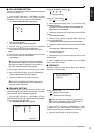
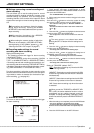
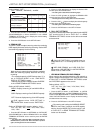
7. Press the JOG button to highlight the setting item of
“hour” of the start time and then press the ENTER button.
• The background of the setting item turns red and flashes.
8. Press the JOG , buttons to display “12” and then press
the ENTER button.
• The setting item is determined and flashing stops.
9. Repeat steps 7 and 8 to set “30” in “minutes” of the start
time, and “13” in “hour” and “00” in “minutes” of the end time,
and then determine such setting.
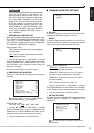
10. Press the JOG
button to highlight the setting item of
“MODE” and then press the ENTER button.
• The background of the setting item turns red and flashes.
11. Press the JOG , buttons to display “A” and then press
the ENTER button.
• The setting item is determined and flashing stops.
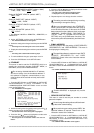
12. Press the JOG button to highlight the setting item of
“MD” and press the ENTER button.
• The background of the setting item turns red and flashes.
13. Press the JOG , buttons to display “ON” and then press
the ENTER button.
• The setting item is determined and flashing stops.
14. Press the CLEAR button.
• The cursor reappears on the left side of the program number.
15. (When programming other timer recording in other program
number • • •)
Press the JOG
, buttons to select the desired program
number and then press the ENTER button twice. Then repeat
steps 6 to 14.
16. Press the JOG
, buttons to select “SPL” and then press
the ENTER button twice.
• The “start day” display is highlighted when the ENTER
button is pressed once. When the button is pressed again,
the background turns red and flashes.
17. Press the JOG , buttons to display “WED” and then
press the ENTER button.
• The setting item is determined and flashing stops.
18. Press the JOG button to highlight the end day and then
press the ENTER button.
• The background of the end day setting turns red and flashes.
19. Press the JOG , buttons to display “SAT” and then press
the ENTER button.
• The setting item is determined and flashing stops.
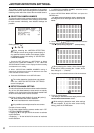
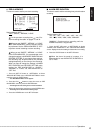
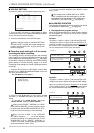
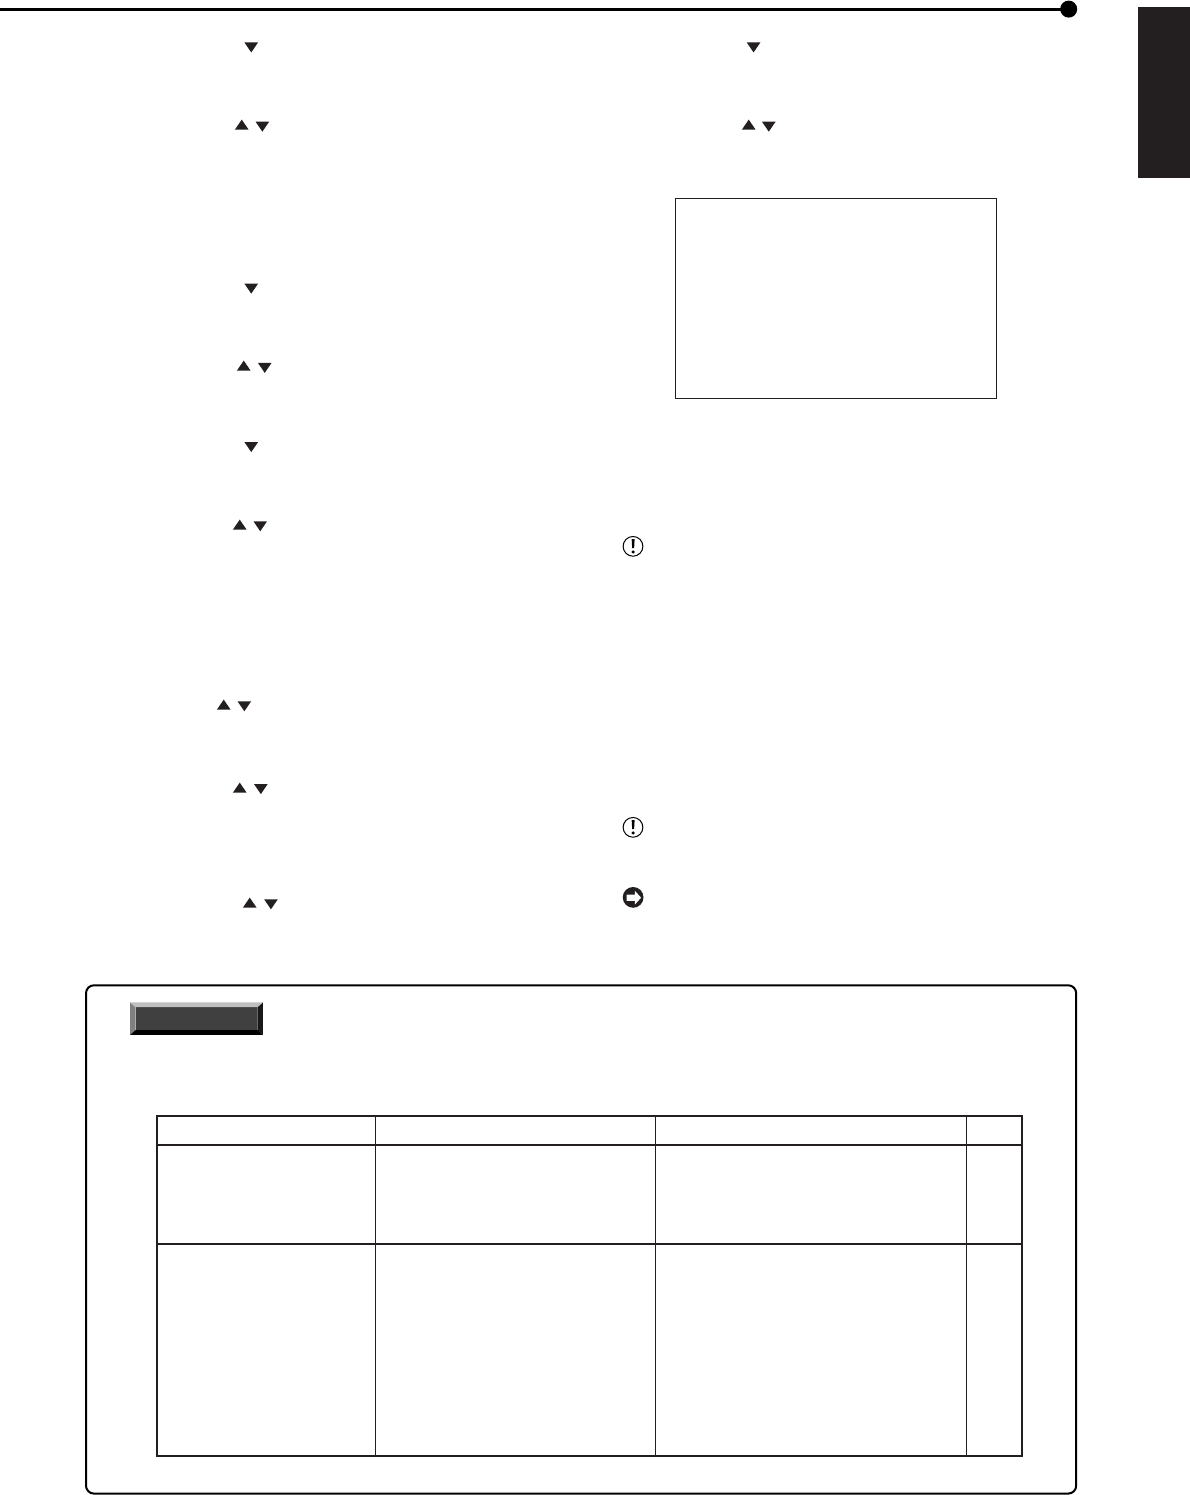
<TIMER PROGRAM> P2
DW START END MODE MD
>>
1 SPL 12:30 13:00 A ON
2 --- --:-- --:-- ---- -
3 --- --:-- --:-- ---- -
4 --- --:-- --:-- ---- -
5 --- --:-- --:-- ---- -
6 --- --:-- --:-- ---- -
7 --- --:-- --:-- ---- -
8 --- --:-- --:-- ---- -
SPL WED-SAT
20. Press the CLEAR button or the SET UP button.
• Press the CLEAR button to return the cursor on the left
side of “SPL.”
• Press the SET UP button to clear the <TIMER PROGRAM>
screen and return to the normal screen.
If there is an unset item in the program (- - -
display), the setting screen can not be exited even
when pressing the CLEAR button. In this case, set
all the unset items.
21. Press both the TIMER ON/OFF buttons.
• Timer recording starts when the present time is within the
programmed recording period.
• The power turns off and the unit is in the timer recording
standby mode when the present time is not within the
programmed recording period.
• Timer recording/timer recording standby mode can be
cancelled by pressing both the TIMER ON/OFF buttons again.
TIMER ON/OFF buttons do not function during
alarm recording.
To erase programmed contents or to exit the pro-
gram without completing the settings, press and hold
the WARNING RESET button for more than 3
seconds.
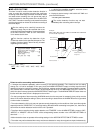
INFORMATION
Recording is not performed if there is an error in the setting. To prevent such errors for timer recording, this unit
notifies errors using methods shown below. If there is an error in the setting, take the necessary procedures
shown below.
Unit status
"TIMER" display flashes
on the screen and the
series of short beeps
(beep-beep-beep) sounds.
Timer recording does
not perform even when
the programmed
time is reached.
1) The date/time is not set.
2) Timer program setting
has not been set to operate.
3) Program is currently being set.
1) "HDD REPEAT REC MAIN" in
<HDD SETTINGS> is set to
"OFF" or "STANDBY," or "HDD
REPEAT REC SUB" in <HDD
SETTINGS> is set to "OFF."
2) There is no HDD space left.
Description of error
Countermeasure
Page
1) Set the date/time.
2) Set the correct program.
3) Determine the settings.
• Press and hold the WARNING RESET
button to clear the warning display.
• Set the "HDD REPEAT REC MAIN" in
<HDD SETTINGS> to "ON," and set the
"HDD REPEAT REC SUB" in <HDD
SETTINGS> to "OFF."
• Press the REC/STOP buttons when
"HDD REPEAT REC MAIN" in
<HDD SETTINGS> is set to "STANDBY."
24
44, 45
44, 45
47