68
••••••••••••••••••••••••••••••••••••••••••••••••••••••••••••••••••••••••••••••••••••••••••••••••••••••••••••••••••••••••••••••••••••••••••••••••••••••••••
Other convenient functions
■ Power failure compensation circuit
The unit is equipped with an internalized power failure
compensation circuit. When the unit has been charged for
48 hours (full), the date, time, timer record settings, and
menu settings are kept up to 1 month without power. The
accuracy of the time will decline if the power plug is not
connected to the wall outlet for extensive period. In this
case, it is recommended to check the current time setting.
■ Power failure reset recording
If there is a power failure during recording or when turning
OFF the MAIN switch, the recording will resume after the
power is restored. If there is a power failure during timer
recording, the recording will resume after the power is re-
stored when within the set time period of the timer. For
alarm recording, recording will stop even within the set re-
cording time.
The playback video at the start position where
recording is resumed after a power failure may be
distorted and the search function may not operate
properly.
■ Log function for when power failure occurs
while the unit is in operation or the MAIN
switch on the rear panel is turned OFF
In the event of power failure or the MAIN switch on the rear
panel is turned OFF, up to 1000 items (including the time
of failure and warning log displays as well as other warning
items) are saved in the <WARNING LOG LIST>
(
see page 54), and are displayed in red on the screen.
■ RESET button
When pressing the RESET button on the rear panel with a
ballpoint pen, etc., the unit is reset and the power turns off.
The menu settings and the present time are kept
even when resetting the unit.
■ COVERT CAMERA SETTING
This item is used to set the video of the specified camera
number not to be displayed regardless of the presence of
video signals.
4
1
2
3
<COVERT CAMERA SETTING>
NUMBER DISPLAY
>>
ON
ON
ON
ON
ALARM DISPLAY OFF
Setting (default: “ON”)
“
ON,” “OFF”
When COVERT CAMERA SETTING activating
and the playback video is interrupted such as camera
trouble, warning indicator is not appear on the screen.
If “WARNING” is set in BUZZER setting, the BUZZER
sounds and the unit registers this error in the
WARNING LOG LIST and output a CALL OUT signal.
When “COVERT CAMERA SETTING” is set to
“OFF” for a camera set for recording, recording is
performed without displaying the video on the screen.
When “COVERT CAMERA SETTING” is set to
“OFF,” the playback video of the corresponded
camera number is not displayed. Furthermore, the
operation mode display and alarm display do not
function.
1. Press the SET UP button and select <SETTINGS>. While
the <MPX DISPLAY SETTINGS> screen is displayed, press
and hold the WARNING RESET button for more than 3
seconds.
• The <COVERT CAMERA SETTING> screen appears.
2. Press the JOG , buttons to select the camera number
to be set and then press the ENTER button.
• The background of the setting item turns red and flashes.
3. Press the JOG , buttons to select “OFF” and then press
the ENTER button.
• The setting item is determined and flashing stops.
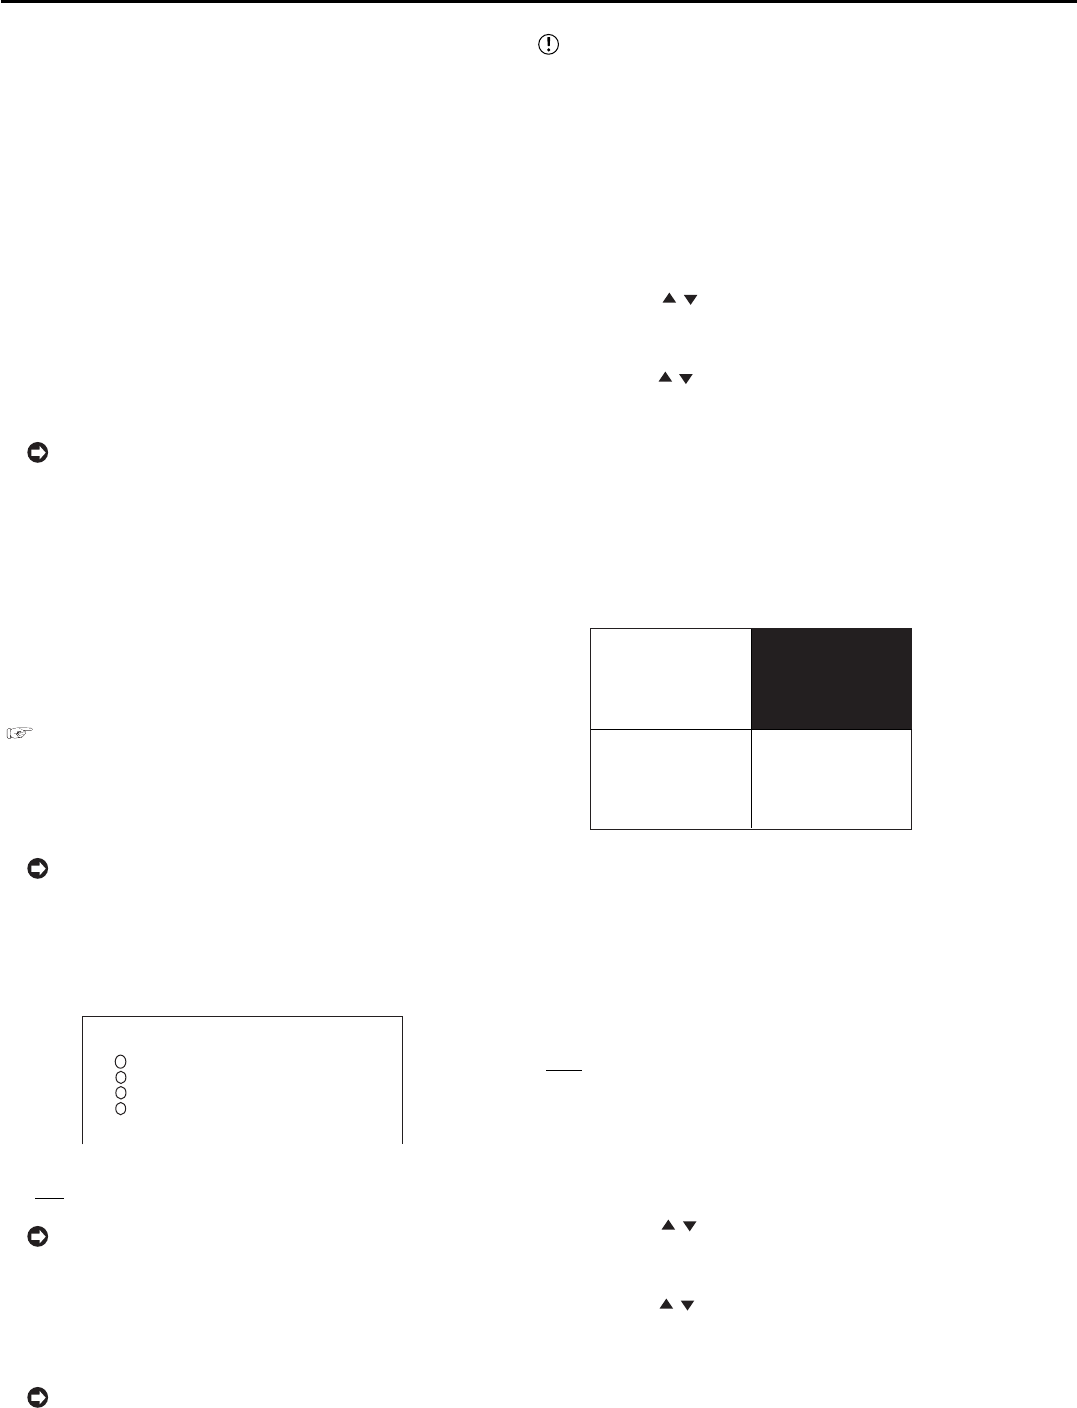
• The screen of the set camera number becomes black.
4. To continue with setting for other camera numbers, repeat
steps 2 and 3.
5. When completed with all the settings, press the CLEAR
button or the SET UP button.
• The screen of the camera number screen set with “OFF” in
“COVERT CAMERA SETTING” becomes black.
♦ ALARM DISPLAY
This item is used to display the video with alarm signal in
the single screen display when an alarm signal is input. If
another alarm signal is input during alarm recording, the
camera video with the latest alarm signal appears in the
single screen display. When alarm recording is completed,
the screen returns to the previous display.
Setting (default: “OFF”)
“
OFF,” “ON”
1. Press the SET UP button and select <SETTINGS>. While
the <MPX DISPLAY SETTINGS> screen is displayed, press
and hold the WARNING RESET button for more than 3
seconds.
• The <COVERT CAMERA SETTING> screen appears.
2. Press the JOG , buttons to select “ALARM DISPLAY”
and then press the ENTER button.
• The background of the setting item turns red and flashes.
3. Press the JOG , buttons to select “ON” and then press
the ENTER button.
• The setting item is determined and flashing stops.
4. Press the CLEAR button or the SET UP button.
