


70
••••••••••••••••••••••••••••••••••••••••••••••••••••••••••••••••••••••••••••••••••••••••••••••••••••••••••••••••••••••••••••••••••••••••••••••••••••••••••
Other convenient functions (continued)
Points to notice concerning PARTITION
• Playback, search, information display, REMAIN HDD, MODE OUT, CALL OUT, and data erase functions are
performed independently for “MAIN” and “SUB.”
• When “HDD REPEAT REC SUB” is set to “OFF,” and all the memory in SUB HDD is used, the recording stops.
Switch “HDD REPEAT REC SUB” to “ON” or erase data in SUB HDD to restart recording.
• When setting “ALARM CH” and an alarm signal is input to a camera number that is not set for normal recording,
pre-alarm recording may not be performed.
• While PARTITION is performed, the number registered in alarm list is not cleared even when clearing the data of
HDD MAIN or SUB. When an alarm is input after clearing the HDD, that alarm is numbered as the next one of the last
input number.
♦ PARTITION/PARTITION SIZE
This item is used to set an independent partition in HDD as
sub-device capacity for alarm recording. In the MAIN HDD,
normal recording and alarm recording are stored.
1. Turn ON the MAIN switch on the rear panel, and wait until
the ACCESS indicator turns off. Make sure that the POWER
button on the front panel is turned off. While holding down the
JOG
button, press the POWER button on the front panel.
• The <INITIALIZATION> screen apprears.
2. Press the JOG , buttons to move the cursor to “HDD
SETTING” and then press the ENTER button.
• The background of the setting item turns red and flashes.
3. Press the JOG , buttons to display “PARTITION” and
then press the ENTER button.
• The setting item is determined and flashing stops.
• The “PARTITION SIZE” setting appears in the
<INITIALIZATION> screen.
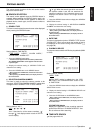
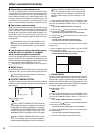
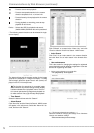
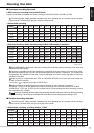
<INITIALIZATION>
>>
HDD SETTING PARTITION
PARTITION SIZE 10%
BOOT UP DELAY 30S
POWER OFF
INITIALIZATION
ALL DATA WILL BE ERASED
WHEN PROCEED INITIALIZATION
4. Press the JOG , buttons to move the cursor to
“PARTITION SIZE” and then press the ENTER button.
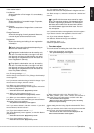
Setting of “PARTITION SIZE” (default: 10%)
10%, 20%, 30%, 40%, 50%, 60%, 70%, 80%, 90%
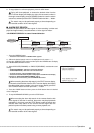
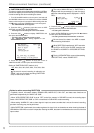
The area for normal recording is referred to as
“MAIN,” and area for alarm recording (PARTITION
area) is referred to as “SUB.”
The area of MAIN HDD set in “PARTITION” is
displayed with the percentage (%) and the record-
able time of that storage area is displayed in “<ESTD
REC>.”
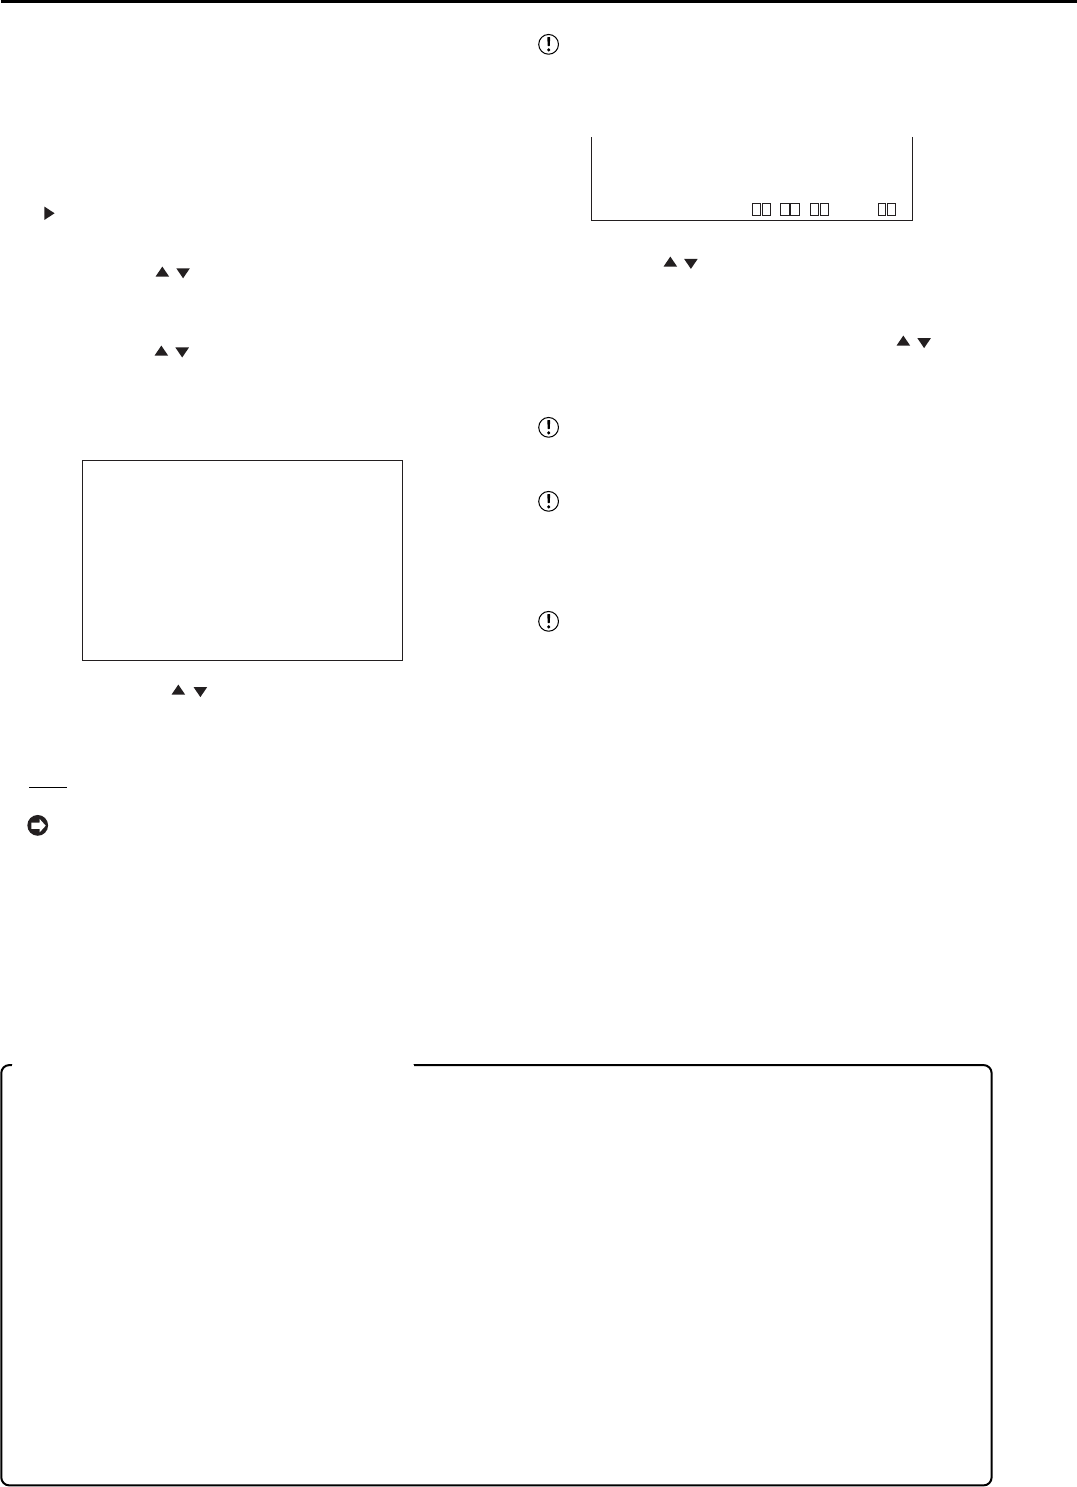
ALARM TYPE ALARM CH
PRE ALARM REC OFF
CLEAR:BACK
<ESTD REC> D H M %
5. Press the JOG , buttons to display the desired device
capacity and then press the ENTER button.
• The setting item is detemined.
6. Select “INITIALIZATION” by pressing the JOG , buttons
and then press the ENTER button.
• The setting is determined, and initialization is executed.
Be sure that all the data in the HDD is erased
when executing initialization.
While PARTITION is performed, “25P” cannot be
set for PPS or A-PPS, and “SUPER” cannot be set
for GRADE or A-GRADE in <RECORD SETTING>
screen.
To exit <INITIALIZATION> screen without setting
“HDD SETTING,” select “POWER OFF.”