


56
••••••••••••••••••••••••••••••••••••••••••••••••••••••••••••••••••••••••••••••••••••••••••••••••••••••••••••••••••••••••••••••••••••••••••••••••••••••••••
<INITIAL SET UP/INFORMATION> (continued)
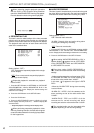
To register the PASSWORD • • •
Register a 4-digit number for PASSWORD. When setting
the number of each digit, choose the number from 0 to 9.
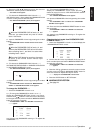
1. Press the SET UP button
}
<SETTINGS>
}
Select
“PASSWORD” in the <INITIAL SET UP/INFORMATION>
screen. Press the ENTER button.
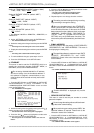
• The <PASSWORD> screen appears.
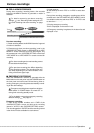
<PASSWORD>
>>
OPERATION CONTROL
HDD DATA CLEAR
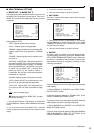
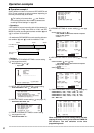
2-1. (When registering the PASSWORD for OPERATION
CONTROL (levels 1 to 3) • • • )
Confirm that the cursor is positioned at “OPERATION
CONTROL” and then press the ENTER button.
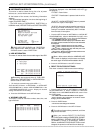
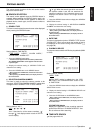
• The <PASSWORD SETTING> (levels 1 to 3) screen appears.
<PASSWORD SETTING>
FIRST SECOND
>>
1 ---- ----
2 ---- ----
3 ---- ----
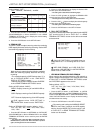
2-2. Confirm that the cursor is positioned on the left side of
level “1” and then press the ENTER button.
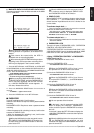
• The first input position of “FIRST” is highlighted and flashes.
<PASSWORD SETTING>
FIRST SECOND
1 ---- ----
2 ---- ----
3 ---- ----
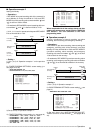
2-3. Input 4 digits of the PASSWORD by pressing the number
buttons.
• 1: SPLIT/SINGLE button • 2: + button
• 3: JOG button • 4: JOG button
• 5: JOG
button • 6: – button
• 7: CLEAR button • 8: JOG button
• 9: ENTER button • 0: SEARCH button
• The first input position of “SECOND” is highlighted.
2-4. Input the same PASSWORD entered in “FIRST.”
• The cursor reappears to the left side of the setting of level
1.
<PASSWORD SETTING>
FIRST SECOND
>>
1
2 ---- ----
3 ---- ----
Input the same number in “FIRST” and
“SECOND.” The setting returns to step 2-1 when the
different PASSWORD number is input.
2-5. Press the JOG , buttons to move the cursor to the left
side of level 2 and press the ENTER.
2-6. Repeat steps 2-3 to 2-5 to set levels 2 and 3.
It is not necessary to input the PASSWORD for
all the levels, 1 to 3. Input the PASSWORD for the
desired level only.
2-7. Press the CLEAR button.
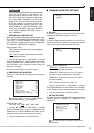
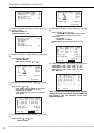
3-1. (When registering the PASSWORD for HDD DATA CLEAR
(level 4) • • • )
Press the JOG
, buttons to move the cursor to “HDD DATA
CLEAR” and then press the ENTER button.
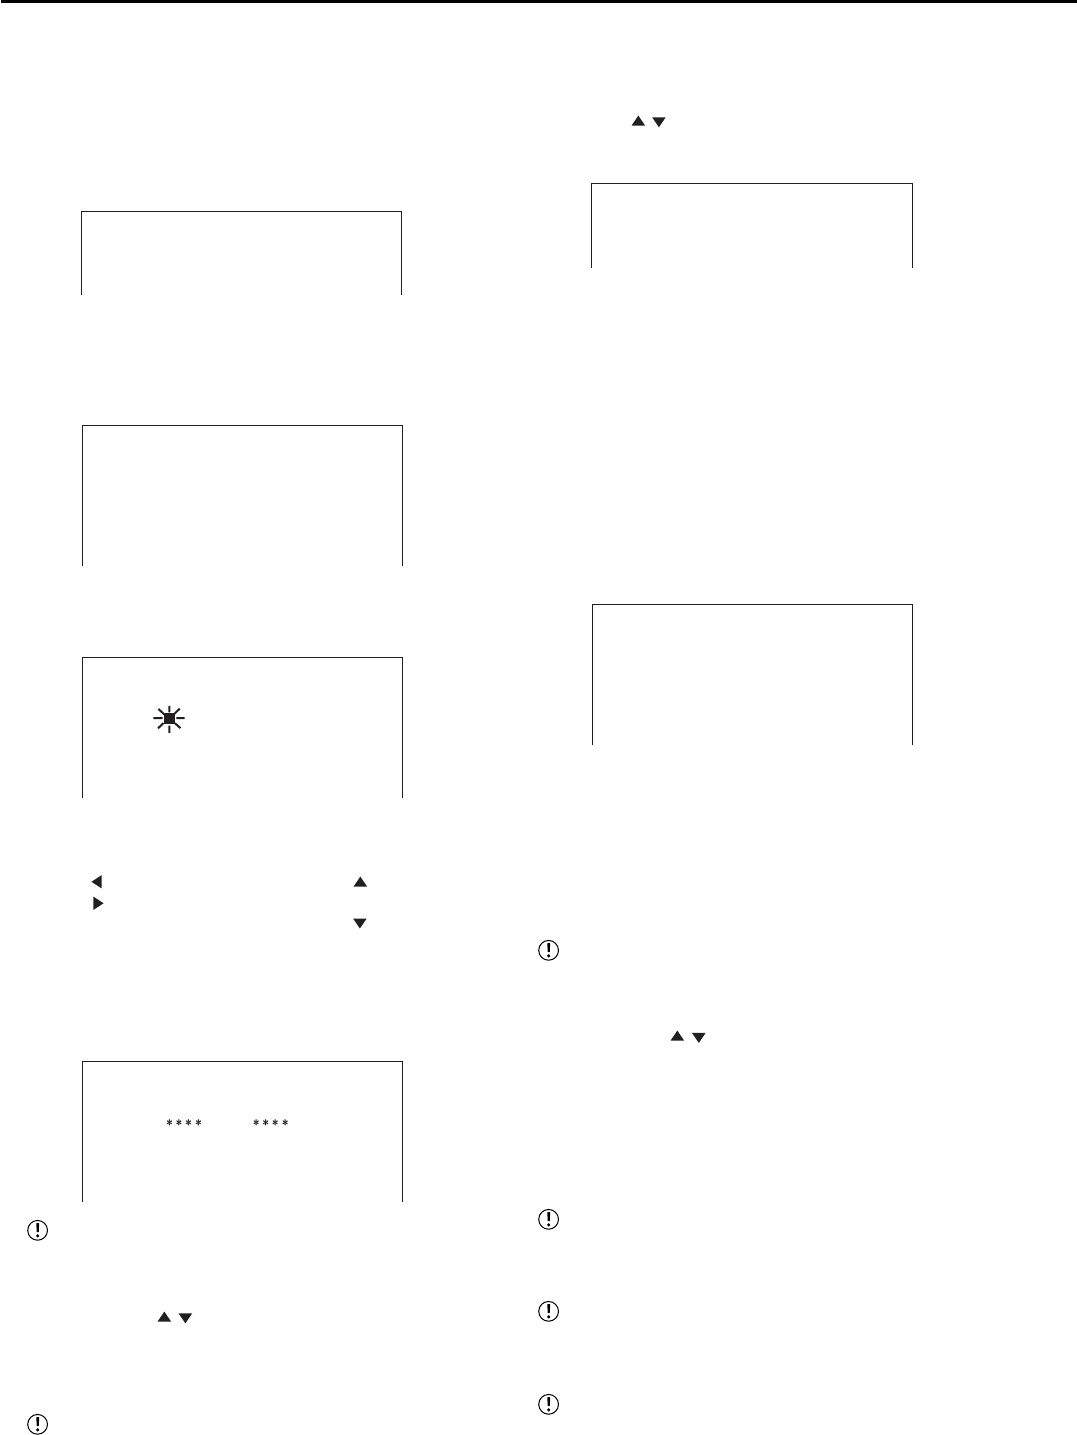
• The <PASSWORD SETTING> (level 4) screen appears.
<PASSWORD SETTING>
FIRST SECOND
>>
4 ---- ----
3-2. Repeat steps 2-2 to 2-4 to set level 4.
4. Press the CLEAR button or SET UP button.
To activate the PASSWORD LOCK • • •
1. Press and hold the LOCK button for more than 3 seconds
while the MAIN switch is set to ON.
• The PASSWORD LOCK turns on. “LOCK” displays on the
screen when “DUPLEX MODE DISPLAY” in <TIME DATE/
DISPLAY SETTINGS> screen is set to “TOP” or “BOTTOM.”
To release the PASSWORD LOCK • • •
1. (To release the PASSWORD LOCK of levels 1 and 2 • • • )
Press and hold the LOCK button for more than 3 seconds.
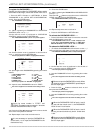
• The <UNLOCK PASSWORD> (levels 1 and 2) screen appears.
<UNLOCK PASSWORD>
>>
1 ----
2 ----
EXECUTE
2. Confirm that the cursor is positioned on the left side of
level “1” and then press the ENTER button.
• The first input position is highlighted.
3. Input the PASSWORD of level 1 by pressing the number
buttons.
• The cursor reappears to the left side of the setting of level
1.
Be sure to input the PASSWORD correctly. When
you input the incorrect PASSWORD, repeat steps 2
and 3 to input again.
4. Press the JOG , buttons to select the level “2” and
then press the ENTER button.
• The first input position is highlighted.
5. Input the PASSWORD of level 2 by pressing the number
buttons.
• The cursor reappears to the left side of the setting of level
2.
When the PASSWORD LOCK of levels 1 and 2
are set and then unlock level 1, the PASSWORD
LOCK of level 2 is still active.
When the PASSWORD LOCK of levels 1 and 2
are set, you cannot unlock only level 2. Unlock level
1 also.
Be sure to input the PASSWORD correctly. When
you input the incorrect PASSWORD, repeat steps 4
and 5 to input again.