45
5-1 Automatic Editing
Chapter 5 Editing
1
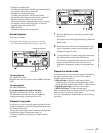
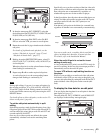
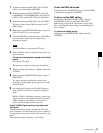
In function menu page P07: E.PRESET, select the
desired function from F2 (INS TC), F3 (INS CUE) and
F6 (INS VID) to F10 (INS A4).
2
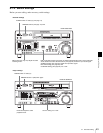
In function menu page P06: EDIT, select F6 (R/P
SEL) to select the VTR you want to set edit points.
3
Rotate the search dial in jog or shuttle mode to find the
edit point.
For details of jog/shuttle mode playback, see the
sections “Playback in jog mode” (page 37) and
“Playback in shuttle mode” (page 37).
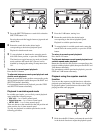
4
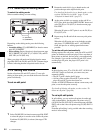
Holding down the SHIFT/ENTRY button, select F9
(IN), F10 (OUT), F7 (AUD IN) or F8 (AUD OUT) to
set an edit point.
When the edit point is set, the selected button changes
from flashing to continuously lit.
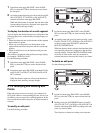
5
Repeat steps 2 to 4 to set the required edit points.
As each edit point is set, the corresponding button
changes from flashing to continuously lit.
During split editing, if you set six or more edit points for
the recorder and player, F7 to F10 (AUD IN, AUD OUT,
IN and OUT) begin to flash. Editing cannot be carried out
in this state. Delete unnecessary edit points using the ALT/
DELETE button.
For details of how to delete edit points, see the section “To
delete an edit point” (page 46).
To set the edit points automatically in split
editing
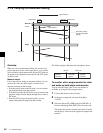
Split editing requires a total of eight edit points: four video
edit points (player IN and OUT and recorder IN and OUT)
and four audio edit points (player audio IN and OUT and
recorder audio IN and OUT).
Once any five of these points are defined, the system
automatically calculates and sets the remaining three
points.
Specifically, once you have set three of the four video edit
points and two of the four audio edit points, the remaining
three edit points are set automatically, regardless of
whether these points are for the recorder or player.
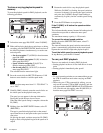
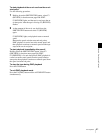
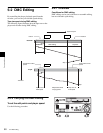
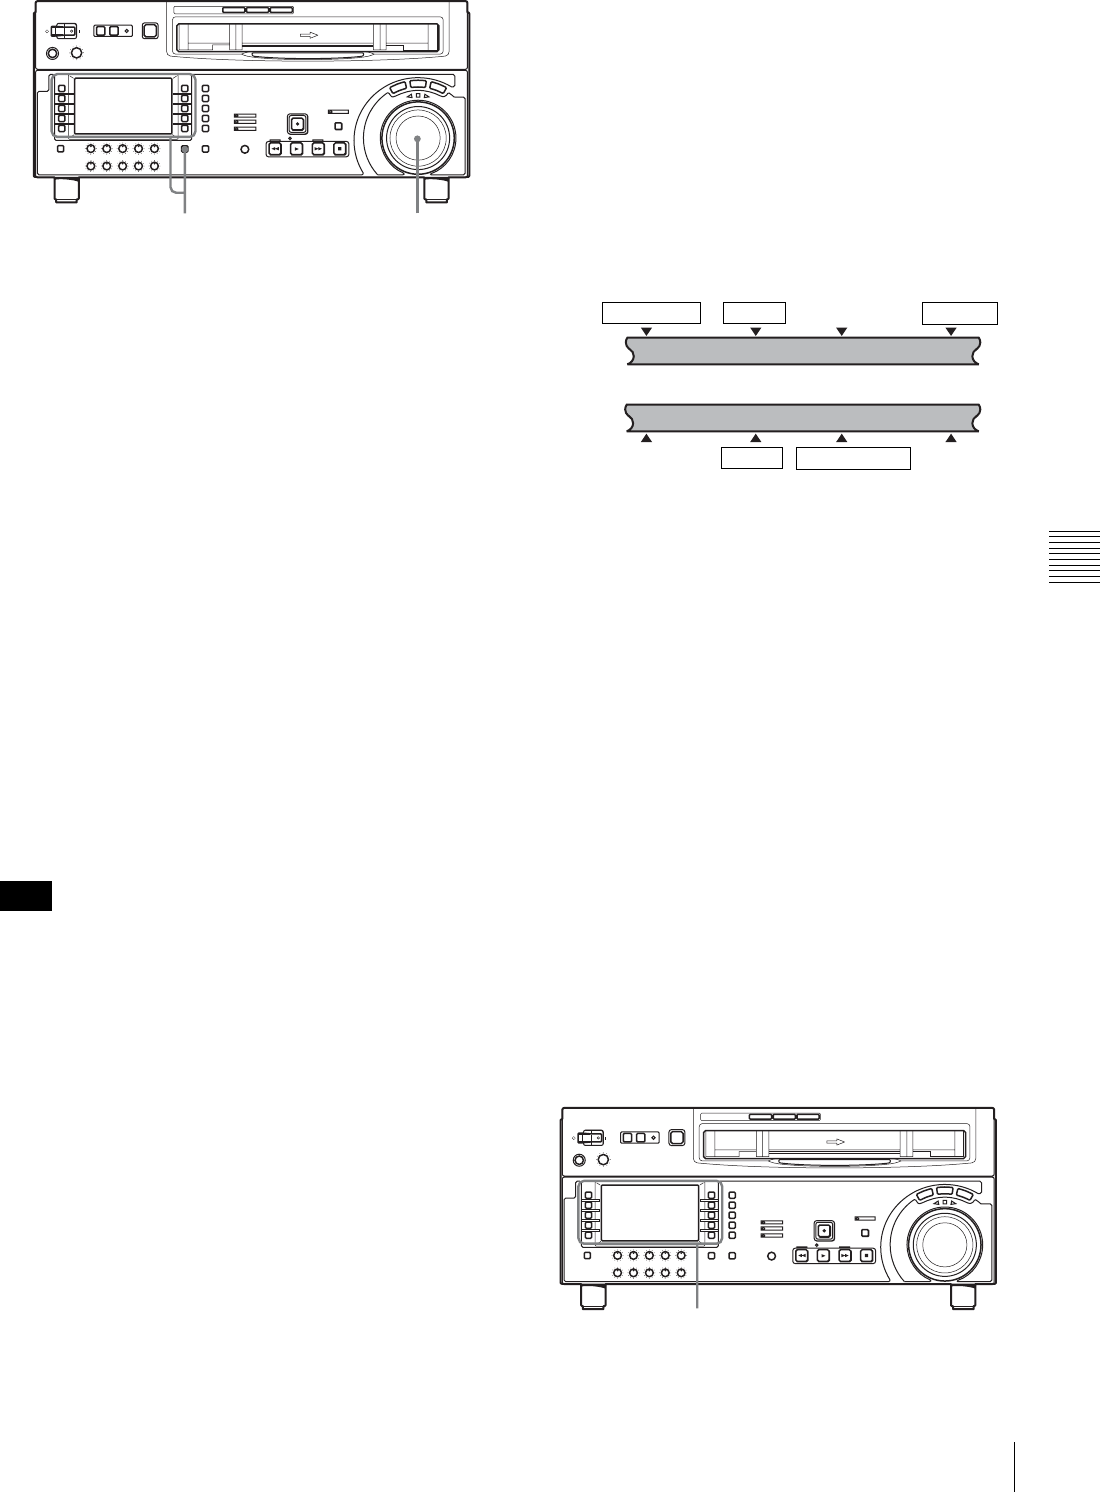
In the figure below, the edit points shown within boxes are
already set. Other edit points (recorder audio OUT point,
and player audio IN and video OUT points) are set
automatically.
Note that any edit point can be deleted or corrected later
regardless of whether it was set manually or automatically.
You can set audio cut in, crossfade, fade in, and fade out
effects, including their durations, by menu selection.
For details, refer to the Installation Manual.
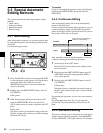
When the audio IN point is not set for insert
editing of audio only
As long as the audio OUT point is set, the VTR is ready for
preview or editing. In this case, the current tape position is
automatically used as the audio IN point.
To use a VTR without a split editing function as
the player
When it is not possible to set audio and video edit points
individually on the VTR you are using as the player, you
can carry out split editing by setting the audio IN and OUT
points and three video edit points on the recorder (this
unit).
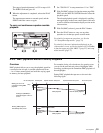
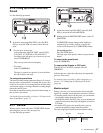
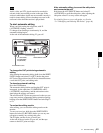
To display the time data for an edit point
You can display the time data for an edit point in the time
data display (see page 17).
The edit points IN, OUT, AUDIO IN, and AUDIO OUT
are displayed in the ancillary message display.
Note
31,2,4
Player
IN point
Audio OUT pointAudio IN point OUT point
Recorder
IN point
Audio OUT pointAudio IN point OUT point
1,2


