46
To unlock the Video Window
The Video Window is locked so that it does
not change programme positions when you
move the cursor across other titles.
From “Grid,” select the logo of the
programme position that is locked, and press
the red button (“Unlock”). “ ” changes to
“ ” and the Video Window is unlocked. To
lock the Video Window, select the logo of the
programme position you want to lock and
press the red button (“Lock”).
b Notes
• The Video Window is locked during recording
and the lock indicator appears in the Video
Window. You cannot unlock the Video Window
while recording.
• If you are watching programmes through a set top
box receiver, the Video Window may not change
as fast as you move the cursor. In this case, lock
the Video Window (page 46).
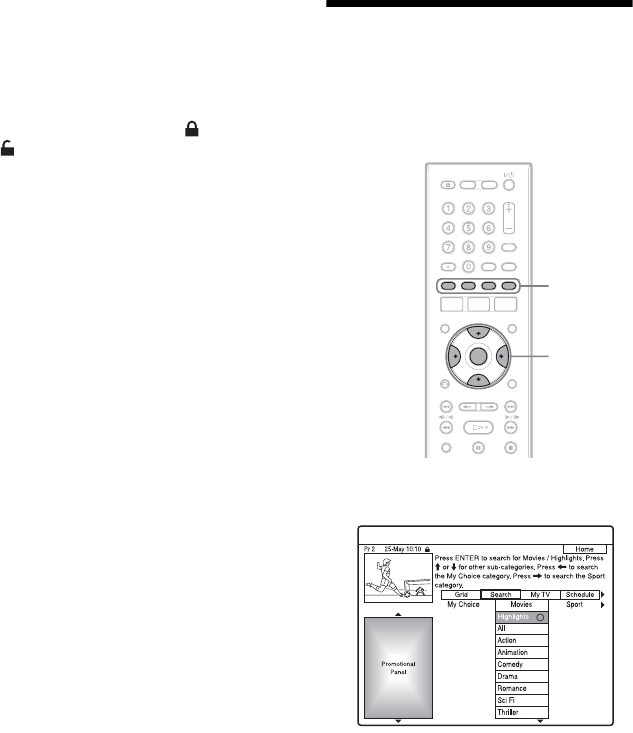
Searching for a
Programme Using the
GUIDE Plus+ System
1 Select “Search” in the Menu Bar, and
press ENTER.
2 Select a category using </,.
To search for a programme by keyword,
select “My Choice.” You can search for
all programmes that contain the keyword
in the programme’s title and in the
programme’s Information Box. If no
keywords are displayed, enter the
keyword. See “To enter a new keyword”
below.
3 Select a sub-category using M/m, and
press ENTER.
Programmes that meet the conditions are
listed.
The sub-categories differ according to
country/region.
</M/m/,,
ENTER
Colour
buttons


