92
About Jukebox
There are two methods to use Jukebox:
connecting the USB device or copying audio
tracks to the HDD.
When using Jukebox, you can do followings:
• Store audio tracks on the HDD.
• Play audio tracks using various play modes.
• Label tracks or albums.
• Assign albums a genre.
• Change the track order.
Notes on copying
• You cannot copy audio tracks on the HDD to
discs or USB devices.
• Some audio tracks may not be copied depending
on the file size.
• You cannot copy audio tracks if the HDD is full
or almost full.
• An album name and MP3 audio track name are
also copied. However, there may be some names
that cannot be copied.
• When copying is stopped partway, tracks finished
copying before you stop will remain copied onto
the HDD as an album. See the Album List to
check which albums have been copied (page 94).
• When copying audio tracks from a CD, the album
name is labelled as “F_***” and the audio track
names are labelled as “T_***” automatically.
• During copying, other operations cannot be
performed.
• While copying, timer recordings are unavailable.
If the timer is set during copying, the recorder
starts the timer recording after copying is
finished.
• Copy-protected CDs cannot be copied to the
HDD.
Preparing for Using
Jukebox
Connect a USB device to the USB jack on the
recorder, or copy audio tracks from CDs/
DATA CDs/DATA DVDs or the connected
USB device to the HDD.
You can connect a USB device to the USB
jack on the recorder to listen to the MP3
audio tracks or copy to the HDD. Refer to the
operating instructions supplied with the USB
device before connecting.
b Note
Some USB devices may not work with this
recorder.
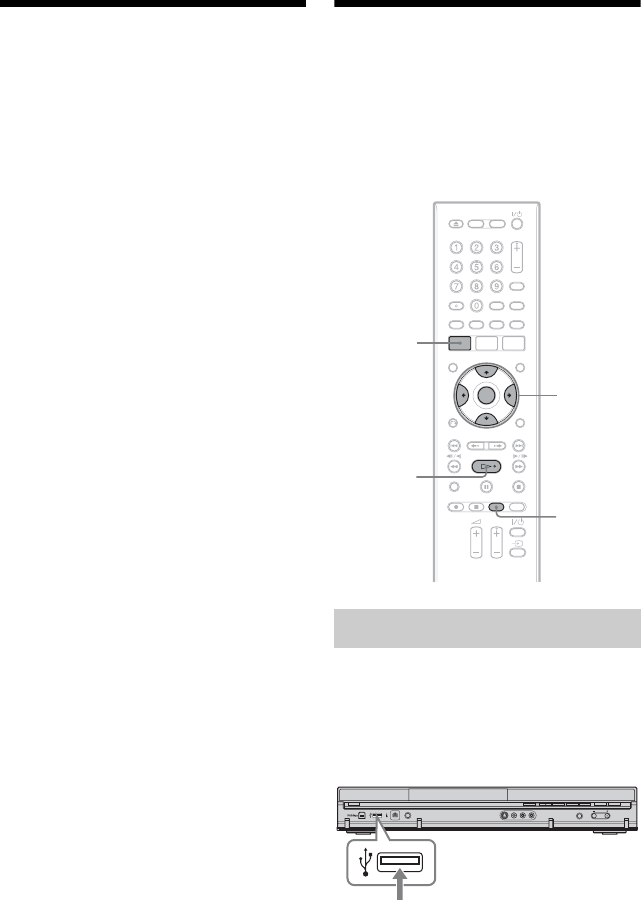
Connecting the USB device
</M/m/,,
ENTER
HDD/DVD
DUB
H
SYSTEM
MENU
USB device
DVD recorder
to USB jack


