


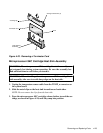
Removing and Replacing Parts 4-25
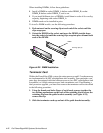
5. Pull out the cartridge release latches until they snap into place.
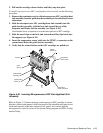
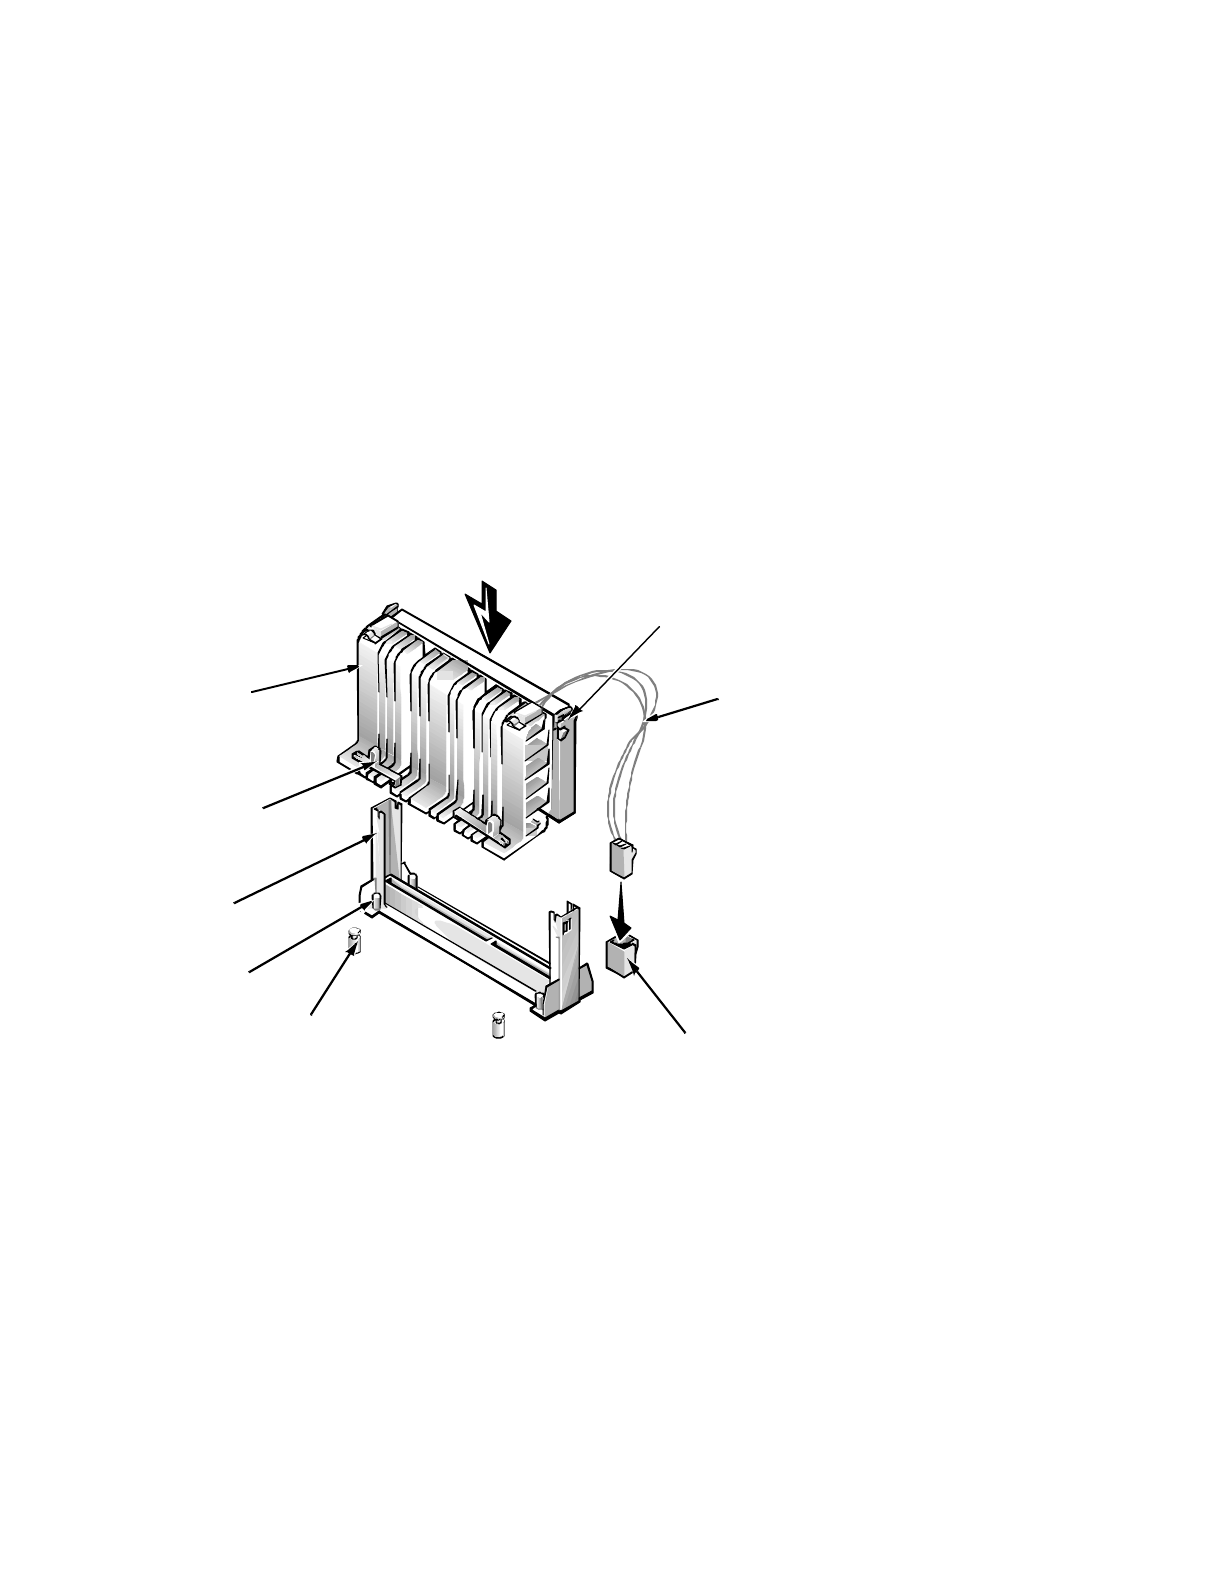
To install a microprocessor SEC cartridge/heat sink assembly, use the following
procedure:
1. Remove the terminator card or old microprocessor SEC cartridge/heat
sink assembly from the guide bracket assembly as described in previous
subsections.
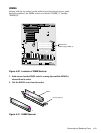
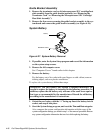
2. Slide the microprocessor SEC cartridge/heat sink assembly into the
guide bracket assembly, with the heat sink toward the top of the
computer, and firmly seat the assembly (see Figure 4-26).
Considerable force is required to seat the microprocessor SEC cartridge.
3. Slide the metal clips on the heat sink outward until the clips latch onto
the supports (see Figure 4-26).
4. Insert the temperature sensor cable into the TEMP_n connector on the
system board below the guide bracket assembly.
5. Verify that the release latches on the SEC cartridge are pulled out.
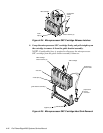
Figure 4-26. Inserting Microprocessor SEC Cartridge/Heat Sink
Assembly
Refer to Figure 1-19 when replacing a microprocessor SEC cartridge to ensure
that the system board jumpers reflect the speed of the installed microprocessors
(both must operate at the same internal clock speed). Also ensure that the
microprocessor speed is correct in the System Setup program and EISA Config-
uration Utility.
supports (2)
temperature
sensor connector
temperature
sensor cable
metal
clips (2)
release
latches (2)
guide bracket
screws (4)
guide bracket
assembly
heat sink