


15
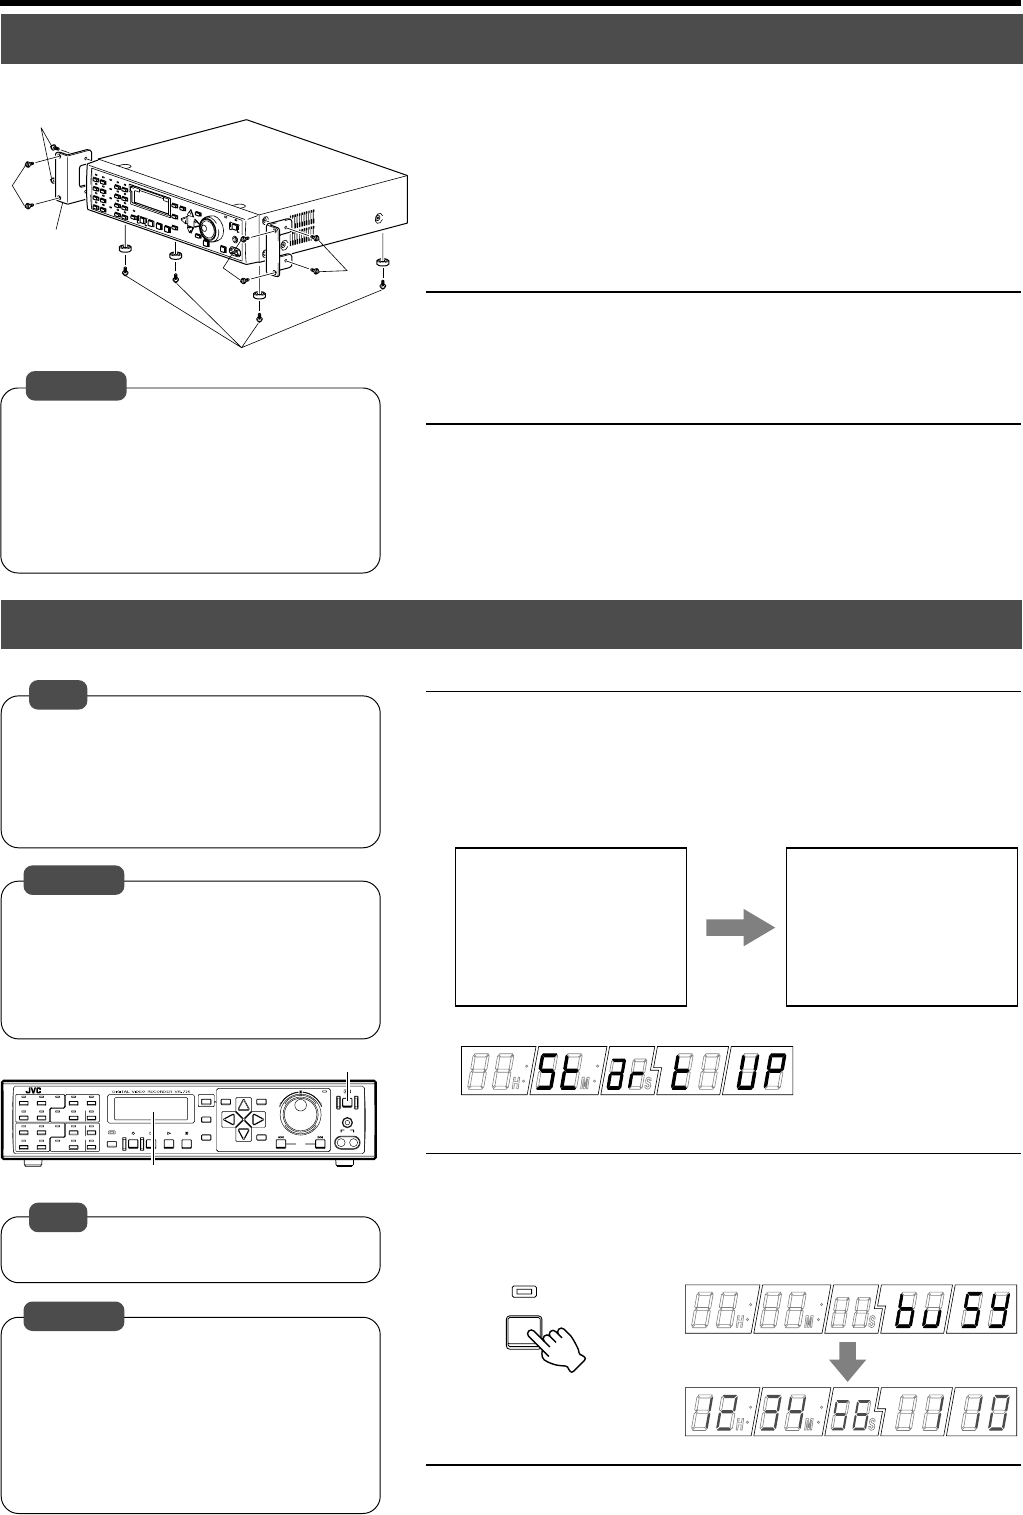
Mounting to a Rack
Turning On/Off the Power
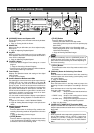
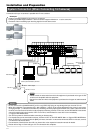
Make use of the rack-mounting bracket provided when mounting VR-716 to the EIA rack.
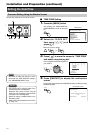
1.
Mount the rack-mounting bracket to VR-716 us-
ing Screw 1
•Fasten the two sides of VR-716 using the 4 screws provided (M4 x 10
mm).
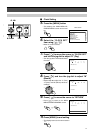
2.
Remove Screw 2 (4 corners) on the foot stand at
the bottom surface of the equipment
• Remove the foot stand.
3.
Mount VR-716 to the rack using Screw 3
•Fasten the equipment to the rack using the 4 screws provided (M5 x 10
mm).
• Do not place any object on VR-716 that has
been mounted onto the rack. This may
cause the rack to give way and lead to inju-
ries or equipment damages.
• When mounting 2 or more VR-716 record-
ers on racks, ensure that they are mounted
at least 1 unit away from one another.
Caution
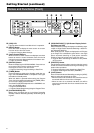
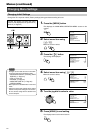
Ⅵ Turning ON the Power
1.
Connect the power cord
• Use the power cord supplied to connect to an AC 220 V - 240 V, 50 Hz/
60 Hz outlet.
• This turns ON the power and starts the system check.
• Refer to page 62 ‘External Hard Disk Drives’
when adding external HDDs.
• Operation of power is disabled during sys-
tem checks.
Do so after the “SYSTEM CHECKING...
PLEASE WAIT…” display disappears.
•Turn ON the power of this equipment only
after connections with all peripheral devices
are completed.
• Do not unplug the power cord when start-
ing up this equipment. This may cause the
equipment to malfunction.
Caution
• Press the [OPERATE] button once when in
the OFF state to turn ON the power.
• Unplug the power cord only when the power
of the equipment is OFF. If the power cord
is unplugged when the equipment is in ON
state, it will take time to perform a hard disk
check when it is turned on again. It may take
a long time when the data is fragmented or
when there is a large amount of recorded
data.
Caution
Notes
Note
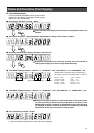
2 (4 corners)
Rack-mounting
Bracket
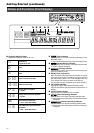
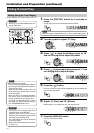
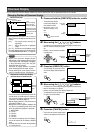
<Monitor>
Ⅵ Turning OFF the Power
1.
Press the [OPERATE] button for about 2 seconds
• The front display shows [BUSY] and switches to a dim clock display.
(OFF State)
2.
Unplug the power cord
<Front Display>
<Front Display>
[OPERATE]
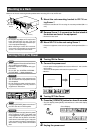
Front Display
1
3
3
1
SYSTEM CHECKING... PLEASE WAIT...
OPERATE
ALARM
SENSOR
SEQUENCE
MULTI
REC STOP PLAY STILL
DISPLAY
CANCEL
SEARCH
MENU
REV
SKIP
FWD
HDD
OPERATE
LOCK
VIDEO AUDIO
OUT
EXECUTE
ALARM
SENSOR
ALARM
SENSOR
ALARM
SENSOR
11 1
910
34
12
78
56
13 14
15 16
TIMER