


37
•
••••••••••••••••••••••••••••••••••••••••••••••••••••••••••••••••••••••••••••••••••••••••••••••••••••••••••••••••••••••••••••
Operations
ENGLISH
Please note that in the A-REC DURATION set-
ting, MAN cannot be selected when the MOTION DE-
TECTION setting in the <INITIAL SET UP> menu is
“ON”.
13. Turn the SHUTTLE ring to the left or press the SET UP
button.
INFORMATION
Please refer to “Alarm Recording op-
eration” on page 53 for details of the alarm recording.
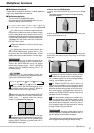
♦ Camera Alarm Rec setting
This is the setting for the camera to start recording when
ALARM IN terminal is grounded (alarm recording signal is
input). This setting is only effective during alarm recording.
After alarm recording, operations return to their prior settings.
Example: Setting the RECORD ALARM to “ALL” (the de-
fault setting is “SEP”).
1. Press the SET UP button to display the <MENU SETTING>
menu.
2. Turn the JOG dial to move the cursor to A-REC/M-DET
SETTING then turn the SHUTTLE ring to the right.
• The <A-REC/M-DET SETTING> menu will appear.
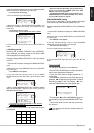
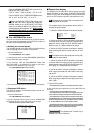
3. Turn the JOG dial to move the cursor to RECORD ALARM
then turn the SHUTTLE ring to the right to fix setting.
• The sub-item will start flashing.
4. Turn the JOG dial to display “ALL”, and turn the SHUTTLE
ring to the right to fix setting.
• The sub-item will stop flashing.
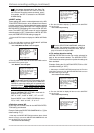
A-REC DURATION 15S
@RECORD ALARM ALL
PRE A-REC OFF
By turning the JOG dial, the sub -
item of RECORD ALARM will be changed as follows:
SEP ALL
“SEP”: The alarm recording will start only with the
camera which received the alarm signal. If several
cameras received alarm input at once, all of those
cameras will start alarm recording.
“ALL”: The alarm recording will start with all cameras
set to be operated on the <DEFINE ALARM GROUP>
menu when ALARM IN terminal is grounded.
5. Turn the SHUTTLE ring to the left or press the SET UP
button.
When the RECORD ALARM setting is set to “SEP”,
the “PRI” setting on the <DEFINE GROUP SETTING>
menu at this time can only be either “ 1 ” or “ - ”, and
then the “FILD” will not be appear on screen.
♦ Pre-alarm recording setting
During alarm recording, it is possible to record the infor-
mation before the ALARM IN terminal is activated.
Example: Set the PRE A-REC to “LONG” (the default set-
ting is “OFF”).
1. Make settings for IMAGE QUALITY , MAX REC FIELDS ,
DEFINE GROUP SETTING, A-REC DURATION and RECORD
ALARM as shown on page 35 - 37 .
A-REC DURATION 5M
@RECORD ALARM ALL
PRE A-REC OFF
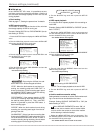
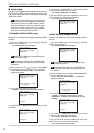
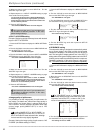
2. Turn the JOG dial to move the cursor to PRE A-REC and
turn the SHUTTLE ring to the right to flash the sub-item.
A-REC DURATION 5M
RECORD ALARM ALL
@PRE A-REC OFF
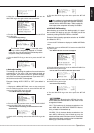
3. Turn the JOG dial to flash LONG, and turn the SHUTTLE
ring to the right. The unit will be in stand-by mode for the
Pre-alarm recording.
• PRE ALARM REC indicator on the front of the unit will start
illuminating.
A-REC DURATION 5M
RECORD ALARM ALL
@PRE A-REC LONG
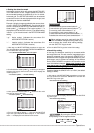
By turning the JOG dial, the sub-
item of PRE A-REC will be changed as follows:
OFF SHORT
LONG MEDIUM
4. Ground the ALARM IN terminal.
• The unit will start alarm recording.
The duration of recording before the ALARM IN ter-
minal is triggered depends on the MAX REC FIELDS,
IMAGE QUALITY, and PRE A-REC settings. Please
refer to “Pre-alarm Recording” on page 54 for details.
Setting cannot be altered in either the NORMAL
REC SETTING menu or the A-REC/M-DET SET-
TING menu when the PRE A-REC menu is set to
SHORT, MEDIUM, or LONG. In addition, the SE-
LECT REC MODE (in the <NORMAL REC SET-
TING> menu) will display A-REC.
INFORMATION
To activate pre-alarm recording on
Timer programmes, please refer to “Pre-alarm Re-
cording” on page 54.
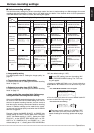
Following the end of Pre-alarm recording, the regular value
of the Alarm Recording settings returns to the value set in
the IMAGE QUALITY, MAX REC FIELDS, DEFINE GROUP
SETTING, and A-REC DURATION settings.
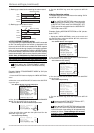
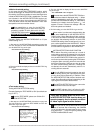
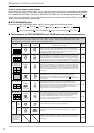
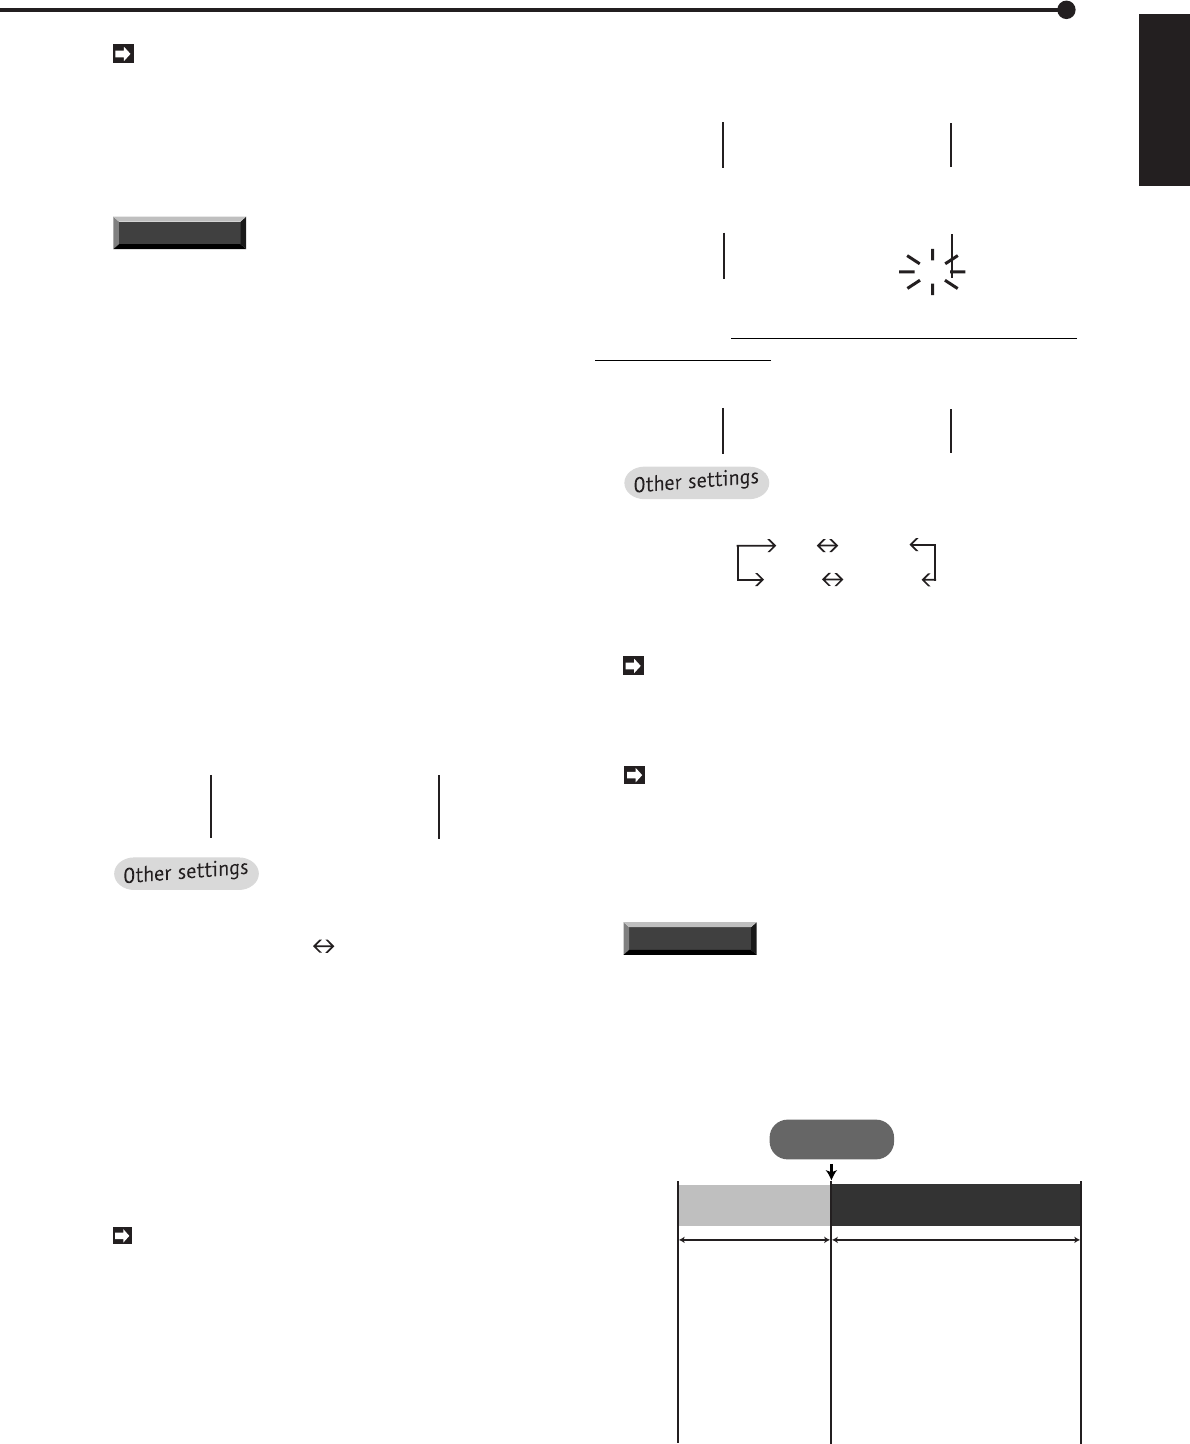
Pre-alarm
recording
Alarm
recording
LONG/MEDIUM/SHORT of
PRE A-REC
IMAGE QUALITY/
MAX REC FIELDS of A-REC
IMAGE QUALITY/
MAX REC FIELDS/
A-REC DURATION
Recording
Mode
Effective
recording
setting
Alarm input
(ALARM IN signal)
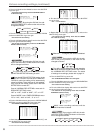
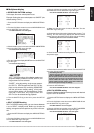
Effective
recording
CAMERA CH
setting
When you wish to use the ALARM IN signal to activate Alarm Recording,
CAMERA CH of the cameras to be used must be set to something other than "—".
All the CAMERA CH
set in PRIORITY settings
1 – 5 of the DEFINE
ALARM GROUP setting.
When RECORD ALARM setting is SEP,
only the CAMERA CH receiving an
Alarm Recording signal.
When RECORD ALARM setting is ALL,
all the CAMERA CH specified in the
DEFINE GROUP SETTING setting.