


64
•••••••••••••••••••••••••••••••••••••••••••••••••••••••••••••••••••••••••••••••••••••••••••••••••••••••••••••••••••••••••••••••••••••••••••
•
■ Power failure compensation circuit
The unit is equipped with an internal power failure com-
pensation circuit, and, after a full recharge of 48 or more
hours, will preserve data and time settings for one month.
Timer settings and menu settings will also be preserved.
Time settings will not be precise, if the unit has been un-
plugged for a long period of time.
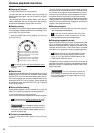
■ RESET button
The following conditions occur when the RESET button
located on the unit’s back panel is pressed (using a ball-
point pen or other object): the current time is erased, the
system is reset, and main power is turned off. Recorded
data and menu settings will not be erased.
■ Simple lock function
When the LOCK button is pressed (with a ball-point pen,
for example), the unit’s buttons, JOG dial, and SHUTTLE
ring cannot be used, and the unit will remain fixed in its
current settings. The Multiplexer button (refer to page 7),
however, can be used with the LOCK function. Press the
LOCK button to cancel this function. The LOCK indicator
light will show when the unit is in Lock mode. In addition,
this function can only be used until the password lock func-
tion is set. Once the password lock function has been set,
the SIMPLE LOCK FUNCTION becomes inoperative.
■ PASSWORD LOCK function
Pressing the LOCK button on the front of the unit will en-
able you to record a password. Once the password has
been entered and the unit has been locked, the functions
other than the camera switch will not operate unless the
correct password is entered. This function will not work
when power is off.
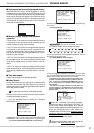
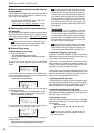
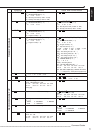
Example: Recording the password for the first time.
1. Hold the LOCK key down for at least 5 seconds.
• The <PASSWORD SETTING> menu will appear.
<PASSWORD SETTING>
@1. - - - -
2. - - - -
INPUT PASSWORD
TURN THE SHUTTLE RING
>> TO ENTER.
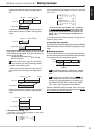
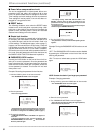
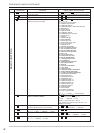
2. Enter the password.
• Enter a four-digit password.
<PASSWORD SETTING>
1. - - - -
@2. - - - -
INPUT PASSWORD AGAIN
TURN THE SHUTTLE RING
>> TO ENTER.
• The password may consist of the numbers from 1 to 9 which
are assigned to the camera switch button located on the front
of the unit. 0 is assigned to the ZOOM key. (Refer to page 7.)
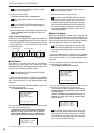
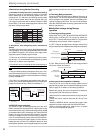
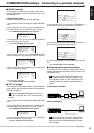
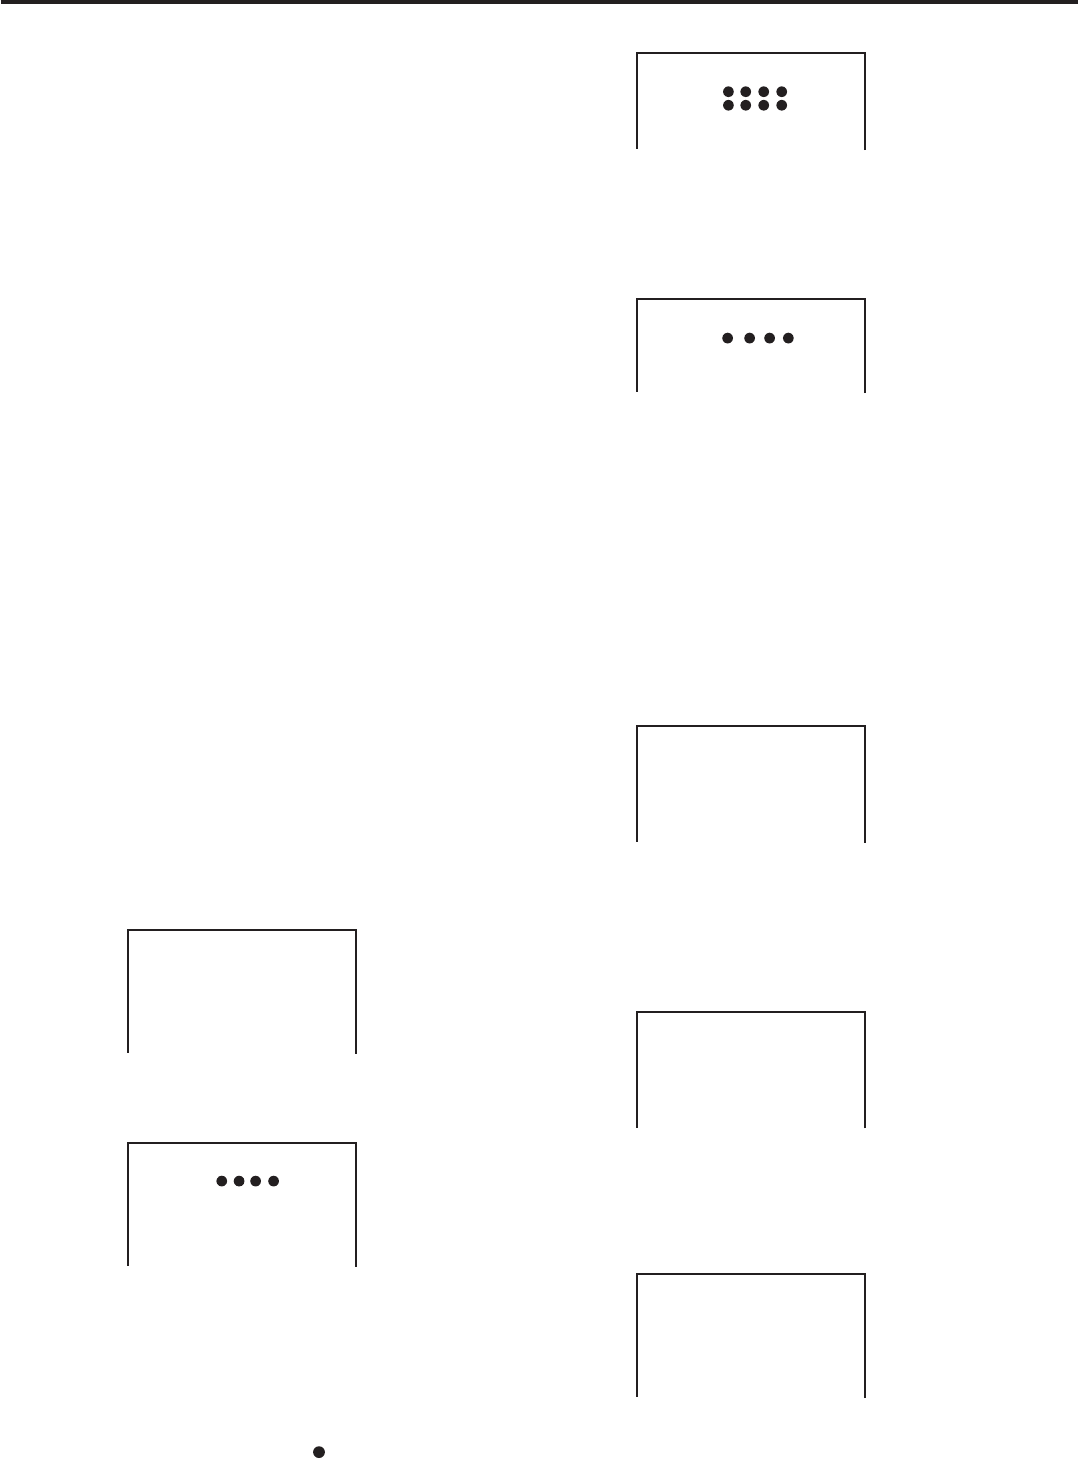
3. Re-enter the password.
• “TURN THE SHUTTLE RING >>TO ENTER.” will appear on
the screen.
• If the wrong password is enter , the menu will display the
PASSWORD ERROR, and the all the “ ” will be cleared.
Enter the password again.
Other convenient functions
RS-232C settings
Connecting to a personal computer
<PASSWORD SETTING>
1. - - - -
2. - - - -
PASSWORD ERROR
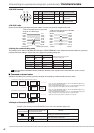
• The display reading “TURN THE SHUTTLE RING >> TO
ENTER.” appears when the menu is displayed. If the
password is not enter, turning the SHUTTLE ring to the left
will result in an error.
• If a password error occurs, the incorrect password may be
cleared using the WARNING RESET key.
<PASSWORD LOCK>
PASSWORD ERROR
4. Turn the SHUTTLE ring to the right.
• The password is now set, and the normal operating screen
appears.
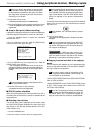
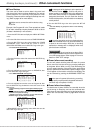
Example: Turning the PASSWORD LOCK functions on and
off.
“OFF”: The PASSWORD LOCK functions can be disabled
by pressing the LOCK button on the front of the unit and
entering the password.
“ON”: To return to locked status, press the LOCK button
again.
<PASSWORD LOCK>
- - - -
INPUT PASSWORD
TURN THE SHUTTLE RING
>> TO ENTER.
NOTE: Contact the dealer if you forget your password.
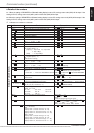
Example: Changing passwords.
1. During unlocking, press the LOCK button for five seconds.
• The <PASSWORD LOCK> menu will appear.
<PASSWORD LOCK>
- - - -
INPUT PASSWORD
TURN THE SHUTTLE RING
>> TO ENTER.
2. Enter the current password.
3. The <PASSWORD SETTING> menu will appear.
• Using the same procedure for setting the original password,
enter and set the new password.
<PASSWORD SETTING>
@1. - - - -
2. - - - -
INPUT PASSWORD
TURN THE SHUTTLE RING
>> TO ENTER.
Other convenient functions (continued)