103
RQT9487
Reference
On the unit’s display
The following messages or service numbers appear on the unit’s display when something unusual is detected during startup and use.
Page
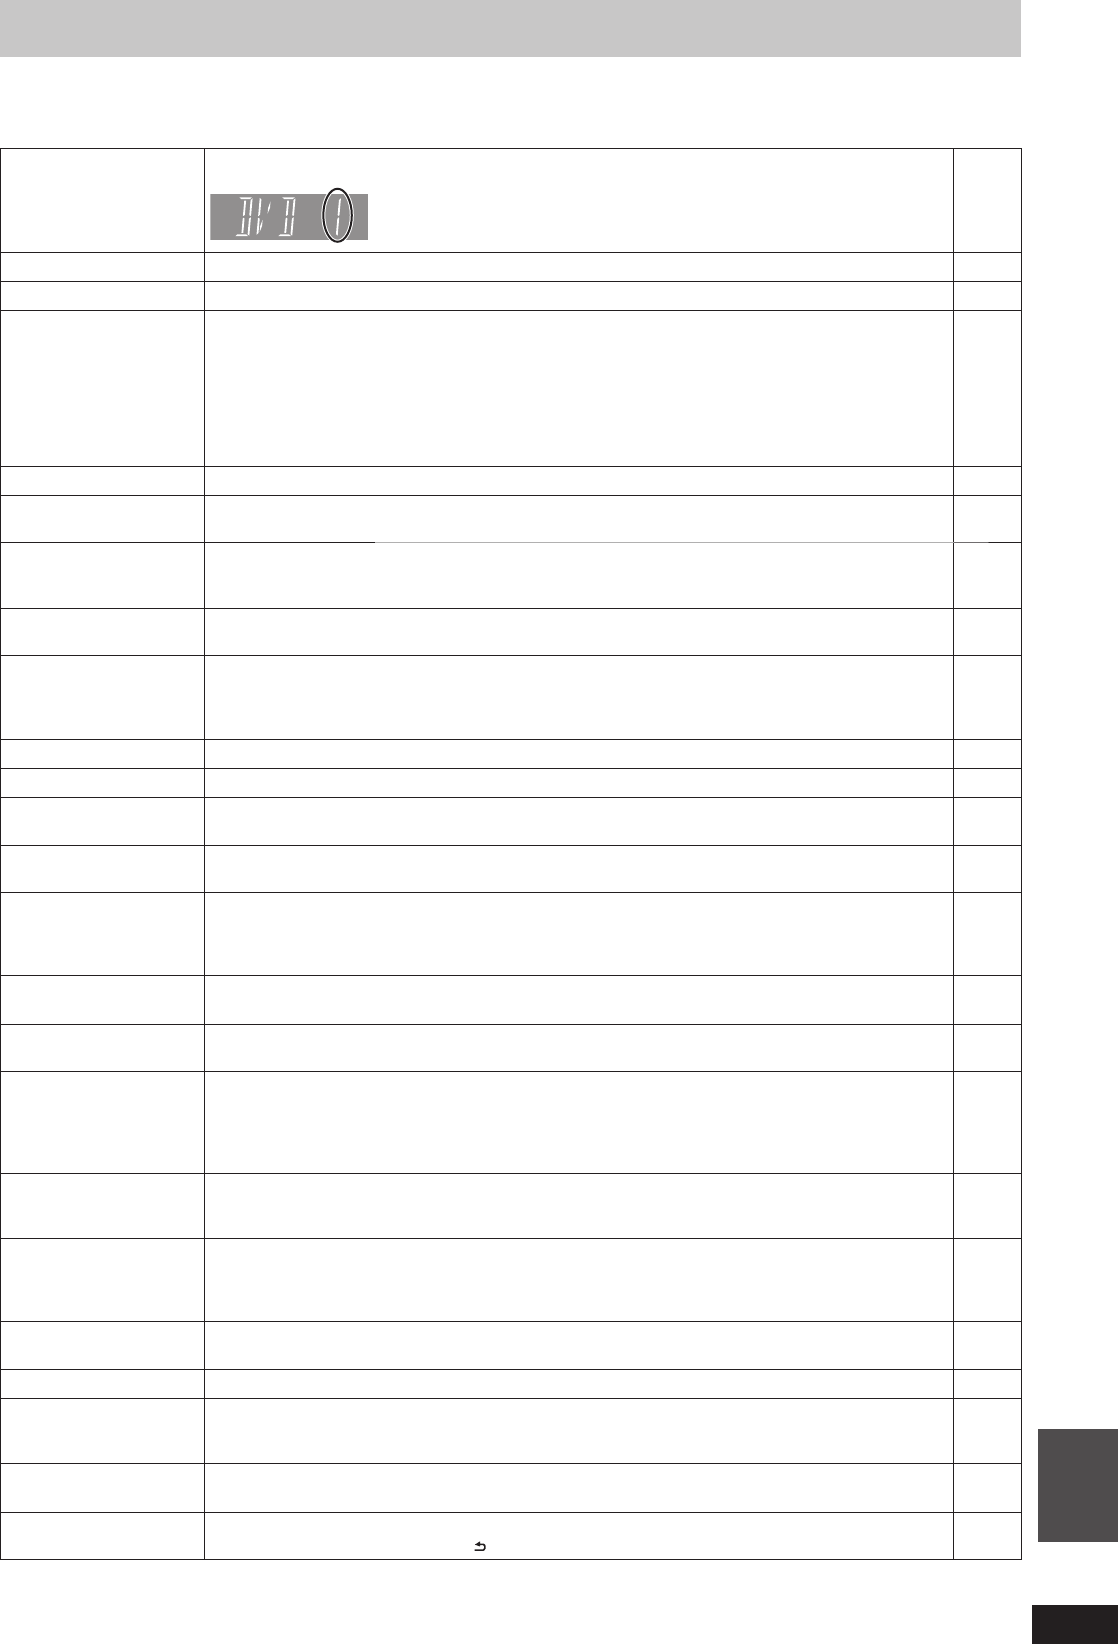
DVD
(“” stands for a number.)
The remote control and main unit are using different codes. Change the code on the remote control.
90
Press and hold [OK] and the indicated number button at the same time for more
than 5 seconds.
GUIDE
TV Guide data is being downloaded.
35
FINISH
The software update is complete.
94
H or F
(“” stands for a service
number.)
There is something unusual. (The service number displayed after H and F depends on the unit’s
condition.)
Check the unit using the troubleshooting guide. If the service number does not disappear, do the
following.
1. Disconnect the plug from the household mains socket, wait a few seconds, then reconnect it.
2. Press [
8
] to turn the power on. (The unit may be fi xed.)
If the service number does not disappear despite after doing the above, request service from the
dealer. Inform the dealer of the service number when requesting service.
—
104–
110
HARD ERR
If there is no change after turning the unit on and off, consult the dealer where the unit was purchased.
—
NoERAS
You cannot delete items on this disc.
The disc may be damaged. Use a new disc.
—
NoREAD
The disc is dirty or badly scratched. The unit cannot record, play or edit.
This message may appear when the lens cleaner has fi nished cleaning.
Press [
;
OPEN/CLOSE] on the main unit to eject the disc.
15
14
NoWRIT
You cannot write to this disc.
The disc may be damaged. Use a new disc.
—
PLEASE WAIT
Displayed when the unit is started and turned off. This is not malfunction.
There was a power failure or the AC plug was disconnected while the unit was on. The unit is carrying
out its recovery process. This process restores the unit to normal operation. The unit is not broken.
Wait until the message disappears.
—
—
PROG FULL
There are already 32 timer programmes. Delete unnecessary timer programmes.
34
REMOVE
The USB device is drawing too much power. Remove the USB device.
—
START
Update of the software is started.
You cannot operate the unit until the update is complete.
94
SW-DL
Software is downloading.
Download will stop when the power is turned on, or the timer recording starts.
94
UNFORMAT
You inserted an unformatted DVD-RAM, DVD-RW, +RW, an unused +R, +R DL or DVD-RW (DVD-
Video format) that has been recorded on other equipment.
Format the disc to use it.
However all the recorded contents on the disc are deleted.
81
UNSUPPORT
You have inserted a disc the unit cannot play or record on.
You tried to operate with a non-compatible USB memory.
9–10
11
UPD / The software is being updated.
You cannot operate the unit until the update is complete.
94
U59
The unit is hot.
The unit switches to standby for safety reasons. Wait for about 30 minutes until the message
disappears.
Select a position with good ventilation when installing the unit. Do not block the cooling fan on the rear
of the unit.
—
U61
(When a disc is not inserted) Displays when a malfunction has occurred during recording, playback or
copy. This is displayed when the unit is in the recovery process to return to normal operation; it is not
broken. Once the display clears you can use the unit again.
—
U72
U73
The HDMI connection acts unusually.
– The connected equipment is not HDMI compatible.
– Please use HDMI cables that have the HDMI logo (as shown on the cover).
– The HDMI cable is damaged.
—
U76
HDMI cannot be output because you are connected to a model that does not support copyright
protection.
—
U77
Due to the current disc not having authorised copyright information, video output is not performed.
—
U88
(When a disc is inserted) Displays when there was something unusual detected with the disc while
recording, playback or copy. This is displayed when the unit is in the recovery process to return to
normal operation; it is not broken. Once the display clears you can use the unit again.
104
U99
The unit fails to operate properly. Press [
8
] on the main unit to switch the unit to standby mode. Now
press [
8
] on the main unit again to turn the unit on.
—
X HOLD
The Child Lock function is activated.
Press and hold [OK] and [RETURN
] at the same time until “X HOLD” disappears.
91
The message scrolls on the unit’s display.


