5 Register still pictures for copy.
If you are going to copy a registered list without making any
changes to it (➡ step 6).
Pictures from different dates or albums will not be registered
to same list.
Copy
1
2
3
Cancel All
Copy Direction
Copy Mode
Create List
Start Copying
DVD HDD
PICTURE High Speed
Create copy list.
0
OK
RETURN
OPTION
Page 01/01
Destination Capacity: 4343MB
By Picture ( Date )
New Item
New item (Total=0)
No. Size Title
1 Press [
e
,
r
] to select “Create List” and press [
q
].
2 Press [
e
,
r
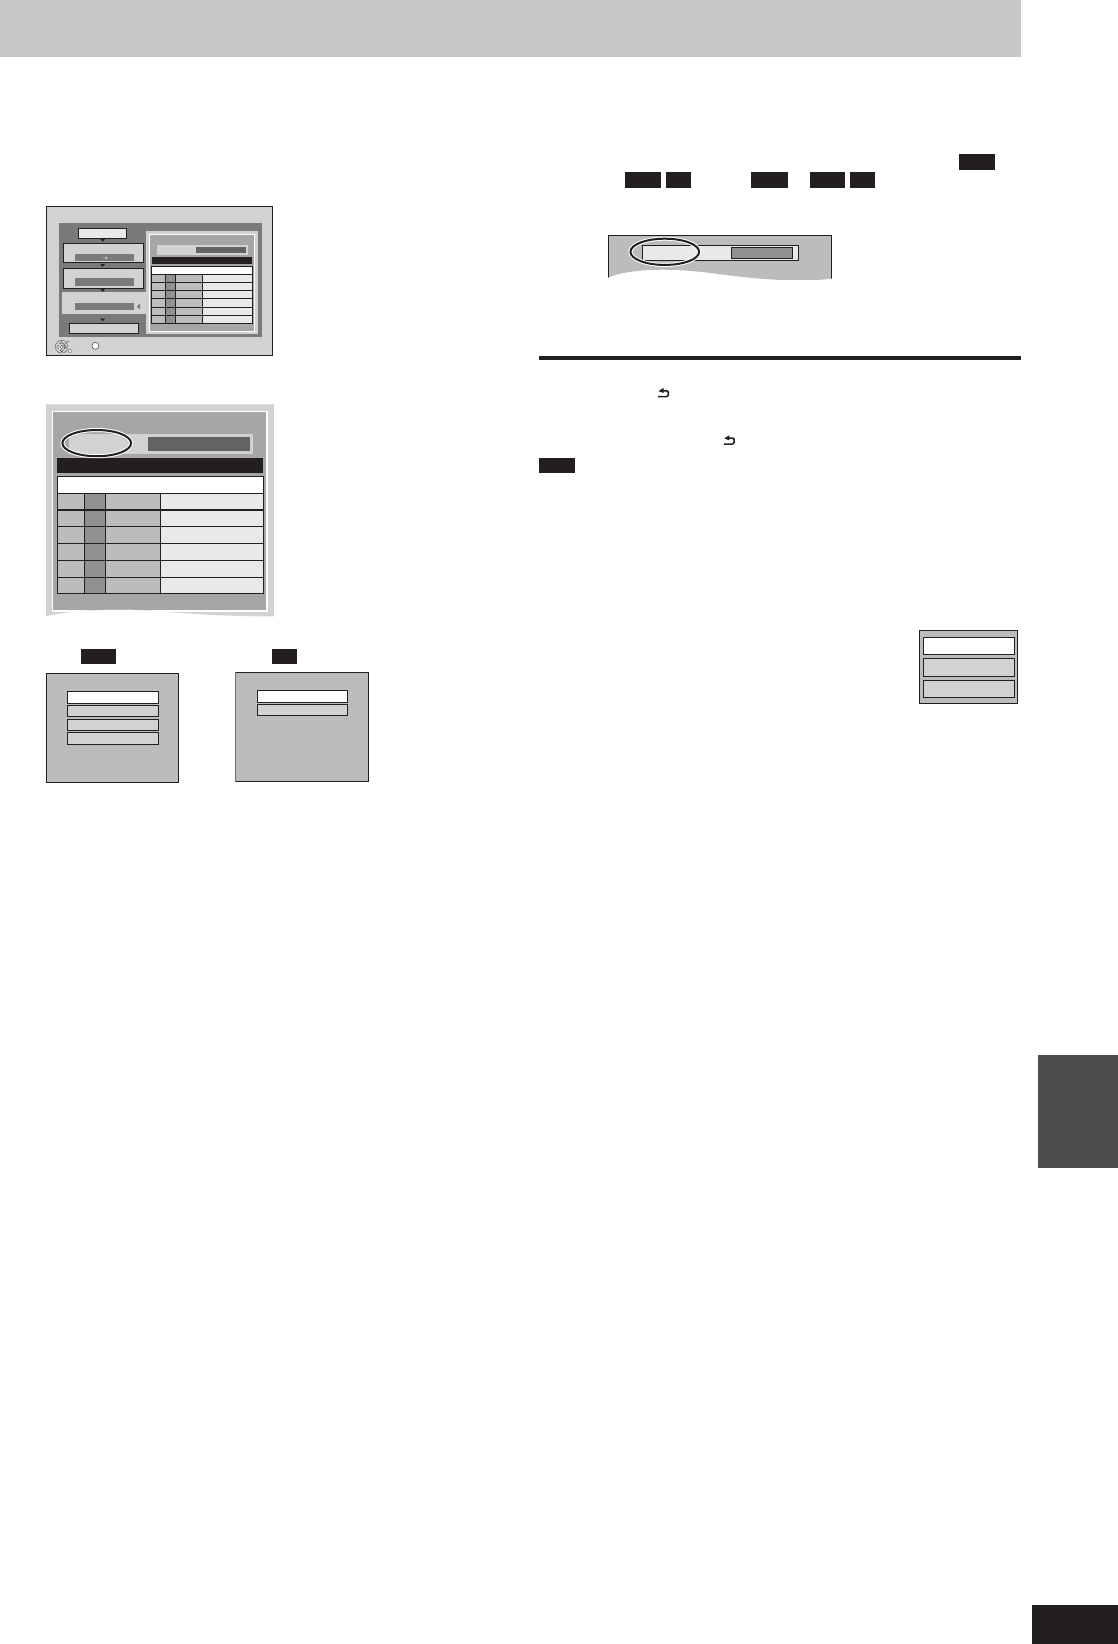
] to select “New Item” and press [OK].
Page 01/01
Destination Capacity: 4343MB
By Picture ( Date )
New Item
New item (Total=0)
No. Size Title
3 Press [
e
,
r
] to select the item and press [OK].
Picture
Album
e.g.,
SD
By Picture ( Date )
By Picture ( Album )
By Date Folder
By Album
e.g.,
HDD
Register with “By Picture (Date/Album)”/“Picture”
1 Press [
e
,
r
] to select “New item” and press [OK].
2 Press [
e
,
r
,
w
,
q
] to select the still picture and press
[
h
].
A check mark is displayed. Repeat this step until you
select all necessary items.
Press [
h
] again to cancel.
Press [
u
,
i
] to show other pages.
The items will be copied in the order of the copying list. If
you want to specify the order, repeat selecting one item
at a time.
To select another folder (➡ right)
3 Press [OK].
To edit the copying list (➡ right)
4 Press [
w
] to confi rm.
Register with “By Date Folder”/“By Album”/“Album”
1 Press [
e
,
r
] to select “New item” and press [OK].
2 Press [
e
,
r
,
w
,
q
] to select the folder and press [
h
].
A check mark is displayed. Repeat this step until you
select all necessary items.
Press [
h
] again to cancel.
Press [
u
,
i
] to show other pages.
The items will be copied in the order of the copying list. If
you want to specify the order, repeat selecting one item
at a time.
3 Press [OK].
To edit the copying list (➡ right)
4 Press [
w
] to confi rm.
6 Press [
e
,
r
] to select “Start Copying”
and press [OK].
[Only when copied with “By Picture (Album)” from
HDD
to
RAM
SD
or from
RAM
to
HDD
SD
]
When specifying another album as the copying
destination, select “Album”.
7 Press [
w
,
q
] to select “Yes” and press
[OK] to start copying.
To return to the previous screen in steps 1 to 7
Press [RETURN ].
To stop copying after step 7
Press and hold [RETURN
] for 3 seconds.
Note
The sequence in which the still pictures are registered on the
copying list may not be the same at the copy destination.
If still pictures are already contained inside the copy destination
folder, the new still pictures are recorded following the existing still
pictures.
■ To edit the copying list
Select the item after step 5–3–3 (➡ left)
1 Press [OPTION].
2 Press [
e
,
r
] to select the operation and press
[OK].
Delete All:
Delete all items registered on the copying list.
Press [
w
,
q
] to select “Yes” and press [OK].
Add
Delete
Delete All
Add:
Add new items to the copying list.
1 Press [
e
,
r
] to select the item and press [
h
].
A check mark is displayed. Repeat this step until you select all
necessary items.
Press [
h
] again to cancel.
2 Press [OK].
Delete:
Delete the selected items.
Press [
w
,
q
] to select “Yes” and press [OK].
To cancel all registered copying settings and lists
After performing steps 1–2 (➡ 62, Copying using the copying list)
3 Press [
e
,
r
] to select “Cancel All” and press [OK].
4 Press [
w
,
q
] to select “Yes” and press [OK].
The settings and lists may be cancelled in the following situations.
– When a title or still picture has been recorded or deleted at the
copy source
– When steps have been taken, for instance, to turn off the unit,
remove the card, open the tray, change the copy direction, etc.
■ To select another folder
After performing step 5–3–1 [➡ left, Register with “By Picture
(Date/Album)”/“Picture”]
1 Press [OPTION].
2 Press [OK].
3 Press [
e
,
r
,
w
,
q
] to select the folder and press [OK].
The still pictures of different folders cannot be registered on the
same list.


