111 English
DVR Management Menu (Required user access level: ID4)
☞Basic Configuration Steps for Timer
Recordings
To schedule a timer recording, you should
follow these basic steps:
1
In the first row, configure the first
timer schedule.
Select the appropriate options from the
[WEEK] and [START/STOP] drop-down
lists, and select the “ON” radio button in
the [ON/OFF] area.
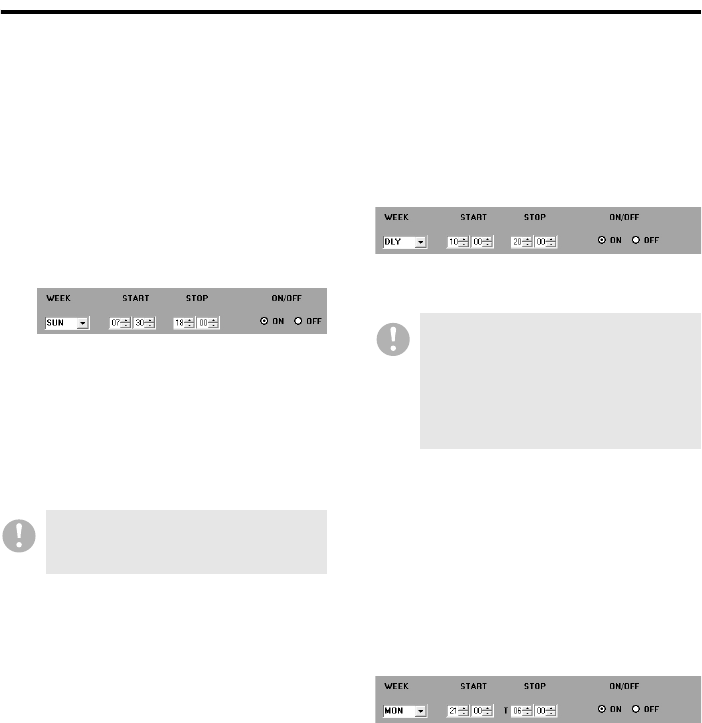
<Example>
In this example, a timer recording is
scheduled to start at 7:30 and end at
18:00 on every Sunday.
2
Similarly, configure other schedules
in the second and subsequent rows.
You can define up to eight different timer
schedules.
☞To schedule a timer recording to occur
at the same time every day:
To schedule a timer recording to start and end
at the same times every day, rather than on a
particular day of the week, select “DLY” from
the [WEEK] drop-down list.
<Example>
In this example, a timer recording is scheduled
to start at 10:00 and end at 20:00 everyday.
☞To schedule a timer recording that
spans two days:
When you specify an end time that is earlier
than the start time, the system interprets the
end time as a time on the next day and a “T”
symbol appears. This way, you can schedule a
timer recording that continues for up to 24
hours spanning two days.
<Example>
In this example, a timer recording is scheduled
to start at 21:00 on Monday and end at 6:00
on Tuesday.
If two or more timer schedules overlap
each other, the schedule that has the
earliest start time takes precedence.
A daily timer schedule takes precedence
over other schedules with a particular
day of the week specified. Thus, when a
timer recording with a daily schedule is
performed, the system disregards any
day-of-the-week schedules that conflict
with the daily schedule.


