English 98
DVR Management Menu (Required user access level: ID4)
<DVR information>
1 TITLE on DVR
Camera titles configured on the DVR main
unit or on the TITLE/MOTION SET tab of
the [DVR Set] window (for a 4-channel
DVR).
2 TITLE for display
Camera titles configured for use by the
system, as configured on the [Tree Edit]
window under the Initial Set menu. These
titles are used throughout the DVR Utility
Software user interface.
3 PICTURE QUALITY
Recording quality levels supported by the
DVR (SUPER+, SUPER, HIGH,
STANDARD).
4 ALARM COUNT
Cumulative total number of alarm
recordings.
<Hard disk drive information>
5 DISK1
Total capacity of hard disk 1.
6 DISK2
Total capacity of hard disk 2.
7 MIRRORING (applies when there are
redundant hard disks)
On/off status of mirroring.
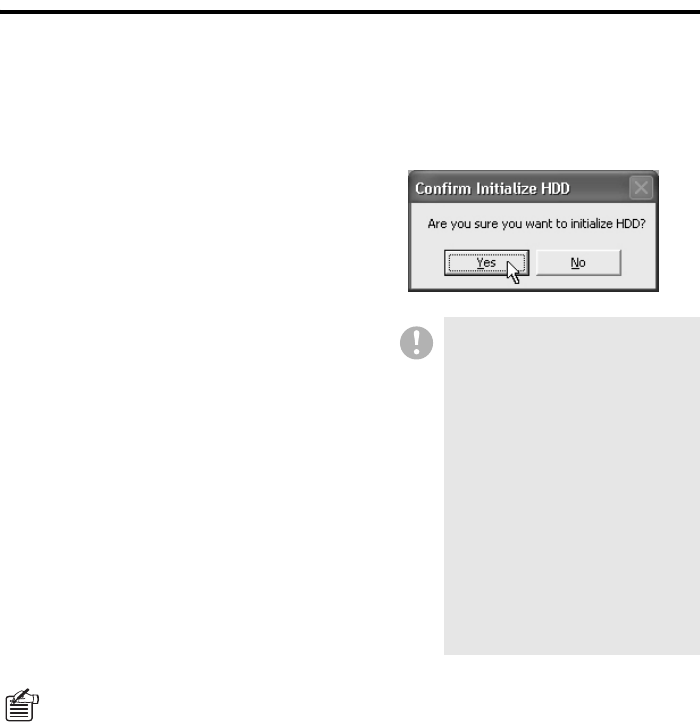
8 Initialize HDD button
This command button allows you to
initialize the DVR’s hard disk(s).
You are prompted to choose whether to
proceed. Click [Yes] if you are sure to
initialize the hard disk(s).
What is mirroring?
You can create a redundant mirror of a
hard disk by installing an additional
hard disk. This enables “mirroring”, in
which the same video data are
recorded into two identical disks at the
same time.
Mirroring provides a fault tolerance
benefit because, when one of the two
disks has failed resulting in a read/write
error, you can continue to read the
video data with the other disk.
• When you initialize a hard disk, all
the data recorded on the disk are
lost. You should therefore store
important data on another storage
medium in advance. For how to
back up the data, refer to the
DVR’s user’s manual.
• When you install an additional
hard disk, be sure to initialize it. In
this case, you cannot selectively
initialize a particular hard disk; all
the installed hard disks are
initialized. For how to install an
additional hard disk, consult your
dealer.
• Take extreme care not to turn off
the power to the DVR during the
initialization.


