English 84
Initial Set Menu (Required user access level: ID4)
● Manual configuration mode
1
Manually configure the IP address on
the NETWORK SET screen of the DVR.
On NETWORK SET, set [ADDRESS
SET] to “MANUAL”, and configure the IP
address and subnet mask.
2
When you have additional DVRs you
want to register, repeat the same
configuration steps for each of them.
3
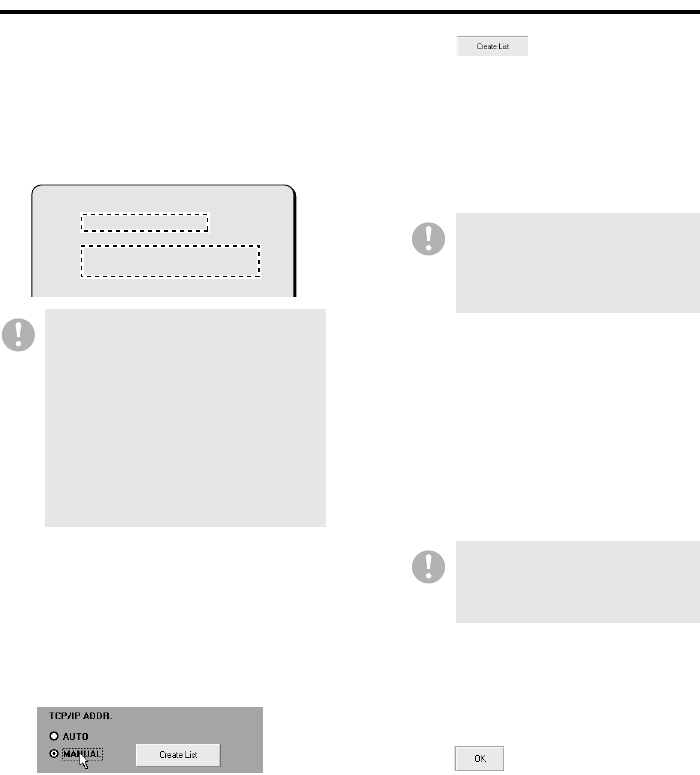
Select “MANUAL” from [TCP/IP
ADDR].
This activates the IP address manual
configuration mode.
4
Click .
The system starts creating the
registration list, with the command
buttons on the windows temporarily
disabled.
(If you have configured more than one
DVR for registration, they are registered
at once.)
5
Review the registration information
displayed on the list.
When the process completes
successfully, the tree list and registration
list are updated to reflect the registration
information of the new DVR, and the
command buttons are enabled. Items
displayed in the registration list are the
same as in auto configuration mode. For
more information, see P83.
6
Editing the Tree List
A newly registered DVR is given a default
title and group, which you can change as
needed.
For more information, see P86.
7
Click .
Your changes are saved and uploaded to
the DVR.
• The last three digits of the IP
address must be configured
within the range of 001 to 250.
• Make sure that the new IP
address does not conflict with
any existing IP address.
• How to configure the IP address
differs depending on the DVR
model. For more information,
refer to the DVR’s user’s manual.
< NETWORK SET - ADVANCED >
ADDRESS SET : MANUAL
DVR NAME : DVR1
IP ADDRESS : 192.168. 0. 3
SUB NET MASK : 255.255.255. 0
Normally, it takes about 20
seconds to create the list, but it
may take longer (up to 80 seconds)
depending on the subnet mask
setting.
If the new DVR you register in
manual configuration mode has
already been assigned to a group,
that group name is inherited.


