95 English
DVR Management Menu
(Required user access level: ID4)
The DVR Management menu, intended for use by an administrative user, provides access to four
windows: Clock Set, System Update, DVR Info, and DVR Set. The [DVR Set] window has seven
tabs, through which you can fine-tune the DVR operating conditions.
On the menu bar, click [DVR Management] to open the pull-down menu, and navigate to one of the
windows by clicking the corresponding option.
b [Clock Set] Window
You can set the internal clock of your specified DVR through the following steps:
1
Choose a camera (DVR).
From the tree list, select a camera
connected to the DVR whose internal
clock you want to set. The selected
camera is highlighted in blue.
2
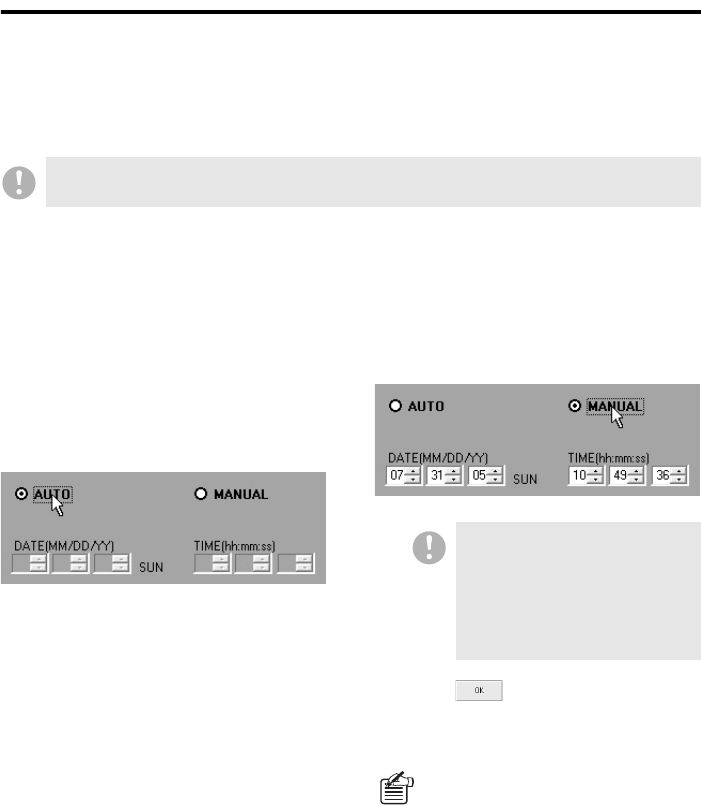
Choose from two setting modes.
Choose one of the two setting modes by
clicking the corresponding radio button.
• AUTO (default):
In this mode, the DVR is automatically
synchronized to your computer's
internal clock.
• MANUAL:
In this mode, you manually set the
DVR's internal clock.
3
If you have selected “MANUAL”, set
the date and time manually.
Use the spin buttons to set the date and
time.
4
Click .
The DVR’s clock is adjusted based on
the mode you selected.
The DVR Management menu lets you select a camera from the tree list. Settings configured on each
window are uploaded to the DVR connected with your selected camera.
• The date can be configured
within the range of January 1,
2002 to December 31, 2036.
• The actual date format is
determined by the
corresponding Windows
settings.
• To instruct all the connected DVRs
to simultaneously adjust their
internal clocks, use the broadcast
feature available from the Tool
menu. For more information, see
P70.
• To synchronize all connected DVRs
to your computer’s internal clock at
regular intervals, open the [Options]
window from the Initial Set menu,
and configure the [AUTO CLOCK
ADJUST TIME] settings. For more
information, see P74.
