30
2. Instrument Status at Power-ON
The instrument has been set prior to factory shipment so that it will be set as follows when the POWER switch is
set to ON.
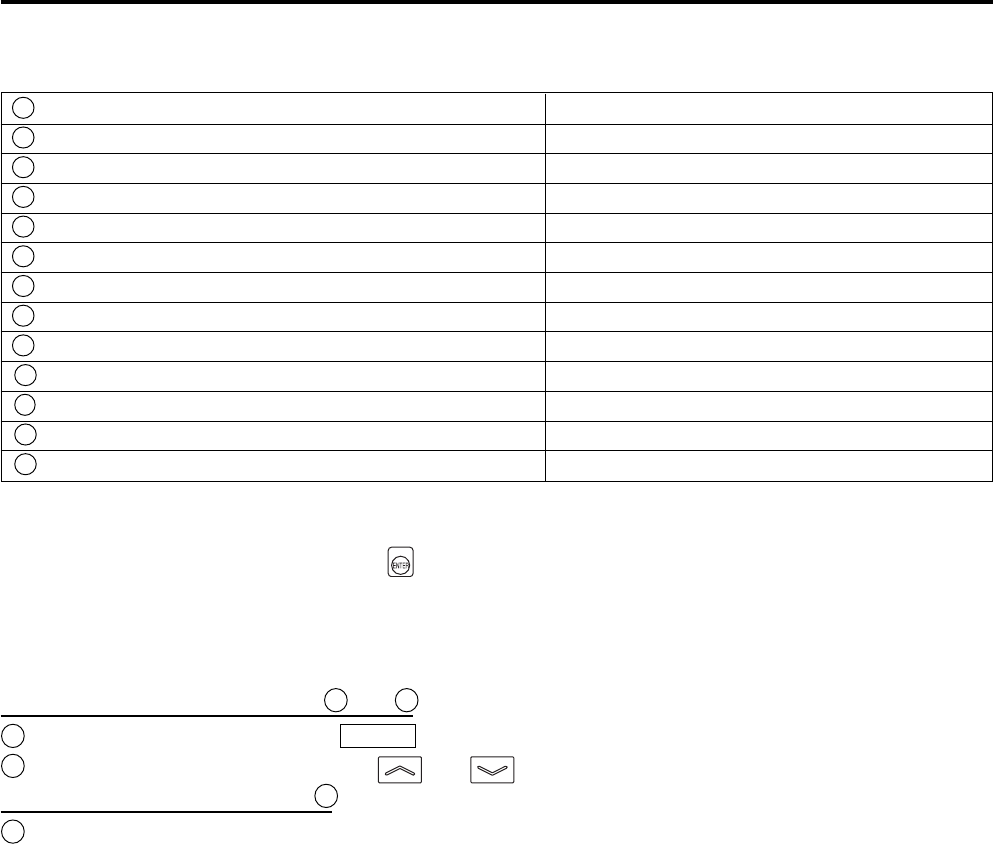
1 Measurement mode Page 40 xyLv mode
2 Memory channel no. Page 48 CH00
3 Target color Page 63 x = 0.3127 y = 0.3293 Lv = 160.0 (cd/m
2
)
4 PROBE Page 43 P1
5 SYNC mode Page 36 EXT mode
6 ID name Page 67 Consists of Blank spaces only.
7 Analog display range value Page 69 10% (all ranges)
8 Measurement speed Page 36 AUTO
9 Number of display digits Page 42 4 digits
10
Calibration standard Page 50 6500K
Konica Minolta’s standard data
11
RS232C baud rate Page 87 38400bps
12
Calibration data (stored) in CH00 to CH99 Page 51 6500K
Konica Minolta’s standard data
13
Luminance unit Page 32 cd/m
2
<Changing the Instrument Status at Power-ON>
Change necessary parameters and press the key for more than five seconds. A bleep will sound, followed by a
whistling sound when the settings are saved. The instrument will start with the new settings when the power is
turned ON next time. (The selected mode and memory channel etc. will be stored in the instrument’s memory, and
they will remain effective even if the POWER switch is set to OFF.)
* For details, refer to the pages given in the above table.
Changing Method for parameters 1 and 2
1 Measurement mode .........Press the MODE key.
2 Memory channel .............Press the CH
and keys.
Changing Method for parameter 3
3 Target color value ............The current target color will be changed if you
select a mode other than flicker and then enter a
target color, or select user calibration or enter
the RGB emission characteristic for analyzer
mode.


