64
<Notes when Setting/Changing the Target Color by Measurement>
● Note that the target color is common to all measurement modes (xyLv, T∆uvLv, analyzer, u'v'Lv, XYZ).
● If the intensity of the display to be measured is 1.0 cd/m
2
or less (3.0 cd/m
2
or less when a LED Universal
Measuring ø10 Probe(CA-PSU32/35) or LED Flicker Measuring ø10 Probe(CA-PS32/35) is connected.) or if
the ambient temperature has changed, zero calibration must be performed before setting the target color.
● Static electricity on the display’s screen surface must be removed as much as possible.
● Make sure that the measuring probe is placed straight against the display. If it is tilted or moved, it is not
possible to input accurate target color.
● Take care not to let the measuring probe be exposed to excessive impact. In addition, do not pull or bend the
cord excessively or exert excessive force on it. Failure to observe this may result in breakdown or wire-break-
age.
● If “OVER” is currently displayed, it is not possible to set the currently measured color as the target color since
the instrument’s measurement range is exceeded.
<Error Messages in LCD Display Section>
…
For other error messages, refer to page 103.
●
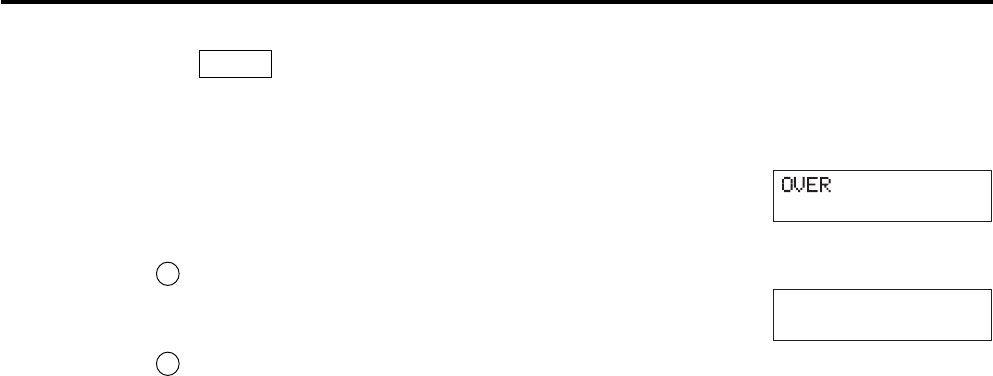
“OVER” (after the HOLD key is pressed)
• It is not possible to set the currently measured color as the target color since the instrument’s measure-
ment range is exceeded by the measured value.
● “E1”
• Cause : The target color was set using a measuring probe which is differ-
ent from the one used to perform user calibration/input the RGB
emission characteristic for the analyzer mode.
• Action :
1 Set the target color using the measuring probe that was used to
perform user calibration/input the RGB emission characteris-
tic for the analyzer mode.
2 Perform user calibration/input the RGB emission characteris-
tic for the analyzer mode again using a measuring probe con-
nected to the instrument, and then set the target color.
* For a description of how to check the probe serial no., refer to page 74.
CH01 EXT Ad P1A
E1 [ ]


