


SAVING (COPYING) RECORDED IMAGES
Reading data from a DDS (DAT) drive into the
archive area
Note: All of the previously recorded images in the archive area are
deleted when images are transferred in this way.
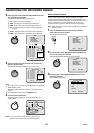
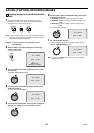
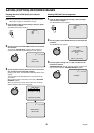
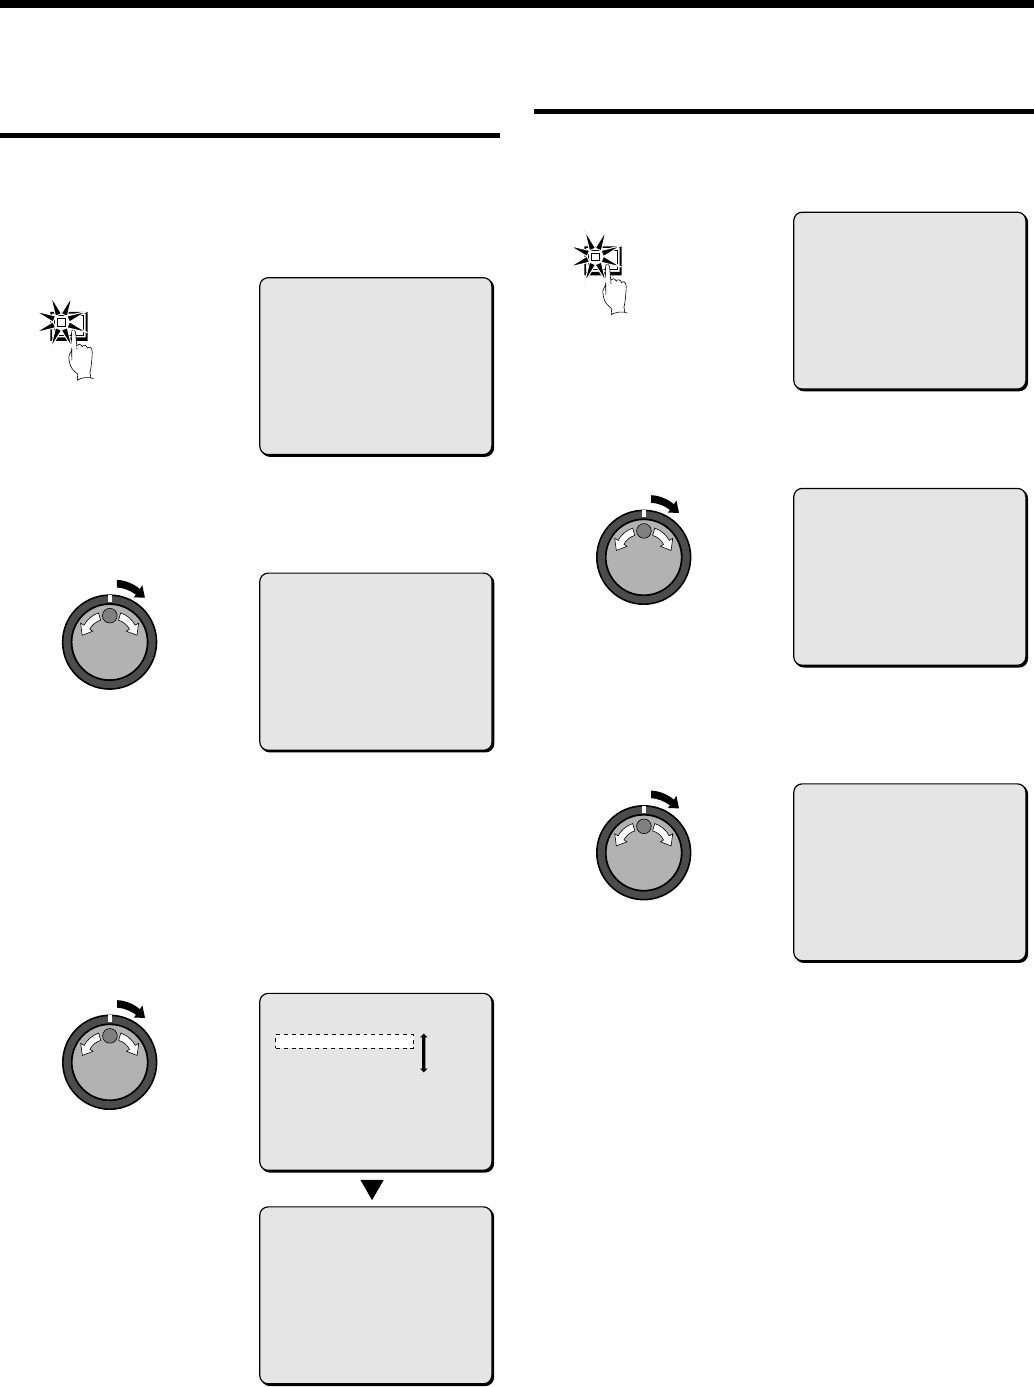
1
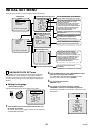
Press the COPY button during recording or when the digital
video recorder is stopped.
The ARCHIVE SET screen appears.
2
Use the jog dial to select RESTORE and then turn the shuttle
dial clockwise.
The message “LISTING DATA !” appears. When playback is
complete, the RESTORE FROM DDS (DAT) screen appears.
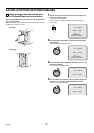
3
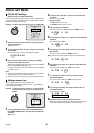
Use the jog dial to select the data to be read into the archive
area, and then turn the shuttle dial clockwise.
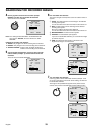
Reading of data starts. The RESTORE FROM DDS (DAT) screen
appears.
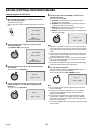
The image data on the DDS (DAT) drive is then saved into the
archive area.
When all data has been read into the archive area, “RESTORE
FINISHED!” appears.
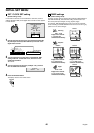
When you play back the images in the archive area, the image
data that has been read can be played back.
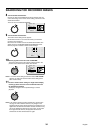
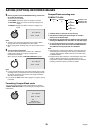
Deleting DDS (DAT) drive image data
1
Press the COPY button during recording or when the digital
video recorder is stopped.
The ARCHIVE SET screen appears.
2
Use the jog dial to select ERASE and then turn the shuttle dial
clockwise.
The WARNING screen appears.
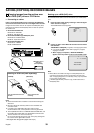
3
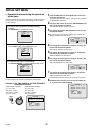
Use the jog dial to change “NO” to “YES” , and then turn the
shuttle dial clockwise.
“ERASING MEDIUM!” appears, and when erasing of data from the
tape has been completed, “ERASING FINISHED!” appears.
COPY
<ARCHIVE SET>
BACK UP ->
RESTORE ->
ERASE ->
01
EN 17-11-02 10:00:00
LISTING DATA !
<PRESS COPY TO ABORT>
<RESTORE FROM DDS(DAT)>
NO DATE TIME SIZE
0001 13-12-2001 11:13 3.0GB
0002 15-12-2001 10:15 2.0GB
0003 17-12-2001 10:15 2.0GB
STORED DATA ON HDD WILL BE ERASED !
01
EN 17-11-02 10:00:00
RESTORING FROM DDS(DAT) !
<PRESS COPY TO ABORT>
COPY
<ARCHIVE SET>
BACK UP ->
RESTORE ->
ERASE ->
<RESTORE>
RESTORE DATA FROM DAT
STORED DATA ON HDD WILL BE ERASED !
CONTINUE ?
NO
CHANGE WITH JOG, SET WITH SHUTTLE
01
EN 17-11-02 10:00:00
ERASING MEDIUM !
40
English