


RECORDING SETTING
E
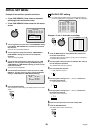
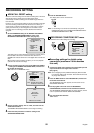
TIMER SET menu
These settings must always be made when carrying out timer
recording.
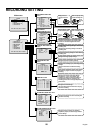
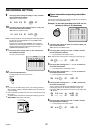
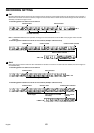
TIMER SET setting
This sets the starting time and stopping time for each day, and also
sets the recording speed.
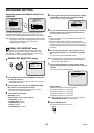
1
WEEK
This selects the day for the timer setting. While a day is flashing
another day can be selected. The 7th line (SAT) and 8th line (DLY)
are used for setting a timer recording for a period of more than 24
hours.
2
START
This is used to enter the starting time for timer recording.
3
STOP
This is used to enter the stopping time for timer recording.
4
PROGRAM
This sets whether a program recording function (P-1 to P-4) is to
be used for timer recording. See page 55 for further details on
program recording.
5
REC RATE
Sets the recording speed.
This does not need to be entered if a program has been set.
6
SET
Set to “ON” when using timer recording.
Set to “OFF” when not using timer recording.
7
For setting a timer recording of more than 24 hours.
Use this line for a timer recording of more than 24 hours.
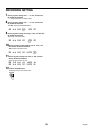
Note: The picture quality, frame/field recording and audio recording
settings for timer recording will be the settings used for
recording in the normal recording area.
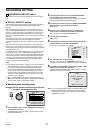
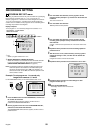
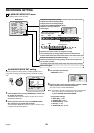
Timer reservations every day at the same
time with the same image quality
Example: Timer recording every day from 8:30 a.m.
to 6:30 p.m. at the same recording speed
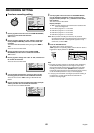
1
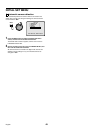
Press the MENU button to select RECORD SET, and then turn
the shuttle dial clockwise.
The RECORD SET sub-menu appears, and the cursor moves to
RECORDING AREA SET.
2
Use the jog dial to move the cursor to TIMER SET, and then
turn the shuttle dial clockwise.
The TIMER SET sub-menu appears, and the cursor is positioned
at “SUN”.
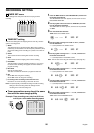
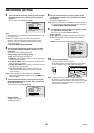
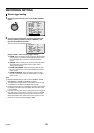
3
Turn the shuttle dial clockwise.
“SUN” flashes in the WEEK column.
4
Use the jog dial to change from “SUN” to “DLY” , and then
turn the shuttle dial.
“– –” (hours) flashes in the START column.
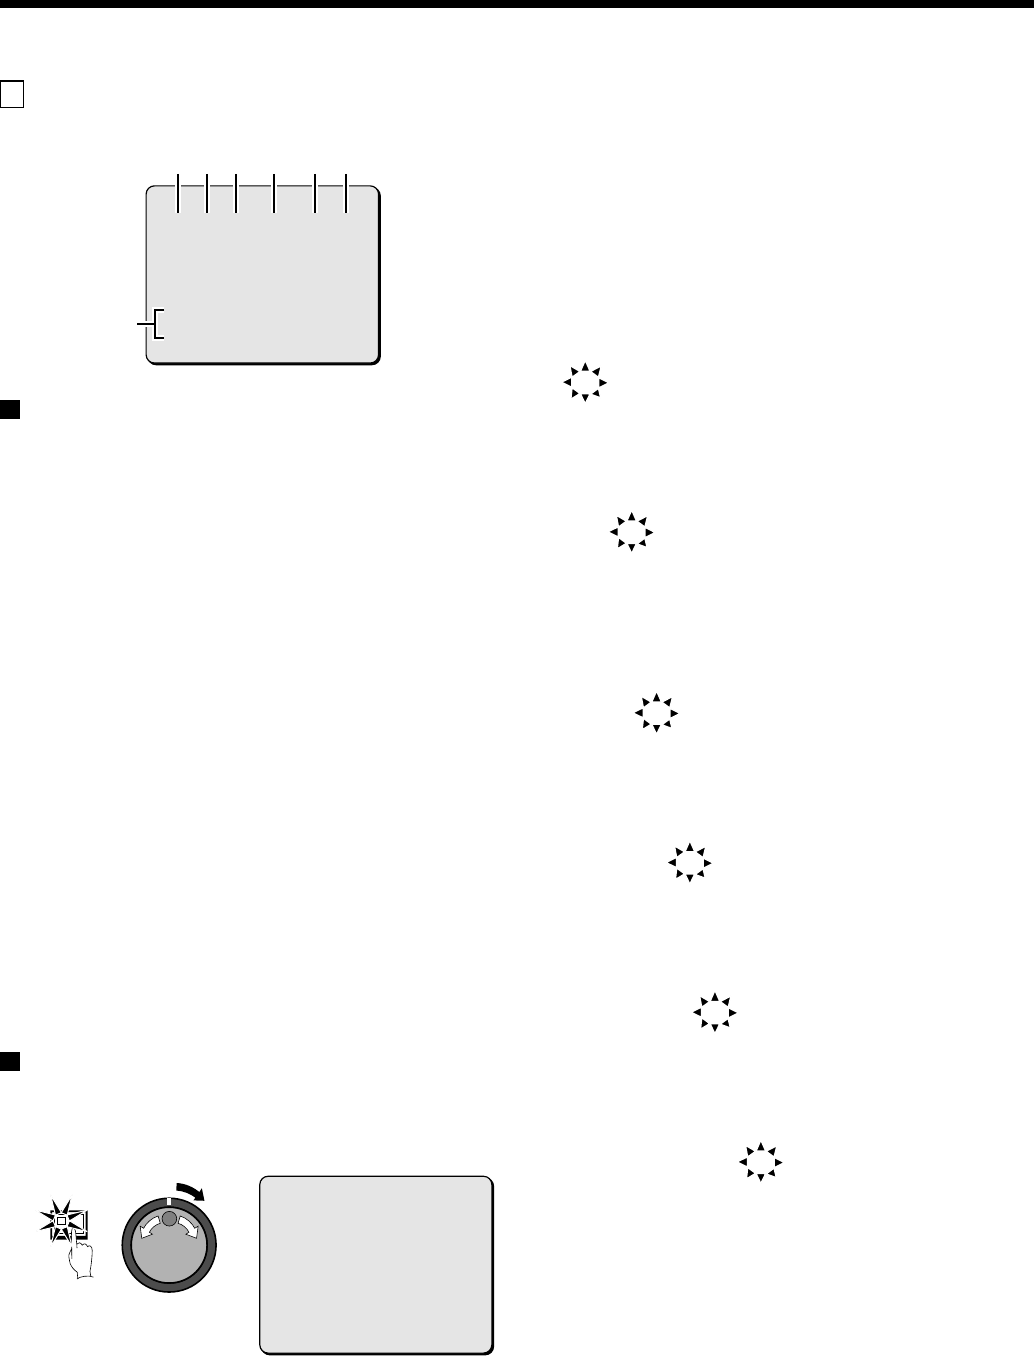
5
Use the jog dial to change from “– –” to “08” , and then turn
the shuttle dial clockwise.
“– –” (minutes) flashes in the START column.
Note: This can also be set using the numeric keys. (See page 43.)
6
Use the jog dial to change from “– –” to “30” , and then turn
the shuttle dial clockwise.
“– –” (hours) flashes in the STOP column.
7
Use the jog dial to change from “– –” to “18” , and then turn
the shuttle dial clockwise.
“– –” (minutes) flashes in the STOP column.
8
Use the jog dial to change from “– –” to “30” , and then turn
the shuttle dial clockwise.
“OFF” flashes in the PROGRAM column.
<TIMER SET>
WEEK START STOP PROGRAM FPS SET
SUN --:-- --:-- OFF 25FPS OFF
MON 08:00 18:00 OFF 25FPS ON
THE 08:00 18:00 OFF 25FPS ON
WED 08:00 18:00 OFF 25FPS ON
THU 08:00 18:00 OFF 25FPS ON
FRI 08:00 18:00 OFF 25FPS OFF
SAT --:-- --:-- -- 25FPS OFF
DLY --:-- --:-- -- 25FPS OFF
123 4 56
7
MENU
<TIMER SET>
WEEK START STOP PROGRAM FPS SET
SUN --:-- --:-- OFF 25FPS OFF
MON --:-- --:-- OFF 25FPS OFF
THE --:-- --:-- OFF 25FPS OFF
WED --:-- --:-- OFF 25FPS OFF
THU --:-- --:-- OFF 25FPS OFF
FRI --:-- --:-- OFF 25FPS OFF
SAT --:-- --:-- OFF 25FPS OFF
DLY --:-- --:-- OFF 25FPS OFF
SUN --:-- --:-- OFF 25FPS OFF
DLY --:-- --:-- OFF 25FPS OFF
DLY 08:-- --:-- OFF 25FPS OFF
DLY 08:30 --:-- OFF 25FPS OFF
DLY 08:30 18:-- OFF 25FPS OFF
DLY 08:30 18:30 OFF 25FPS OFF
56
English