


10 English
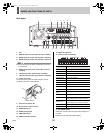
INTRODUCTION
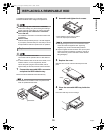
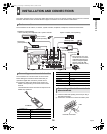
2 REPLACING A REMOVABLE HDD
A separately-sold hard disk tray (VA-DT300) can be
installed to facilitate easier storage and replacement.
z When replacing with a HDD used in a DSR-300;
Of the menu settings, only the recording area settings
and the overwrite on/off setting are used for the HDD.
z When replacing with a HDD used in a DVR other
than a DSR-300;
It is treated as a new HDD. The recorded contents will
be initialized.
z About the HDD;
Install an HDD provided by Sanyo. If an HDD supplied
by a company other than Sanyo is used, Sanyo cannot
be responsible for failures in performance or operation.
z Always set the HDD as the master.
The recorder will not operate if slave or cable select is
set.
z In cases where the HDD is not set as the master, or for
whatever reason, it is not recognized by the unit,
remove the power plug from the wall outlet, wait for
approximately 30 seconds, and then remove the HDD.
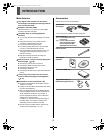
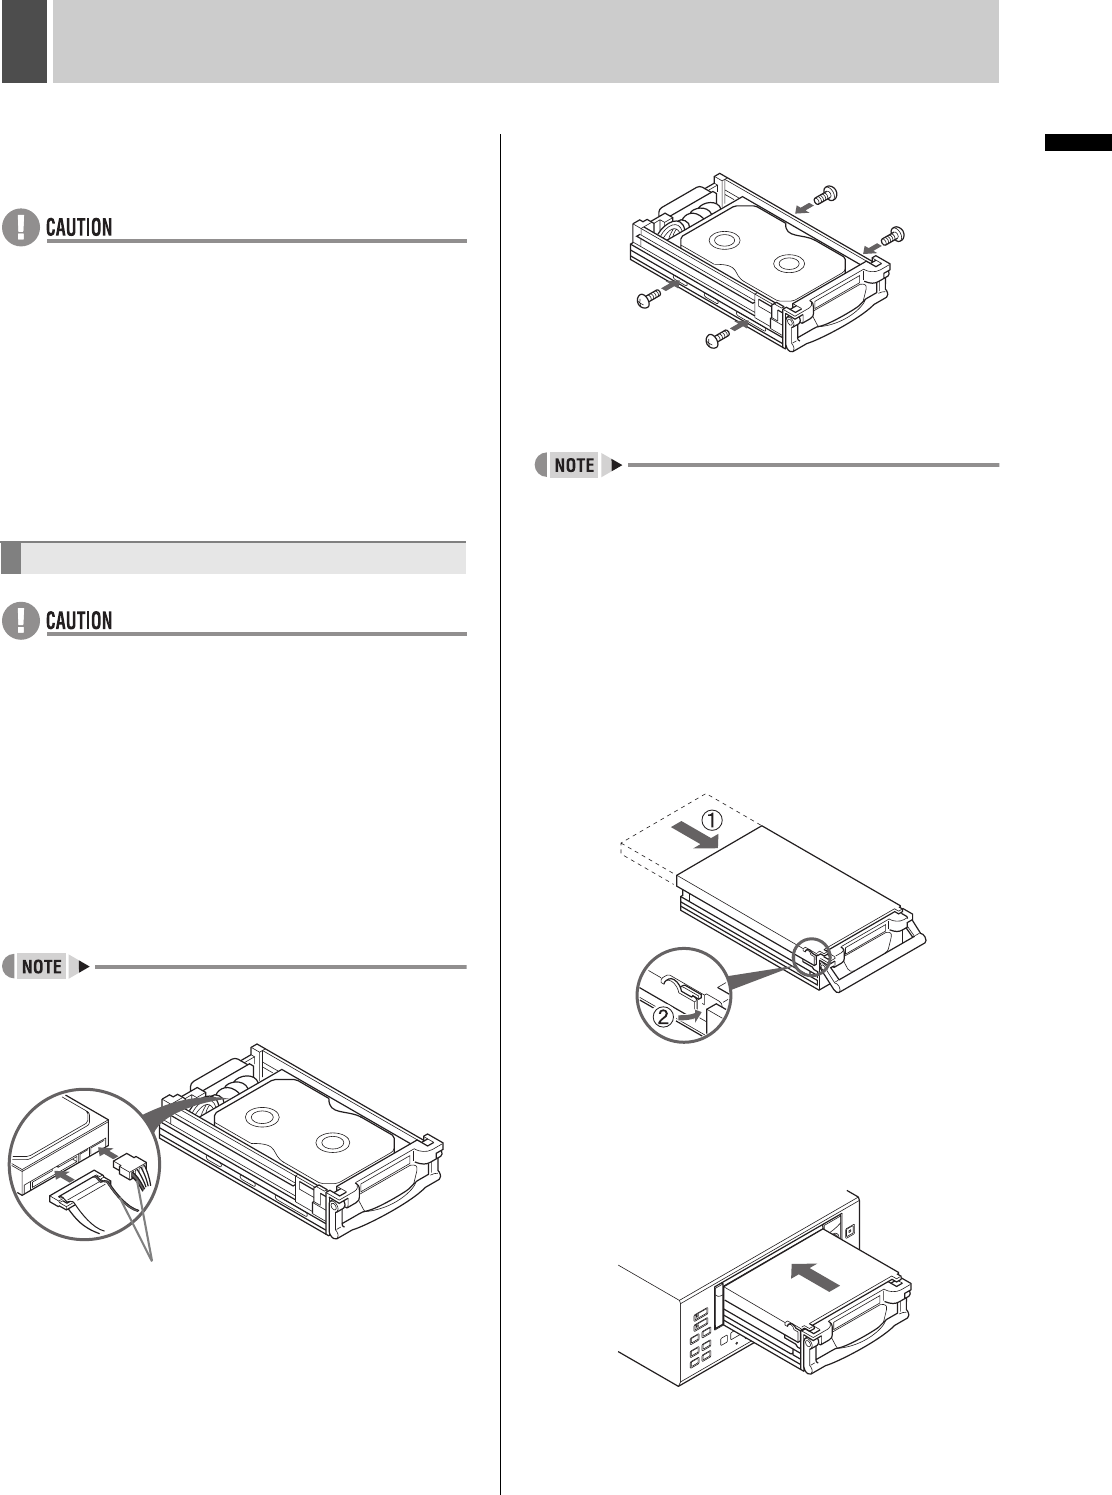
1
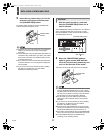
Connect the removable HDD’s connector
and place the HDD inside the tray.
Remove the brown antistatic sheet inside the tray.
z Assemble the two sockets in such a way that the red
wires are positioned within them.
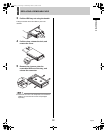
2 Assemble and tighten the 4 screws.
* Screw tightening torque: 0.5 to 0.6 N•m
Use a non-slip torque screwdriver.
z When tightening the screws, ensure that both screws
on the same side are tightened first. Tightening
diagonally may result in the HDD being strained.
z Only the supplied screws should be used. (Inch-system
screws are used for assembly; accordingly, the use of
other screws may result in the HDD or screw threads
being damaged.)
3 Replace the cover.
Slide the cover over the case until the clasp locks into
place.
4 Place the removable HDD tray inside the
unit.
Push in the HDD tray as far as it will go.
Replacement
Red wires
Clasp
e05_l8had_us_7.fm Page 10 Thursday, March 11, 2004 3:03 PM