WATCHING IMAGES2
English 117
(when optional interface board is installed)
4 Click [BROWSE].
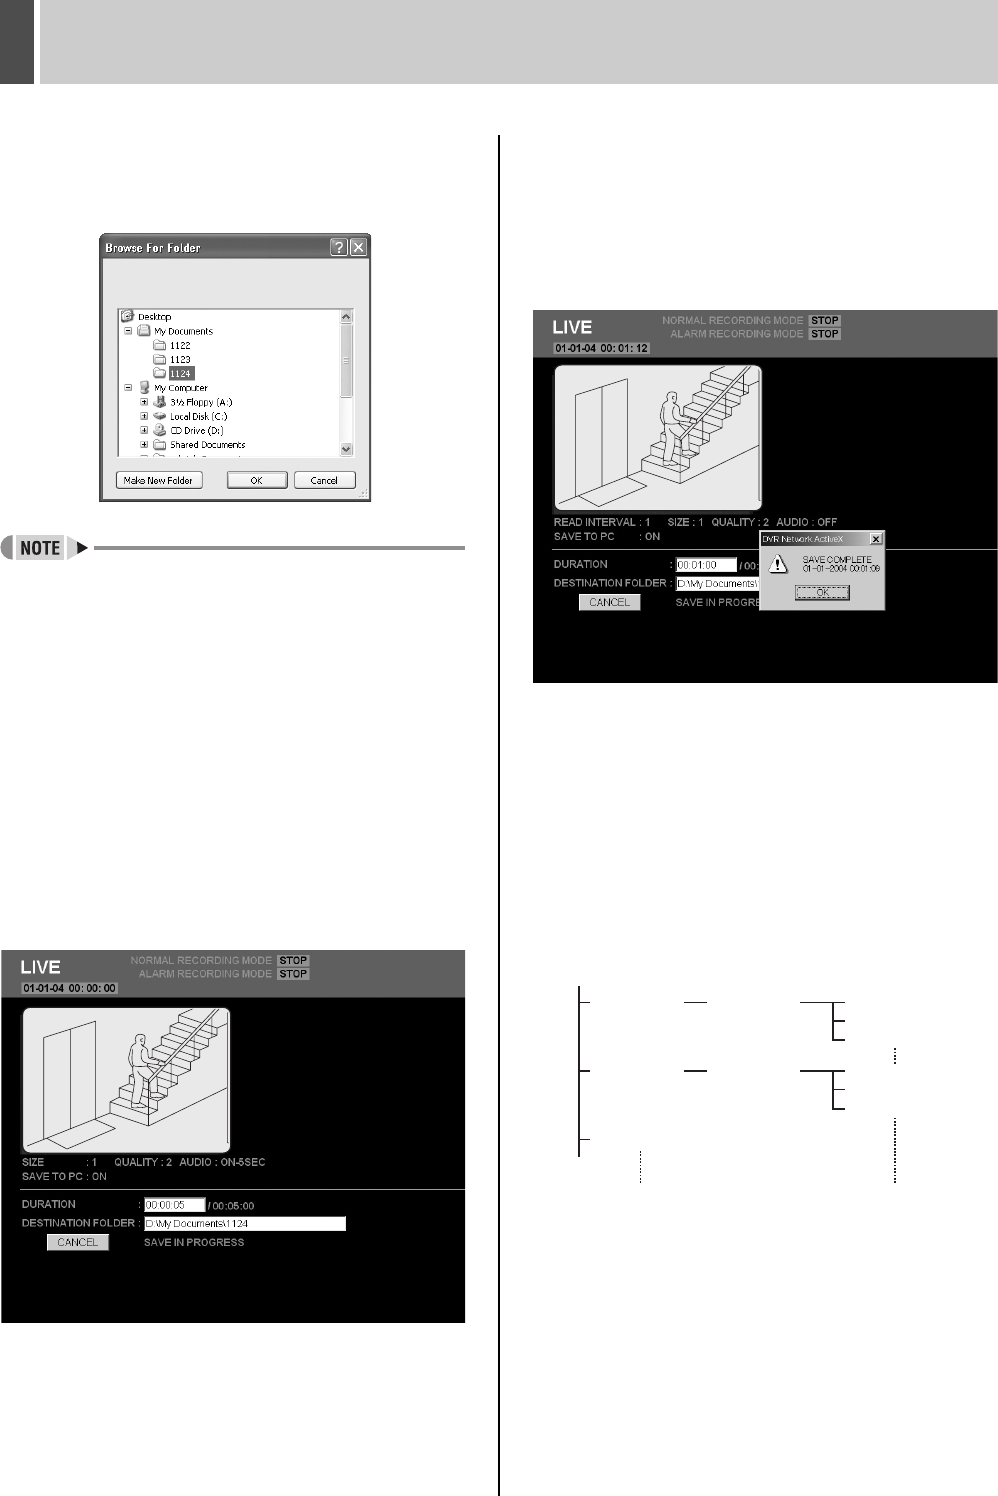
A dialog box for selecting save location will be displayed,
and a suitable location should be set.
z It is also acceptable to input a location for saving
directly into “DESTINATION FOLDER”.
5 Click [OK].
The setting menu will close and the screen will return to
the condition for procedure 2 above.
The “DESTINATION FOLDER” location is displayed.
6 Click [START].
(1) The saving process begins.
The elapsed save time and the current save image are
displayed on screen.
The elapsed save time will be incremented as the
save progresses.
To cancel a save operation
Click [CANCEL].
(2) A pop-up window will be displayed when saving has
been completed.
The final still image from the save process will be
displayed.
7 Click [OK] in the pop-up window.
The setting menu will close and the screen returns to the
condition for procedure 2 above.
A folder named “DVR000001” will be created inside the
folder set in procedure 3.
Images are stored in sequence from “000001.jpg” within
the folder “IMG000001”, and each folder can contain up to
200 files.
Example:
DVR000001 000001.jpg
000002.jpg
000003.jpg
IMG000001
DVR000002
DVR000003
000001.jpg
000002.jpg
000003.jpg
IMG000002
e00_l8had_us_7.book Page 117 Wednesday, March 10, 2004 2:47 PM
