80 01-0870-401B 01/03
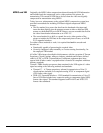
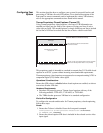
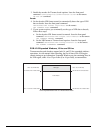
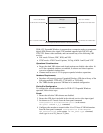
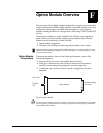
Option Module Overview
Installation Procedure To install an option module:
1. Before installing option modules, ensure that all configuration parameters
specific to your site are recorded.
2. Remove power from the unit.
3. Remove the filler plate from the appropriate slot by unscrewing all end
screws.
4. Align the module edges so the module slides down the center of the module
guides.
5. Slowly push the module into the chassis by pushing on the area of the filler
plate labelled push here.
6. When the module is almost completely inserted into the chassis, seat the
module into the backplane by applying slightly more pressure with your
fingers.
The module is fully seated when both ends of the filler plate are flush with the
chassis.
7. Screw the filler plate into the chassis.
8. Once all option modules are installed and correctly cabled, power on the unit.
If the installed option module is a replacement of an existing board, the
system will automatically perform a self-test and configure itself to your
specific requirements.
If the installed option module provides new functionality, the system will
automatically perform a self-test and the module will configure itself to
default settings.
Removal Procedure To remove an option module:
1. Ensure that all configuration parameters specific to your site are recorded
before removing any option modules.
2. Remove power from the IRD.
3. Remove any cables, connections, and attachments from the module as
required.
4. Remove the filler plate by unscrewing all end screws.
5. Unseat the module from the backplane by grasping the extractor tab and
pulling slowly, with even pressure.
6. Using the extractor tab, slowly withdraw the module from the chassis.
7. Place the module in a static protection bag.
8. Install the blank filler plate and replace the end screws.
9. Reattach any cables, connections, and attachments as required.
10. Power on the unit. The system will automatically perform a self-test and
configure itself to your specific requirements.


