54
••••••••••••••••••••••••••••••••••••••••••••••••••••••••••••••••••••••••••••••••••••••••••••••••••••••••••••••••••••••••••••••••••••••••••••••••••••••••••
Recording (continued) Setup Menu
Emergency Recording Setup
This item is used to set the emergency recording settings.
When the EMERGENCY terminal is grounded by the alarm
sensor while both of the MAIN switch on the rear panel
and the POWER button on the front panel are turned ON,
emergency recording starts automatically overriding all the
other settings even during timer recording or the unit is in
stop mode.
• Emergency recording is not performed while the MAIN
switch or POWER button is turned OFF or while timer
recording stand-by mode.
• The setting of the <Recording> menu cannot be
changed during normal recording or alarm recording.
When changing setting during recording, stop
recording for normal recording. For alarm recording,
when the “Alarm Input” in the <Recording> menu is
set to “Off,” the alarm input cannot be accepted for 5
minutes. When you stop recording during this time,
the setting change of the <Recording> menu is
available.
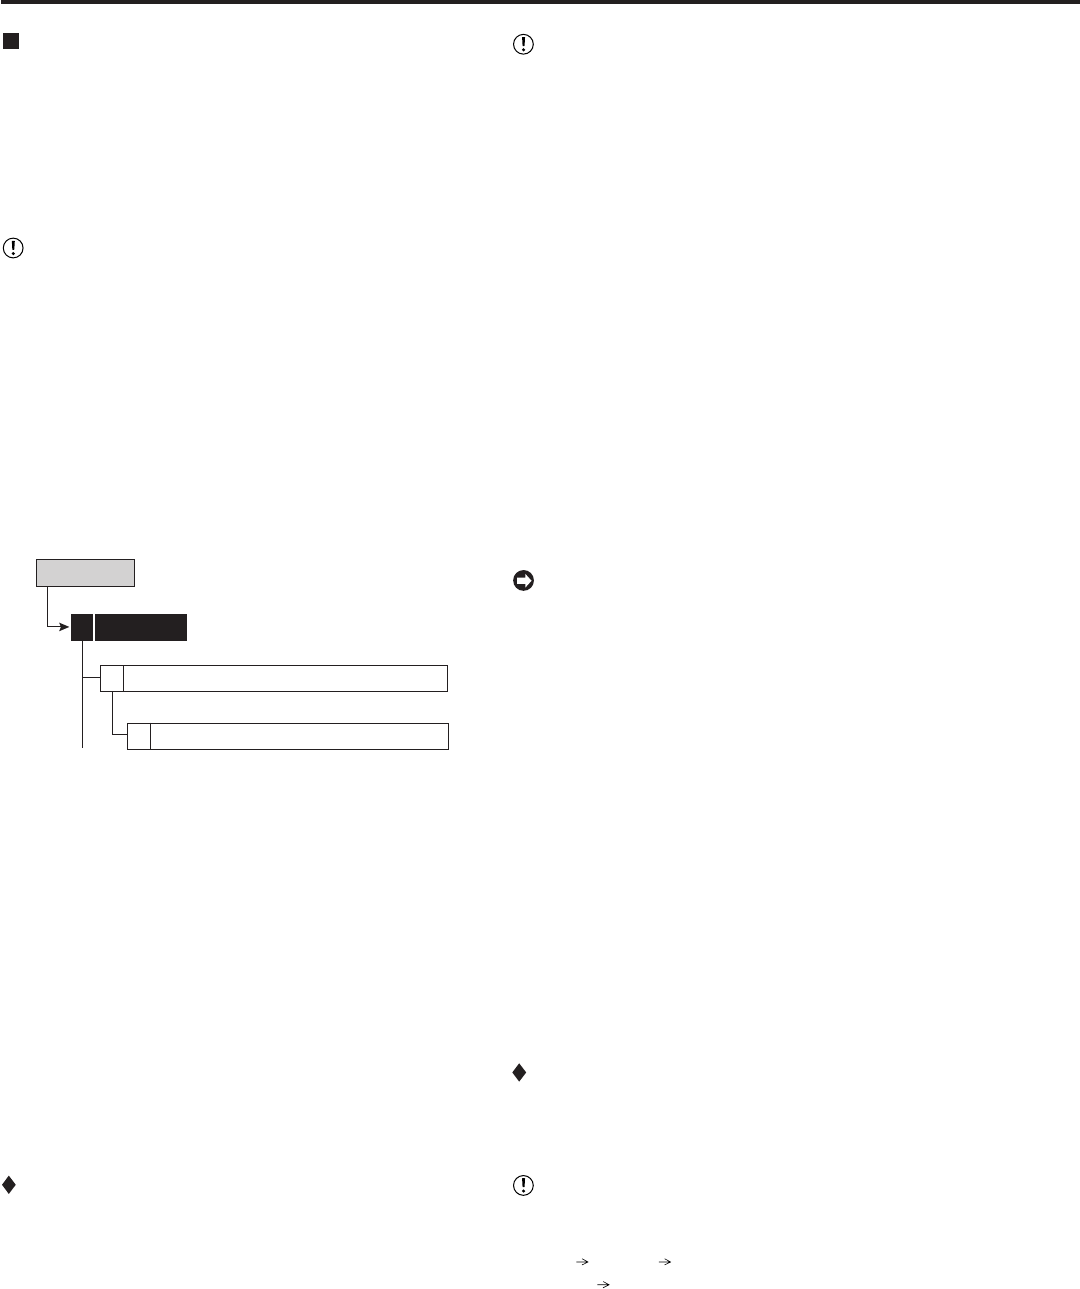
Setup Menu
Recording1
Emergency Recording Setup
5
Emergency Record Settings
D
(Recording)
step1. Select the frame or field recording.
step2. Set the long pre-alarm recording time in “Pre-alarm
Duration.”
0 min: Does not execute the long pre-alarm
recording.
step3. Set the emergency recording time in “Post-alarm
Duration.”
step4. Set the maximum recording rate.
(Camera Setting)
step5. Set the recording camera.
• The button function changes between “All Off”
and “All On” each time you select this button.
step6. Select “Execute.”
• The preview screen appears.
Emergency recording
1) The picture grade is “Super” and the recording rate is
set to the value obtained by dividing the maximum
emergency recording rate by the number of available
cameras.
• When the long pre-alarm area is set in the main
device, the emergency recording data is stored in the
LPA area and is automatically locked in 512 MB unit
including the emergency recording data in order to
prevent overwriting the data.
In LPA area, the data is always recorded at the rate
set for alarm recording regardless of the input of the
emergency signal. Therefore, when the emergency
recording is started from the mid-part of the data block,
the data recorded before the ground of the
EMERGENCY terminal is stored in the locked area
along with the emergency recording.
• When you set the long pre-alarm recording time
without setting the long pre-alarm area, long pre-alarm
recording is carried out using the alarm area for alarm
recording, so long pre-alarm recording is not
performed for a long time.
• When emergency recording is carried out using the
long pre-alarm area, data is not stored chronologically
and alarms are listed out of sequence. Be careful
when searching for the desired picture.
• When power failure occurs during emergency
recording, the emergency recording is cancelled after
returning from the power failure.
• When emergency recording is input during timer
recording, the end time of the timer recording is
extended until the emergency recording is completed.
The timer recording is completed after completing the
emergency recording.
2) Cameras to be used
Cameras which are set in <Emergency Recording
Setup> menu are used.
3) During emergency recording:
•“E-REC” is displayed on the screen in red.
• The camera number buttons and camera number dis-
play on the screen which are used for emergency re-
cording flash.
4) Emergency recording is registered in the alarm list and
displayed in magenta.
Long pre-alarm recording
Long pre-alarm recording is a function to perform pre-alarm
recording for a maximum of 60 minutes before the emer-
gency recording is started.
• To perform long pre-alarm recording, set the desired
capacity in “Long Pre-Alarm Area” (System
Menu Memory Data Management Setting for Main
Memory Change Partition Setting).
• When the long pre-alarm recording is started during
normal recording, not all the camera numbers set for
long pre-alarm recording may be used for recording.


