


60
••••••••••••••••••••••••••••••••••••••••••••••••••••••••••••••••••••••••••••••••••••••••••••••••••••••••••••••••••••••••••••••••••••••••••••••••••••••••••
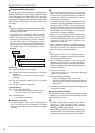
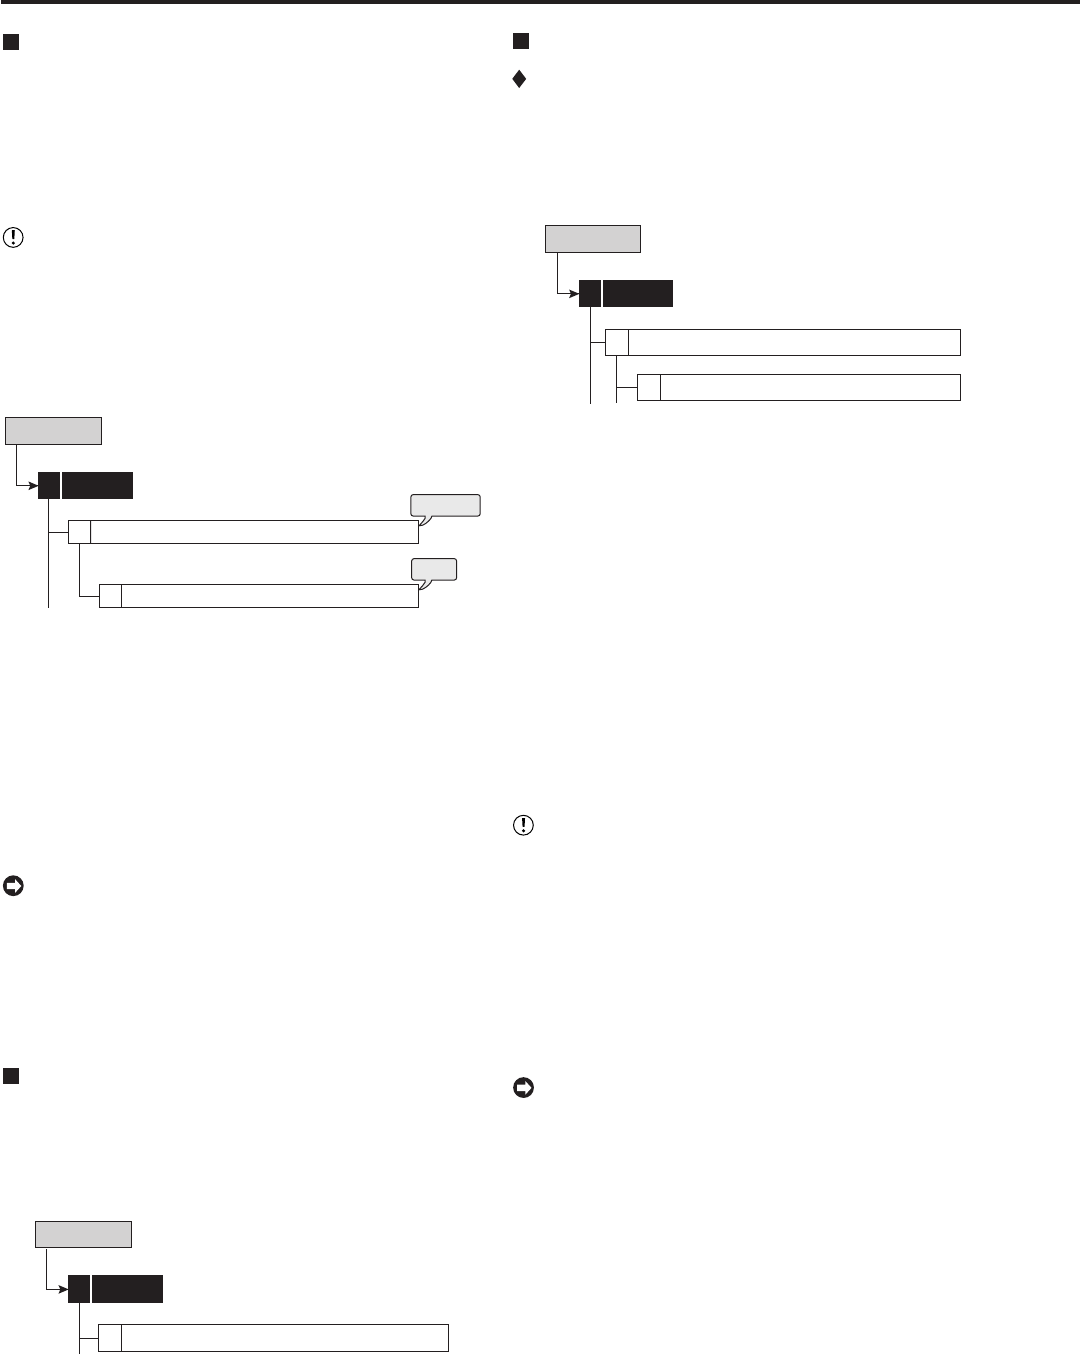
Rear Terminal Setting
Mode Out Settings
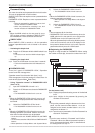
This item is used to output the status of this unit from the
MODE OUT terminals on the rear panel. There are 4 MODE
OUT terminals. Set output signal for each terminal indi-
vidually.
Mode Out Settings
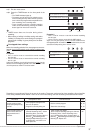
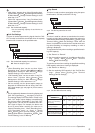
1
Setup Menu
System
Rear Terminal Setting
4
3
(Mode Out 1 to 4)
step1. Set the mode out terminal settings from 1 to 4.
Recording: Outputs signal during recording.
Playing: Outputs signal during playback.
Low Memory: Outputs signal when the remaining
HDD capacity reaches the value specified in “Low
Memory Alarm Setting.”
Power: Outputs signal when the power of the unit
turns on.
Alarm: Outputs signals during alarm recording.
LAN: Controls the output of signal via the PC
connected.
Off: Does not output signal.
• By using “Polarity,” the output condition of MODE
OUT can be changed.
Open: Opens output when the mode out is active.
Close: Closes output when the mode out is active.
• MODE OUT is the ground terminal using relay. Use
the terminal under the required conditions (less than
DC24V and 500 mA).
• Low memory warning from MODE OUT terminal is
output only during recording.
(Low Memory Alarm Setting)
This item is used to output a warning when the remaining
capacity becomes low during recording. Set the desired
device and remaining capacity for this warning.
• A warning is output using the following methods when
the remaining capacity becomes low during recording.
• The recorded capacity of HDD displays in red when
the operational mode is set to be displayed.
• A buzzer sounds when “Buzzer” is set to “Remain.”
step2. Set the desired device.
Main-Normal: Displays a warning of low normal
area capacity.
Main-Alarm: Displays a warning of low alarm area
capacity.
Main-LPA: Displays a warning of low LPA area
capacity.
Copy 2: Displays a warning of low copy 2 device
capacity.
Off: Does not display a warning of low HDD
capacity.
System Setup Menu
Time/Date Setting
This item is used to set the present date, time, and auto
daylight saving. Auto daylight saving function is used to
automatically gain the clock of the unit an hour for the speci-
fied time period.
Start/end time of the auto daylight savings can be checked
and if needed, changed.
• Before you start recording, accurately set the present
date and time.
• The recording and playback are not performed
correctly when the clock of this unit does not run.
Check that the clock of this unit is running before
operation.
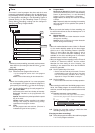
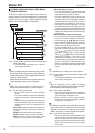
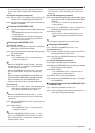
Setup Menu
System
Time/Date Setting
Day Light Saving Setting
4
D
1
steps
1, 2
step
3
step1. Set the present month, date, year, hour, minute, and
second.
step2. Select the desired setting for daylight saving.
Auto: Automatically adjust forward or back an hour
for the time period set in the <Day Light Saving
Setting>.
Off: Auto daylight saving function is not used.
step3. Date and time of Auto Day Light Saving Setting can
be adjusted as needed.
• The time is indicated using the 24-hour system.
• This unit uses 4 digits to display the year. The
available display range is 37 years between 1/1/2001
to 31/12/2037. The unit is also equipped with a
function to automatically calculate leap years. The
year returns to 2001 after 31/12/2037.
Menu Language Selection
This item is used to select the language of the menu screen
display from 3 languages. As “ENGLISH” is selected for
the initial setting, follow the procedure below if you want to
select a language other than “ENGLISH.”
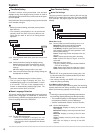
Setup Menu
System
Menu Language Selection
4
2
step1. Set the desired language.
• When the language is changed, this unit
automatically restarts after turning off the power.
After restart, the menu is displayed in the selected
language.