98
RQT6035
Reference
The service numbers (“U” followed by two digits) and messages
shown in the table appear.
Reference pages are shown as black circled numbers
³.
Possible solutions are indicated with “” on the relative pag-
es in the operating instructions.
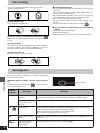
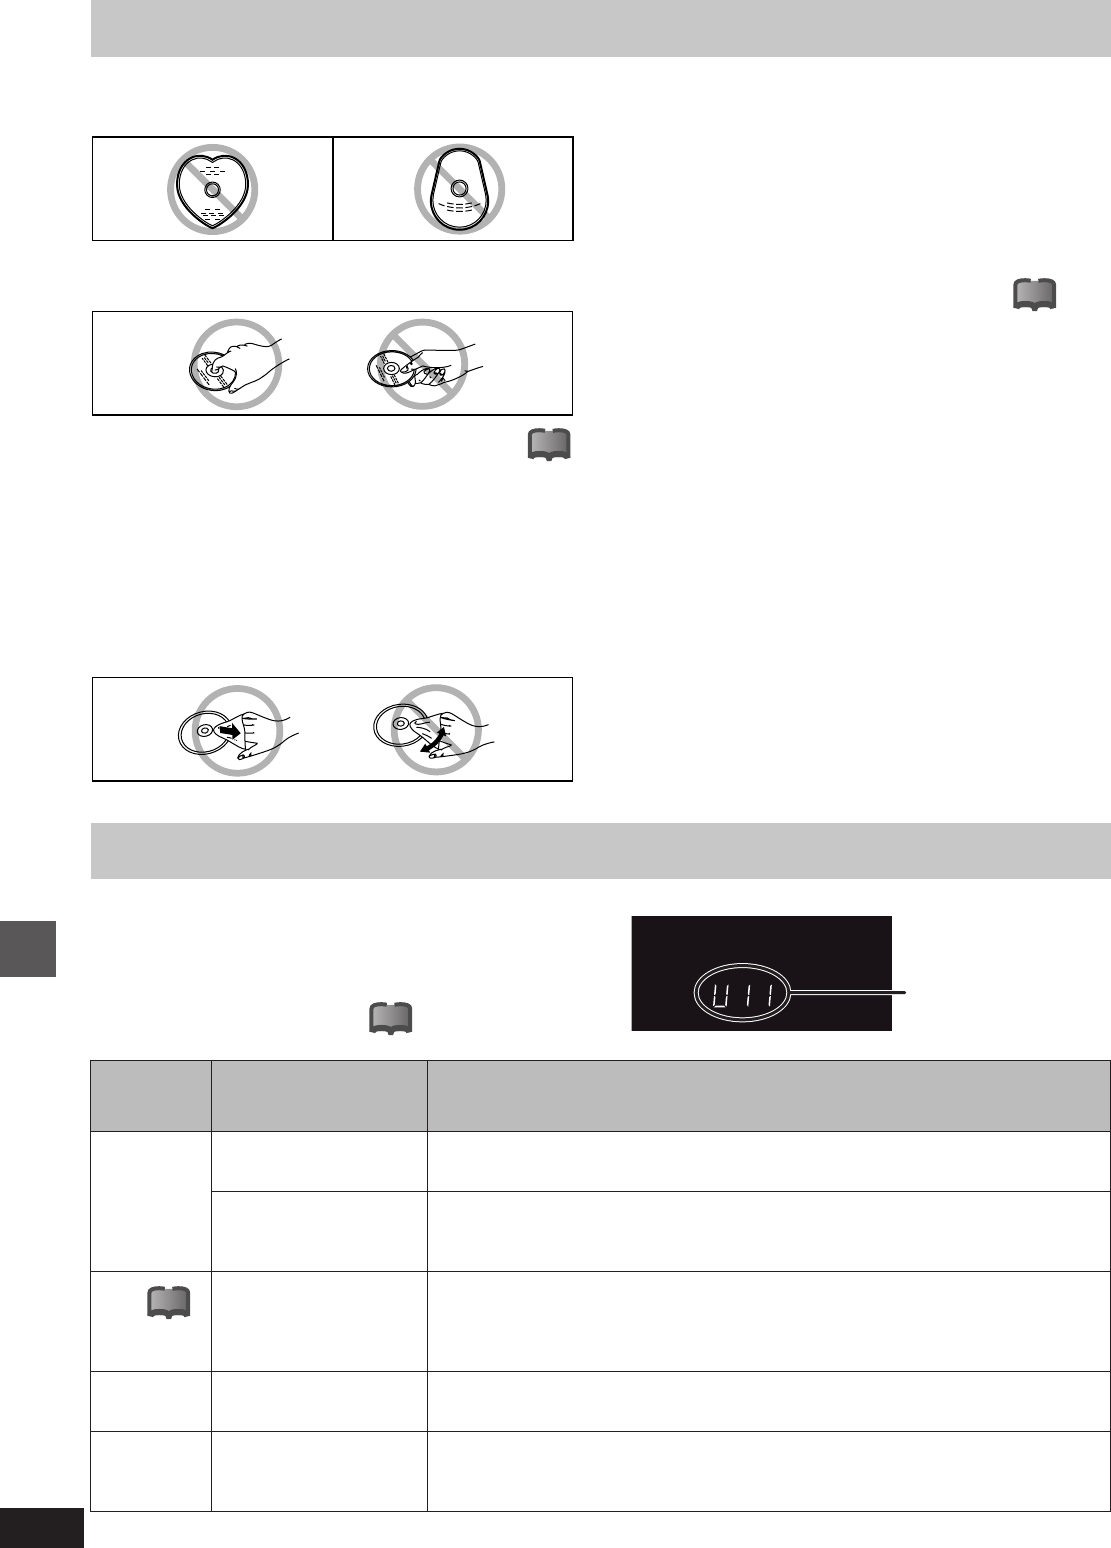
Disc handling
º Handling precautions
³Do not write on the label side with a ball-point pen or other writing
instrument.
³Do not use cleaning sprays, benzine, thinner, static electricity pre-
vention liquids or any other solvent.
³Do not attach labels or stickers to discs. (Do not use discs with
exposed adhesive from tape or left over peeled-off stickers.)
³Do not use scratch-proof protectors or covers.
³Do not use discs printed with label printers available on the
market.
³Do not use discs that are badly warped or cracked.
º Do not place or store discs in the following
places
³Locations exposed to direct sunlight
³Humid or dusty locations
³Locations directly exposed to a heat vent or heating appliance
Do not use irregularly shaped discs, such as heart-shaped.
(These can damage the unit.)
º How to hold a disc
Do not touch the recorded surface.
º If there is dirt or condensation on the disc
Moisture may condense on discs after they are brought inside from
the cold.
DVD-RAM and DVD-R
Clean and dry only with the DVD-RAM/PD disc cleaner available as
an optional accessory, part number LF-K200DCA1. Do not use
cleaners or cloths for CDs to clean DVD-RAM and DVD-R.
DVD-Video, Video CD, CD
Wipe with a damp cloth and then wipe dry.
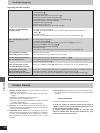
Self-diagnosis
Service number
Service
number
U11
U14
U99
CHK
REMOTE
Unit status
The disc is dirty or badly
scratched.
You have inserted a disc
the unit cannot play or
record on.
The unit is hot.
The unit fails to operate
properly.
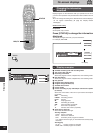
The remote control and
main unit are using
different codes.
Solutions
³Follow the instructions in “Disc handling” to clean the disc if it is dirty. ³
³The disc cannot be played if it is scratched and this display doesn’t disappear. ³
³Insert a disc the unit can play or record on. 6
³The unit switches to standby automatically for safety reasons and you cannot operate it.
Wait for about 30 minutes for the service number to disappear.
³Select a position with good ventilation when installing the unit.
³Do not block the cooling fan on the rear of the unit.
³Press [ê/I, POWER] to switch the unit to standby. Now press [ê/I, POWER] again to turn
the unit on.
³Change the code on the remote control or main unit. ¢, £
!?
!?
!?
!?


