Configuration
Rev 3.03 73 Document 900.0315
02/07
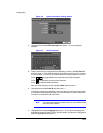
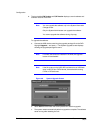
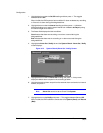
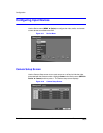
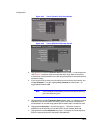
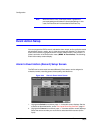
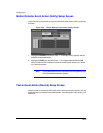
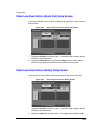
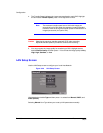
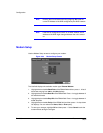
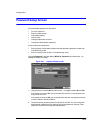
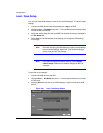
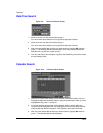
4. Highlight the File Name box and then press . A virtual keyboard displays (see
Figure 3-7). Enter a file name for the video you are copying and select Close. The
DVR automatically adds the camera number (for example, 01) and .exe to the file
name. If you want to save the file in a specific folder, enter the folder name
followed by a / (for example, folder/filename).
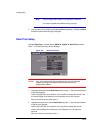
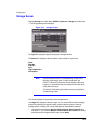
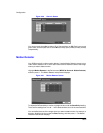
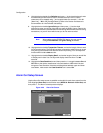
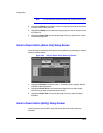
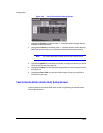
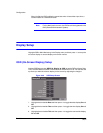
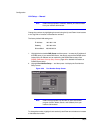
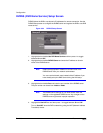
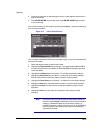
5. After you have given the video a file name, highlight the Start button and then
press . The DVR displays the drive capacity, the backup file size, and asks if you
want to continue.
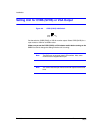
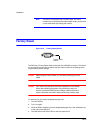
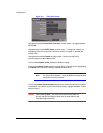
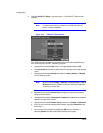
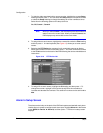
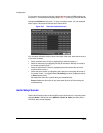
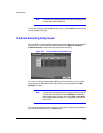
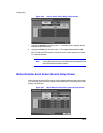
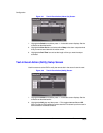
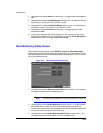
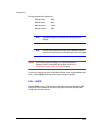
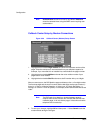
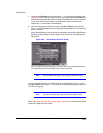
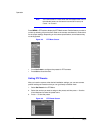
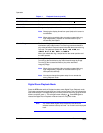
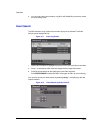
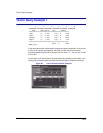
When the selected drive has more than two partitions, the following Disk Partition
Selection screen displays. If the file system is not FAT32, the Type displays Not
Supported.
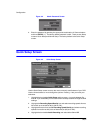
Figure 3-60 Disk Partition Selection Screen
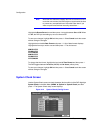
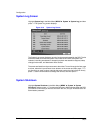
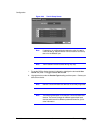
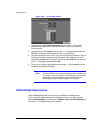
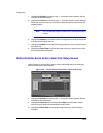
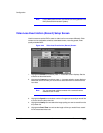
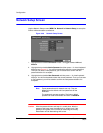
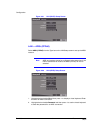
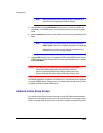
After you select the drive and partition to use for clip copy, the DVR displays the
drive capacity, the clip size, and asks if you want to continue.
Note We recommend that you do not copy files larger than 2 GB.
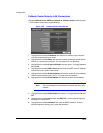
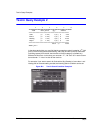
You can use other functions on the DVR while video is being backed up. To do this,
highlight Close and then press . You can return to the Clip Copy screen at any time
to check the progress.
Note You can not end the clip copy process during CD burning.
Refer to the Remote Administration System (RAS) User Guide for instructions on how to
review the images you have copied.