


102
1 Insert a disc that you are going to
copy to the HDD or connect the USB
device to the USB jack on the
recorder.
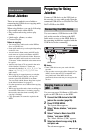
2 Press SYSTEM MENU.
The System Menu appears.
3 Select “Photo Album,” and press
ENTER.
The “Photo Album” menu appears.
4 Select the item, and press ENTER.
To copy from DATA CDs/DATA
DVDs (DVD-RWs/DVD-Rs), select
“View Photos on a DVD/CD.”
To copy from the connected USB
device, select “View Photos on a USB
Device.”
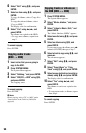
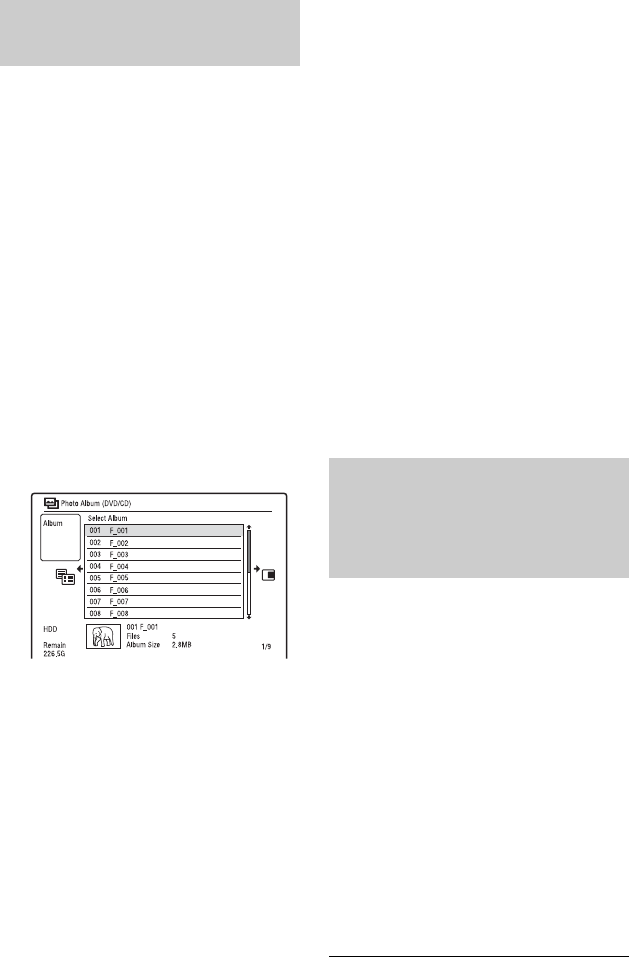
The “Photo Album” list appears.
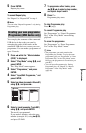
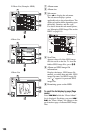
Example: DVD/CD
5 Select an album or JPEG image file
using M/m, and press ,.
The sub-menu appears.
6 Select “Multi-Mode” using M/m, and
press ENTER.
• To copy all the albums and JPEG
image files, select “Copy all to HDD,”
and go to step 11.
• To copy the album or file selected in
step 5 only, select “Copy to HDD,”
and go to step 11.
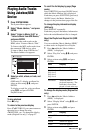
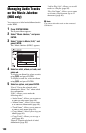
7 Select an album or JPEG image file,
and press ENTER.
A check mark appears in the check box
by the selected item.
• To clear the check mark, press ENTER
again.
• To clear all check marks, press , to
select “Single-Mode” from the sub-
menu.
8 Repeat step 7 to select all of the
albums or JPEG image files you want
to copy.
9 Press ,.
The sub-menu appears.
10
Select “Copy to HDD,” and press
ENTER.
The display asks for confirmation.
11
Select “Yes,” and press ENTER.
• To cancel, select “No.”
1 Connect the USB device to the USB
jack on the recorder.
2 Insert a blank DVD-RW/DVD-R (Video
mode).
3 Press SYSTEM MENU.
The System Menu appears.
4 Select “Photo Album,” and press
ENTER.
The “Photo Album” menu appears.
5 Select “Copy Photos from a Digital
Camera,” and press ENTER.
The display asks for confirmation.
6 Select “Yes,” and press ENTER.
• To cancel, select “No.”
z Hint
See “7. Reformatting a Disc” (page 45) to format
DVD-RWs/DVD-Rs in Video mode.
Copying JPEG image files to
the HDD (DISC/USB t HDD)
Copying all JPEG image files
from the connected USB
device (USB t DVD-RW/DVD-
R)