


61
Recording
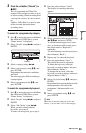
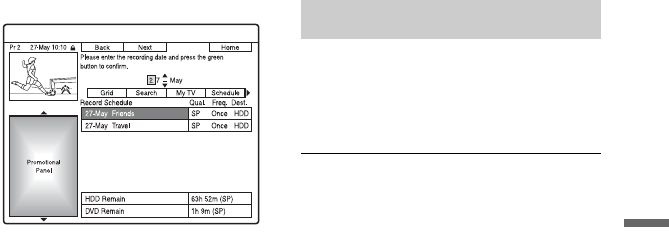
5 Press the green button (“Edit”).
6 In the left column, select an item
using the red button (“Back”) or the
green button (“Next”), and adjust
using the number buttons or </M/m/
,.
7 Press the corresponding colour
button repeatedly to change settings.
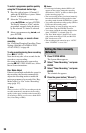
• To change the recording destination,
press the yellow button
(“Destination”). If there is not enough
available DVD disc space for the
recording, the recorder automatically
records the programme to the HDD
even if you select “DVD” (Recovery
Recording). When you set a daily or
weekly timer, “HDDr” allows you to
replace the previous timer recording
with the new one automatically (HDD
only).
• To set the recording pattern, press the
green button (“Frequency”).
• To change the recording mode, press
the red button (“Quality”) (page 147).
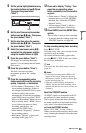
8 Press , to display “Timing.”
9 Press the green button (“Timing”)
repeatedly to change the duration
time or to set the VPS/PDC function.
See “About the VPS/PDC function” on
page 55.
• If you want to record to a particular
HDD genre, press the yellow button
(“Genre”) repeatedly.
10
Press GUIDE to exit the GUIDE Plus+
system.
The new settings become effective.
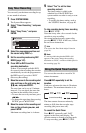
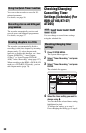
In step 4 of “Checking/changing timer
settings,” select the timer setting you
want to cancel using M/m, and press the
red button (“Delete”).
To close the schedule list
Press GUIDE.
When the timer settings overlap
• The programme that starts first has priority
and the entire programme is recorded.
• After finishing the previous recording, the
other recording starts with several tens-of-
second’s delay (when the end-time of one
recording and the start-time of another are
the same).
• When the recordings start at the same time,
only one of them will be recorded. Cancel
the timer setting for the programme that
you are not going to record.
b Note
When “VPS / PDC” is set for one or more timer
recordings, the start times may change in the event
of a broadcast delay or early start.
Cancelling timer settings