


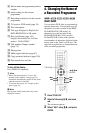

44
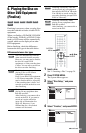
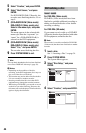
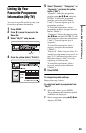
5 Select “Finalise,” and press ENTER.
6 Select “Next Screen,” and press
ENTER.
For DVD-RW/DVD-R (VR mode), the
recorder starts finalising the disc. Go to
step 9.
7 (DVD+RW/DVD-RW (Video mode)/
DVD+R/DVD-R (Video mode) only)
Select a title menu style, and press
ENTER.
The menu appears in the selected title
menu style when the “top menu” (or
“menu” for a DVD+RW/DVD+R) is
selected on the DVD equipment.
8 (DVD+RW/DVD-RW (Video mode)/
DVD+R/DVD-R (Video mode) only)
Select “Yes,” and press ENTER.
The recorder starts finalising the disc.
9 Press SYSTEM MENU to exit.
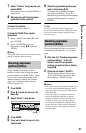
z Hint
You can check whether the disc has been finalised
or not. Press DISPLAY after step 1 (page 39).
b Notes
• Depending on the condition of the disc,
recording, or the DVD equipment, discs may not
play even if the discs are finalised.
• The recorder may not be able to finalise the disc
if it was recorded on another recorder.
• Inserting an unfinalised disc into other DVD
equipment may damage the recorded contents.
• When using a DVD+RW, you can edit or record
on the disc even after finalising. However, the
title menu will not be displayed. Finalise the disc
again to display the title menu.
For DVD-RWs (Video mode)
DVD-RWs (Video mode) that have been
finalised to prohibit additional recording or
editing can be unfinalised to allow further
recording or editing.
For DVD-RWs (VR mode)
If you cannot record or edit on a DVD-RW
(VR mode) that has been finalised with other
DVD equipment, unfinalise the disc.
b Note
The recorder is not able to unfinalise DVD-RWs
(Video mode) that have been finalised on another
recorder.
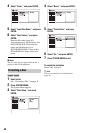
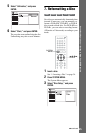
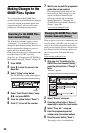
1 Insert a disc.
See “1. Inserting a Disc” on page 34.
2 Press SYSTEM MENU.
The System Menu appears.
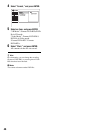
3 Select “Disc Setup,” and press
ENTER.
4 Select “Finalise,” and press ENTER.
Unfinalising a disc
-
RWVR
-
RW
Video