


113
Settings and Adjustments
Settings and Adjustments
Adjusting Picture
Quality
* DivX video file only
You can adjust the picture quality from the
connected equipment, such as a TV or VCR,
and also the picture quality of broadcasts
that the recorder can receive by selecting a
preset setting. You can also adjust the
picture quality by changing detailed settings,
and store up to three settings in the memory.
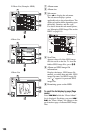
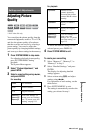
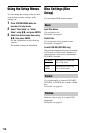
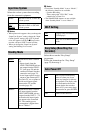
1 Press SYSTEM MENU in stop mode.
For adjusting playback picture quality,
press SYSTEM MENU during
playback.
The System Menu appears.
2 Select “Picture Adjustment,” and
press ENTER.
3 Select a preset setting using </,,
and press ENTER.
For recording
For playback
To check the detailed settings for the
selected preset, press DISPLAY.
4 Press SYSTEM MENU to exit.
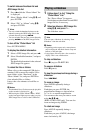
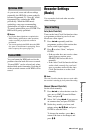
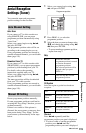
To create your own setting
1 Select “Memory1,” “Memory2,” or
“Memory3” in step 3.
2 Select “Detailed Settings,” and press
ENTER.
The display for adjusting detailed
settings appears.
3 Select an item using M/m, and adjust
settings using </,.
For explanation of each setting, see the
tables below.
4 Press SYSTEM MENU to exit.
The setting is automatically stored as the
setting you selected in step 1.
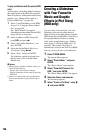
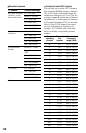
Tuner TV broadcast
VCR Video cassettes
DTV Digital broadcast
Memory1/
Memory2/
Memory3
Your own settings. To
create your own settings,
see “To create your own
setting” on page 113.
+
R
DVD
VCD
-
RWVR
-
RW
Video
+
RW
-
RVR
HDD
-
R
Video
DATA DVD
DATA CD
*
*
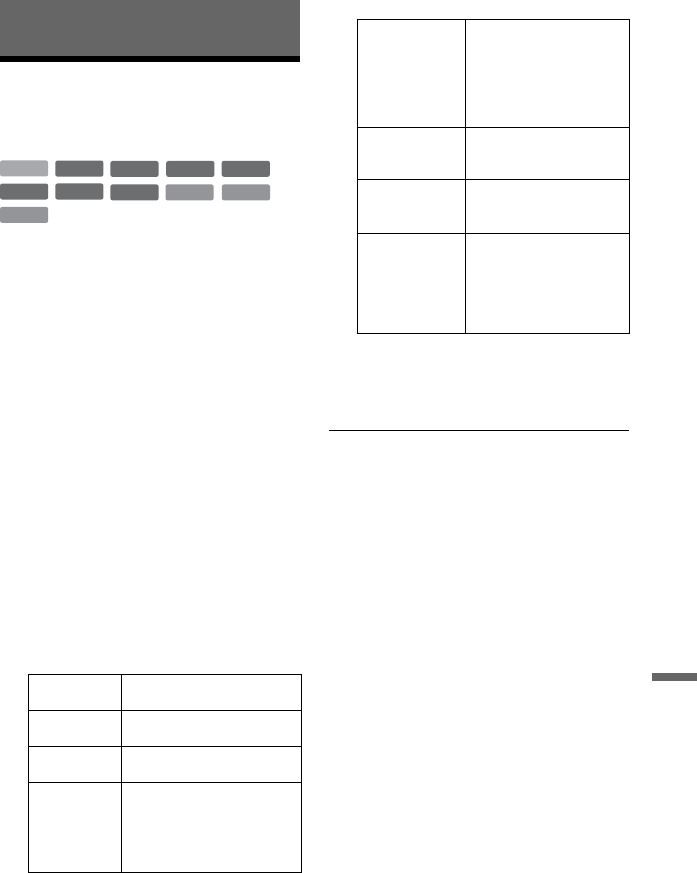
Dynamic Produces a bold
dynamic picture by
increasing the picture
contrast and the colour
intensity.
Standard Displays a standard
picture.
Professional Displays an original
picture.
Memory1/
Memory2/
Memory3
Your own settings. To
create your own
settings, see “To create
your own setting” on
page 113.
,continued