


25
Hookups and Settings
Step 6: Easy Setup
Make the basic adjustments by following the
on-screen instructions in “Easy Setup.”
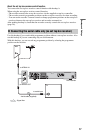
Be careful not to disconnect the cables or
exit the “Easy Setup” function during this
procedure.
* RDR-AT105/AT107/AT205 only
1 Turn on the recorder and your TV.
Then switch the input selector on your
TV so that the signal from the
recorder appears on your TV screen.
The “Language” display appears.
• If the “Language” display does not
appear, select “Easy Setup” in the
“Basic” setup from “Initial Setup” in
the System Menu (page 118).
2 Select a language for the on-screen
displays using </M/m/,, and
press ENTER.
The initial settings message appears.
3 Select “Start” using M/m, and press
ENTER.
Follow the on-screen instructions to
make the following settings.
Auto Channel Setting
• If you connect a TV to this recorder
not using SMARTLINK, select “Auto
Scan.” Then select your country/
region using </,, and press
ENTER. The programme position
order will be set according to the
country/region you select.
• If you connect a TV to this recorder
with SMARTLINK, select “Download
from TV.” Then select your country/
region using </,, and press
ENTER. The tuner preset data will be
downloaded from your TV to this
recorder. (For details, refer to the
operating instructions supplied with
your TV.)
• To skip this setting, select “Do not
set.”
To set the programme positions
manually, see page 119.
Clock Setting
• Select “Auto” when a programme
position in your local area broadcasts a
time signal. The “Auto Clock Setting”
display appears.
Select a programme position that
carries a time signal and then “Start”
using </,/m, and press ENTER.
If a clock signal cannot be found, press
O RETURN, and set the clock
manually.
• Select “Manual” to set the clock
manually. The “Manual Clock
Setting” display appears.
1 Select the time zone for your area
or GMT (Greenwich Mean Time)
using </,, and press m.
2 Select “On” using </, if you
are now on summer time, and
press ENTER.
3 Set the day, month, year, hour and
minutes using </M/m/,, and
press ENTER to start the clock.
TV Type (page 128)
• If you have a widescreen TV, select
“Wide (16:9).”
• If you have a standard TV, select
“Standard (4:3).” This will determine
how “widescreen” images are
displayed on your TV.
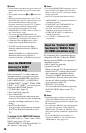
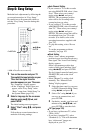
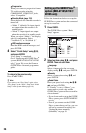
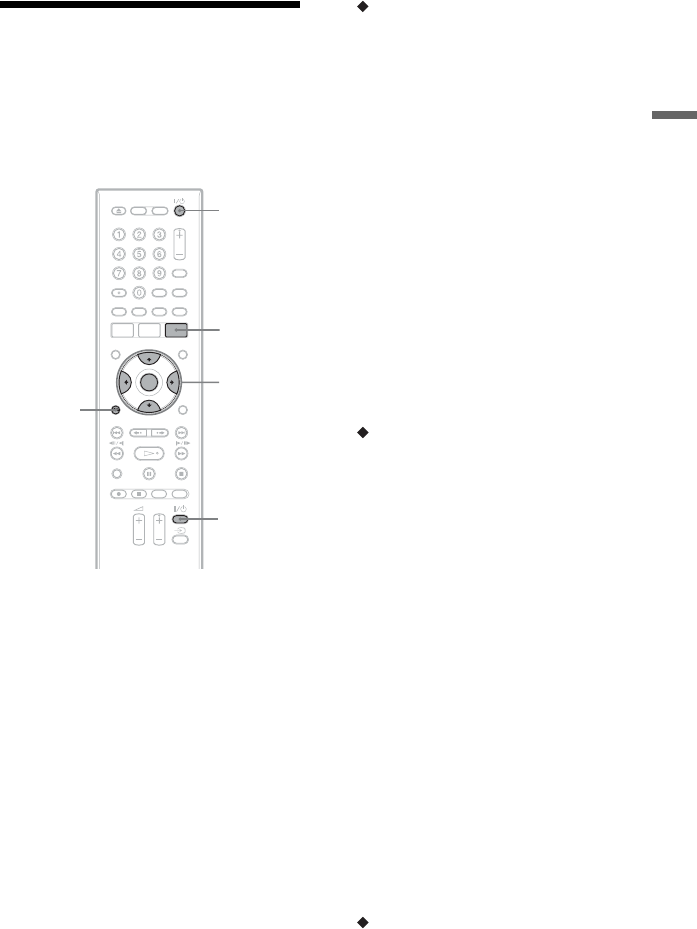
[/1
</M/m/,,
ENTER
O
RETURN
GUIDE*
TV [/1
,continued