


118
Selects the colour system when recording
from the connected equipment.
b Notes
• When picture noise appears after you change the
“Input Line System” setting, change the “Input
Colour System” setting (page 122). If picture
noise still appears, hold down x (stop) on the
recorder, and press INPUT on the recorder.
• When you change the “Input Line System”
setting, the Dubbing List is erased.
b Notes
• Even when “Standby Mode” is set to “Mode 1,”
the following functions are available.
– Synchro-Recording.
– Timer setting with “VPS / PDC” in the
schedule list or Timer List.
• The SMARTLINK features are not available
when “Standby Mode” is set to “Mode 1.”
Select this to run the “Easy Setup”
programme.
Follow the instructions for “Easy Setup”
(page 25) from step 2.
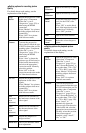
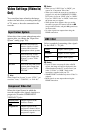
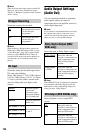
Input Line System
NTSC Records in NTSC or PAL-60
colour system.
PAL/
SECAM
Records in PAL or SECAM
colour system.
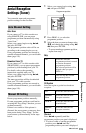
Standby Mode
Mode 1 When the recorder is turned
off,
– Input signals from the
LINE 1/DECODER jack are
not output from the LINE 3 –
TV jack (page 29) and the
connected external decoder
cannot be used (page 32).
– Aerial input signals are not
output to the connected TV.
To watch TV, use a splitter to
divide aerial input signals
between the TV and the
recorder (page 15).
Mode 2 When the recorder is turned
off, input signals from the
LINE 1/DECODER jack are
output from the LINE 3 – TV
jack and aerial input signals
are output to the connected
TV. The standby power
consumption is higher than
that of “Mode 1.”
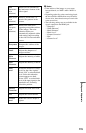
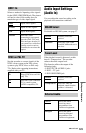
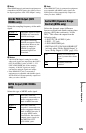
HELP Setting
On Displays Help information for
GUI displays.
Off Does not set to HELP setting
mode.
Easy Setup (Resetting the
Recorder)
Auto Power Off
On The recorder automatically
turns off when you do not
press any buttons for 6 hours
in stop mode. The display asks
for confirmation about one
minute before the recorder
turns off. If you want to keep
the recorder on, press ENTER.
Off Turns off the function.