


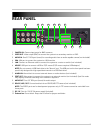


9
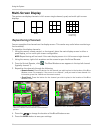
Using the System
Using Quick Setup (cont’d.)
4. Under PRIORITY, select QUALITY (the quality of the video) or RATE (frames per second). If you
select RATE, the video quality and frames per second will be at the lowest possible setting.
This will reduce overall video quality, but will maximize the available hard drive space. Adjust
this setting to best suit your recording environment and security needs. For details on
configuring recording options, see “RECORD” on page 24.
NOTE: The necessary recording parameters will appear under RECORD SETUP INFO at the
bottom of the Quick Setup window.
5. Press the
ENTER button to save your settings.
Enabling/Disabling Quick Setup
You must disable Quick Setup in order to access the full system main menu.
To disable Quick Setup:
1. Under the ADVANCED tab, select
RUN ADVANCED.
2. Select
ON and press the ENTER button. The window closes. Quick Setup has been disabled.
The full main menu will appear when you press the MENU button.
To enable Quick Setup:
1. Press the MENU butt
on. The Main menu opens.
2. Select
DISPLAY and press the ENTER button.
3. Under the DISPLAY SETUP tab, move the cursor to QUIC
K SETUP, select ON and press the
ENTER button.
4. Press the CAN
CEL/ESC button to exit.
5. Press the MENU button
again to open the Quick Setup menu.
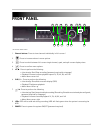
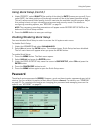
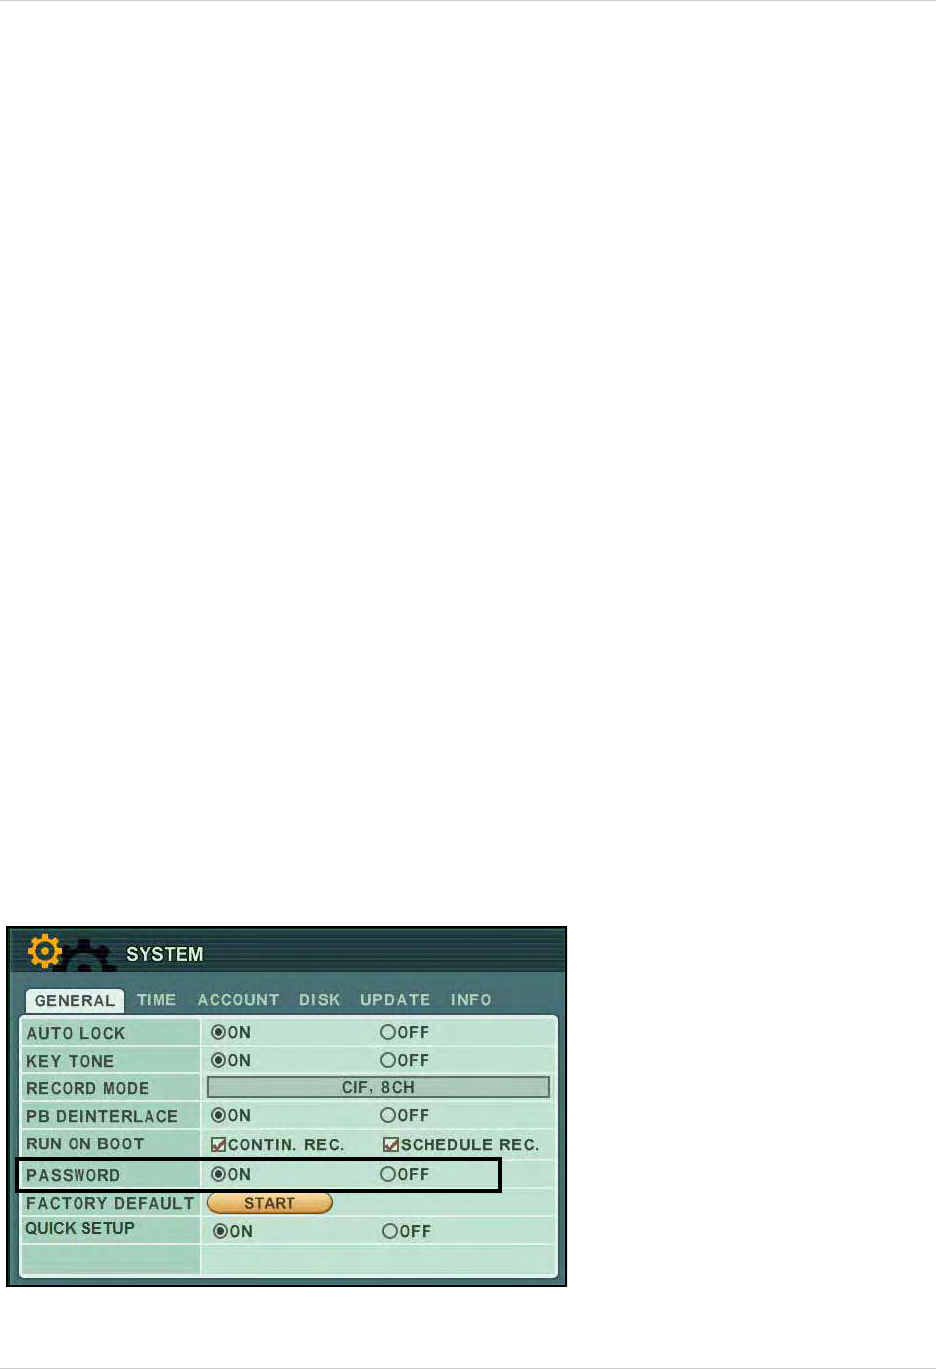
Password
The default system password is 000000. However, you do not have to enter a password upon initial
startup. You can enable this option in Main Menu>System>
General. For details, see “GENERAL”
on page 29. For complete information on changing your password and managing users on the
system, see “ACCOUNT” on page 29.
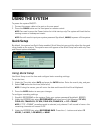
Figure 3.0 Enable password (optional)