40
Using DVR NetView
Adding a DVR
To add a DVR:
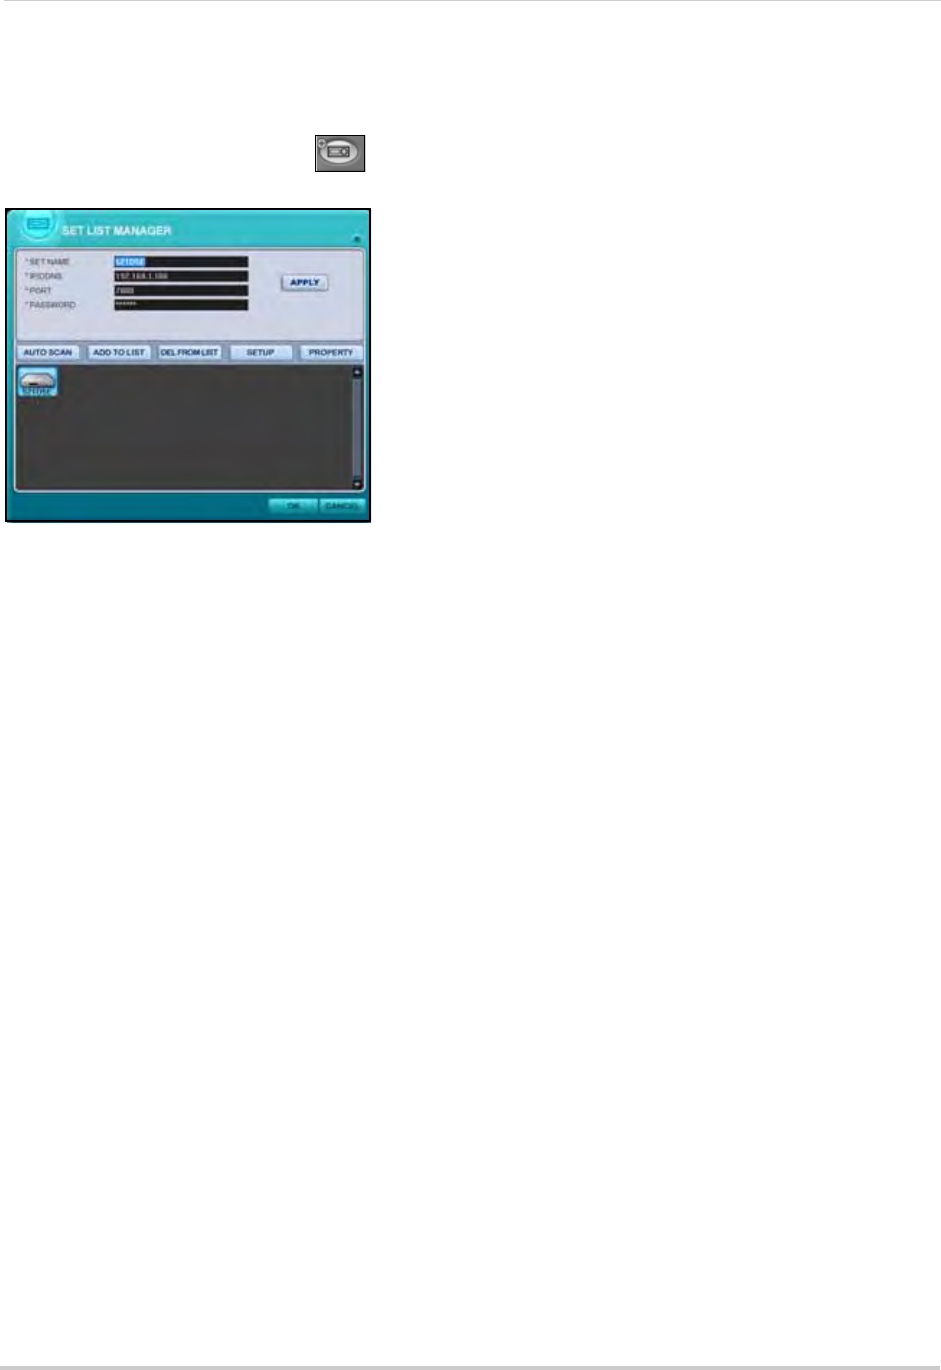
1. From the main screen, click . The Set List Manager window opens.
2. Click
Auto Scan. Any DVRs connected to the local network will appear in the list frame.
3. If your DVR does not appear after Auto Scan, you can add it manually to the list:
• SET NAME: ente
r a title for the DVR (e.g. DVR1)
• IP/DDNS: enter the IP address of the DVR or DDNS domain name, followed by .digimerge.net
(i.e. tomsmith1.digimerge.net)
• PORT: 7000 (default)
• PASSWORD: Enter the system password (by default, 000000)
• Click ADD TO LIST to save the DVR
4. Click PROPERTY to vie
w the properties of your DVR.
5. Click OK to sav
e your settings or click CANCEL to exit without saving.
You will automatically log in to this DVR when you launch DVR NetView.
Editing a DVR
To edit a DVR:
1. Select a DVR from the list frame.
2. Change the Set name, IP address, port, or password and click APPLY.
3. Click OK t
o sav
e your settings.
Deleting a DVR
To delete a DVR:
1. Select a DVR from the list frame.
2. Click DEL FROM LIST.
3. Click OK to s
ave your changes.
Figure 22.1 DVR auto-detected by the Set List Manager
NOTE: From the Set List Manager
window you can also perform a
Remote Setup of your system. For
details, see “Remote Setup” on
page 59.


