23
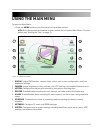
Using the Main Menu
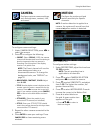
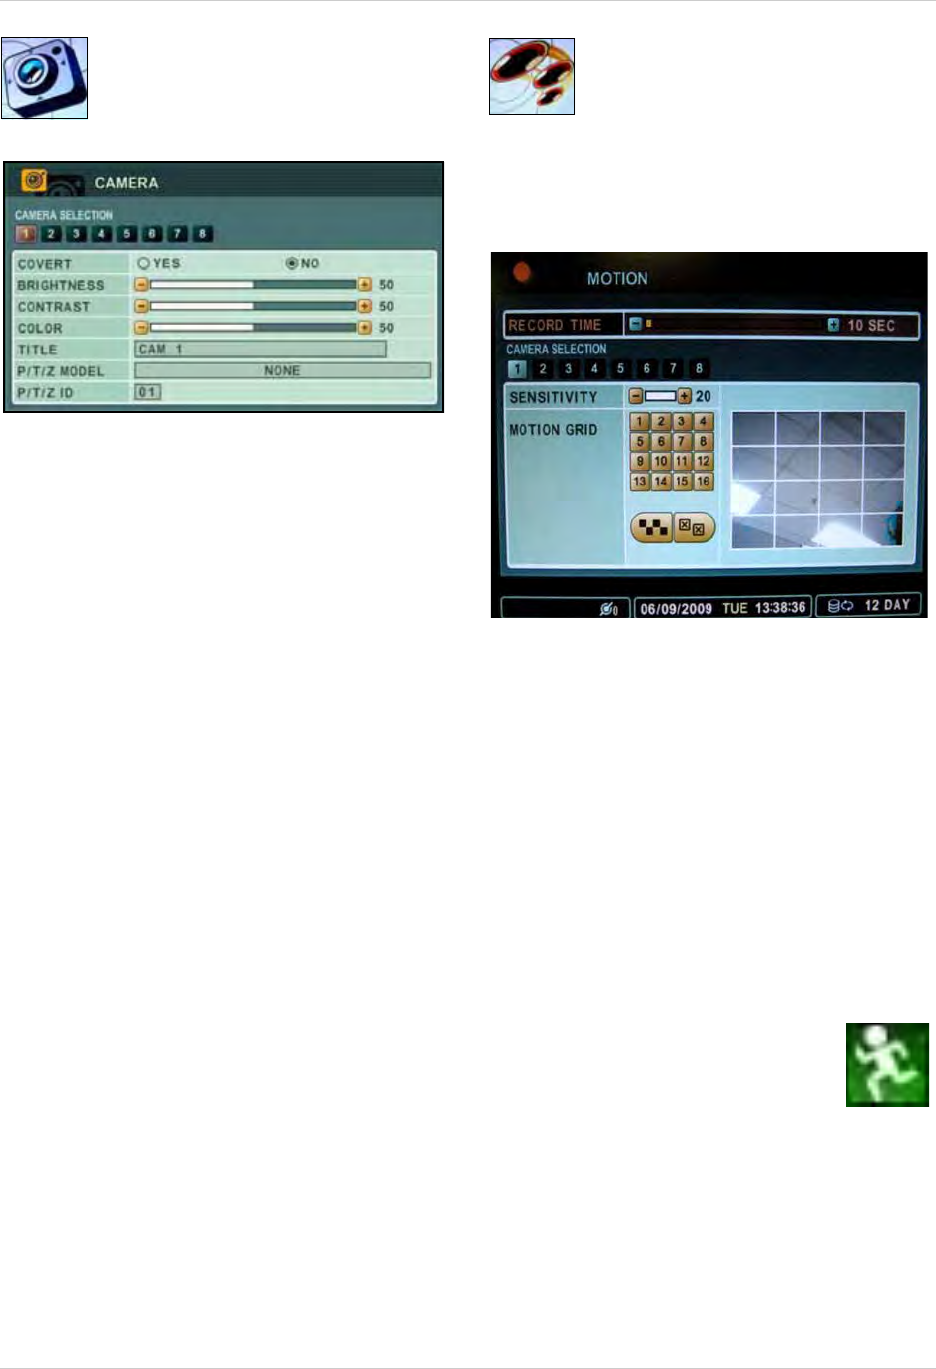
CAMERA
Configure various camera settings,
such as brightness, contrast, title,
and covert.
To configure camera settings:
1. Under CAMERA SELECTION, press
WX to
select the camera.
2. Press
T to configure the following:
• COVERT: Select YES/NO. If YES, the camera
channel will be obscured from live viewing to
give the impression that no camera is
recording. Use this option if the display
monitor is in public view.
NOTE:
The Covert channel will use the
same background color as a
disconnected camera. To change the
background color, see “DISPLAY” on
page 22.
• BRIGHTNESS, CONTRAST, COLOR: Adjust
from 0~100.
• TITLE: Use th
e alpha-numeric buttons on the
remote control to enter a name/title for the
camera. Press WX to move the cursor left/
right. If you make a mistake, press CANCEL/
ESC to return to the Main Menu and start
again.
• PTZ MODEL: Sel
e
ct the model of your
connected PTZ camera (not included).
• PTZ ID:
Enter your PTZ ID (PTZ ID should
match the camera channel to which you have
connected the PTZ camera)
3. Repeat for other camera connected to the
system.
4. Press
ENTER to save your settings. Press
CANCEL/ESC to close remaining menu
windows.
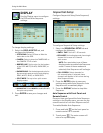
MOTION
Configure the motion grid and
motion sensitivity for specific
channels.
NOTE: If motion detection is applied to a
camera, the system will record from that
camera
only when motion is detected.
To configure motion settings:
1. Under RECORD TIME, adjust the time from
10~300 seconds.
NOTE: The set recording time is
applicable to all channels.
2. Press
T to select CAMERA SELECTION
and press
WX to select the camera.
3. Press
T to select SENSITIVITY, and adjust
from 1~20. The higher the number, the
greater the sensitivity.
4. Press
T to select MOTION GRID. Press +
to move the cursor to the Motion Grid.
5. Press
+ to select blocks on
the grid. A green motion icon
appears on the grid.
• Press STWX to select a
block on the grid
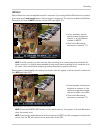
Figure 13.0 Camera menu
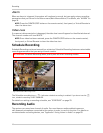
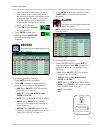
Figure 14.0 Motion menu


