62
Remote Setup
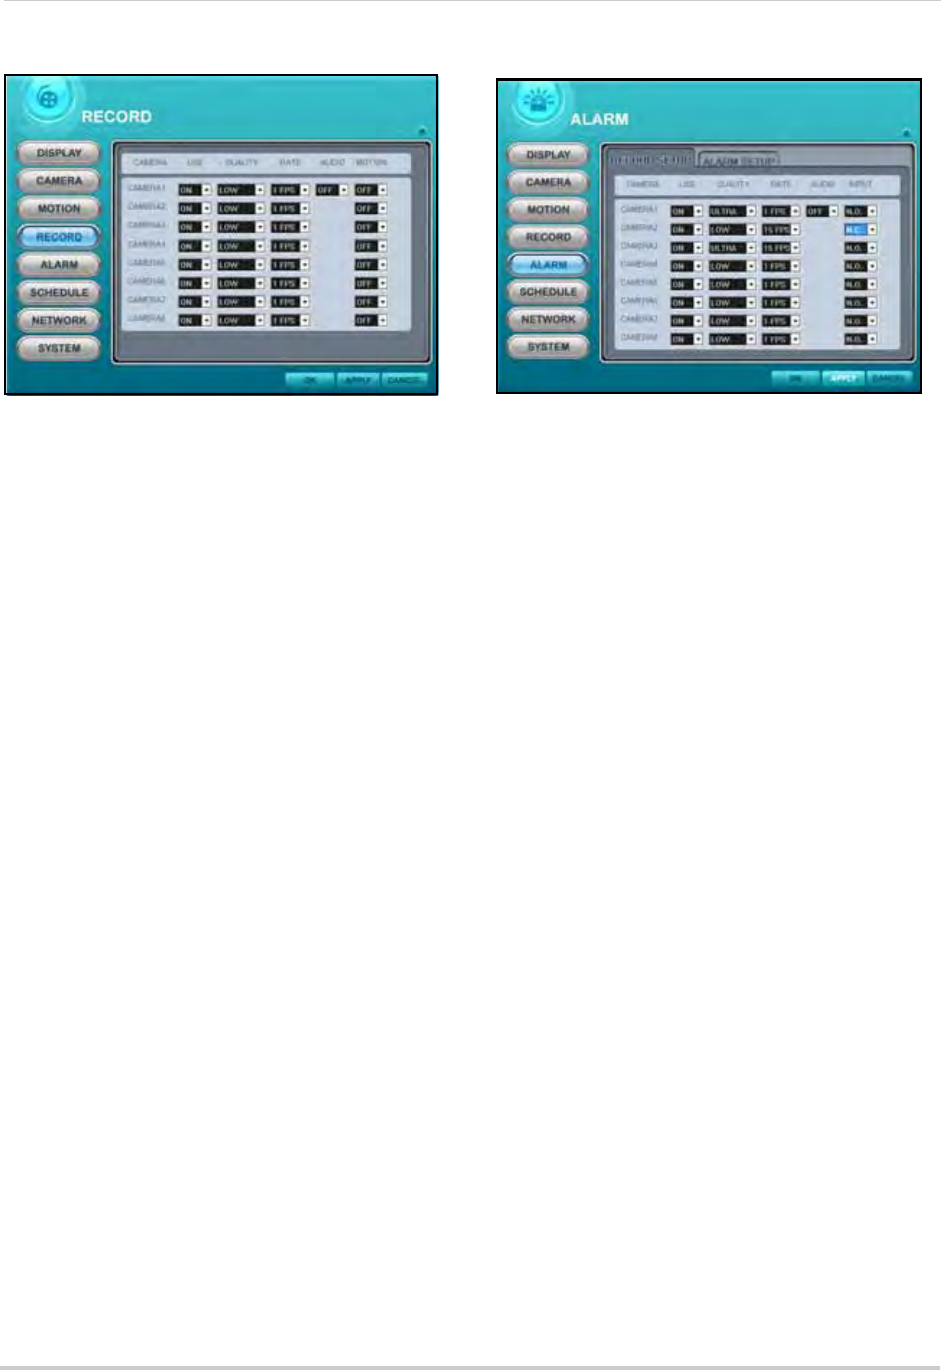
RECORD
To configure continuous recording options:
1. Select a camera.
NOTE: Number of displayed cameras depends
on
model number of your system.
2. For each camera configure the following:
• USE: Select ON/OF
F. If OFF, the selected
camera(s) will not record.
NOTE: The system will automatically reset
if y
ou enable/disable any cameras.
• QUALITY: Se
l
ect LOW, MIDDLE, HIGH,
SUPER, and ULTRA.
• RATE: Sel
ect 1, 2, 3, 4, 5, 6, 7, 10, or 15 fps.
• AUDIO: Sele
ct ON/OFF. Audio capable
cameras or microphones are required for
audio recording.
• MO
TION: Sel
ect ON/OFF. If Motion is set to
ON, the system will only record from the
selected camera when motion is detected.
NOTE: Mo
tion Grid and sensitivity must be
c
onfigured in the Motion menu. See “MOTION”
on page 61.
3. Click APPLY and then OK to save your
changes and close the window.
ALARM
To configure alarm settings:
1. Under RECORD SETUP, configure the
fol
lowing:
• USE: Select ON/OFF. If OFF, the selected
camera(s) will not record.
• QUALITY: Sel
ect LOW, MIDDLE, HIGH,
SUPER, and ULTRA.
• RATE: Sel
ect 1, 2, 3, 4, 5, 6, 7, 10, or 15 fps.
• AUDIO: Sel
ect ON/OFF. The number of audio
input channels varies by model.
• INPUT: Sele
ct N.O/N.C.
2. Under ALARM SETUP, configure the
following:
• RECORD TIME: Set from 10~300 seconds (in
increments of 10 seconds).
• RECORD CA
MERA: Select ALL or 1:1. If you
select ALL, the system will record on all
channels; if you select 1:1, the system will
only record for the designated channel
• ALARM BUZZ
ER: Sel
ect ON/OFF. If ON, the
system will sound a beep when the external
alarm is triggered
3. ALARM OU
T1: Set
the type of Alarm Out video
(external monitor required, not included).
Select SYSTEM, VIDEO LOSS, MOTION, ALL
ALARM, or ALARM IN1~8, and then select ON/
OFF
4. Click APPLY and then OK to save your
settings and close the window.
Figure 35.0 Record options
Figure 36.0 Alarm options
