


Getting Started
10
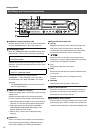
[OPERATE] Button and Operate LED
Switches the main power on or off. The LED is illuminated
when the OPERATE button is set to ON. (Page 16)
[TIMER/MODE] Button
When the [TIMER/MODE (REC PATTERN)] setting on the
[REC DETAIL] screen is set, the following is performed.
Switches the timer ON. Press once again to switch the
timer OFF. The LED is illuminated when the timer is set to
ON. (Page 28)
Changes the operation by switching between
“STANDARD” ⇔ “REC PATTERN 1 to 9”. The LED is
illuminated when in the “REC PATTERN 1 to 9” modes.
(Page 28)
* The [TIMER/MODE] button cannot be used when the
menu is being displayed.
VIDEO OUT / AUDIO OUT Terminals
Outputs live images and live sound when in the live image
display mode.
Outputs recorded images and sound during playback.
However, sound will not be output in the following cases:
• When playing back still images, when running searches
other than X1, and when playing back frame-by-frame.
• When playing back recordings with the [NORMAL
AUDIO REC]/[ALARM AUDIO REC] setting on the
[DETAIL REC] screen set at OFF.
• When a menu or search menu is displayed during
playback.
SERIAL Port
Used to connect the communication control terminals on
flash memories (sold separately,) additional hard disk
drives (sold separately,) and UPS (sold separately.)
Keypad and Camera Input LED
[1] to [9]
Selects the camera input when viewing live images and
when playing back recorded images. The LED that
corresponds to the selected camera input is illuminated.
And also these buttons are used as numeric keys.
[S/T/W/X]
Moves the cursor on the menus and playback menus.
Changes the on-screen display position when live images
(single screen) are displayed. (Page 46)
[–/+]
Changes the values set on the menus.
[SET]
Moves onto the next screen and sets the selected values
on the menus.
Executes hard disk scanning, formatting and other
functions.
[RETURN]
Returns to the previous screen on the menus.
[SPLIT] Button and LED
Switches live images and recorded images between the
split screen and the single screen displays. The LED is
illuminated when the screens are split.
[SEQUENCE] Button and LED
Press this button to display live images in the single screen
auto change mode or 4 division screen auto change mode.
The LED is illuminated when in the AUTO CHANGE mode.
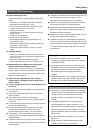
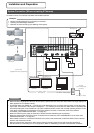
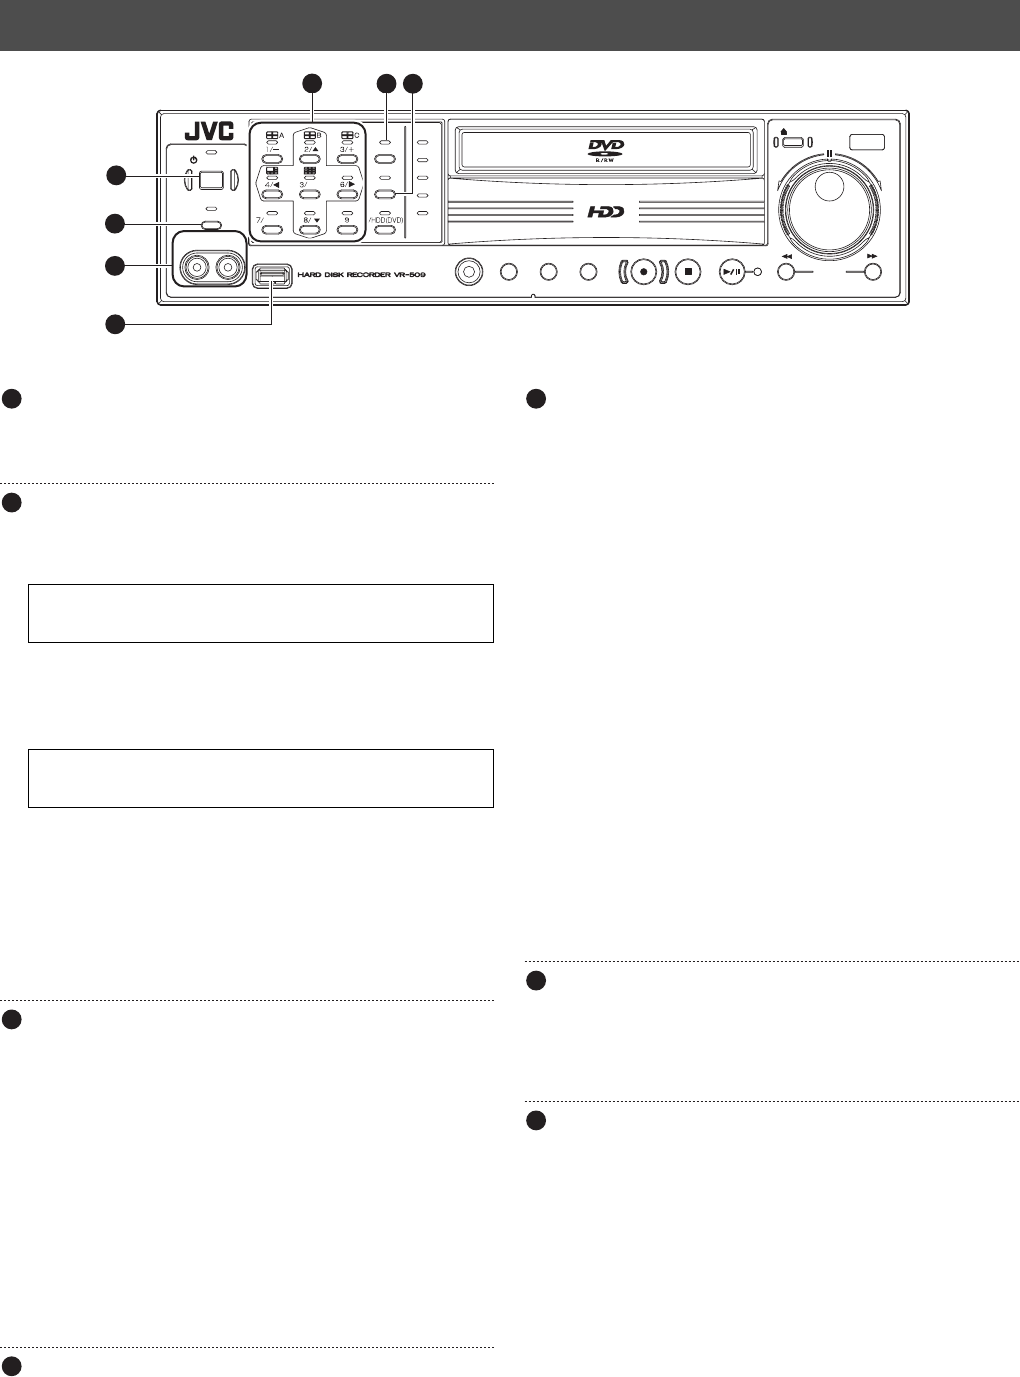
Part Names and Functions (Front Panel)
OPERATE
TIMER/MODE
SERIAL
FUNCTION MENU CANCEL REC/STOP PLAY STOP
SKIP
REC
PLAY/PAUSE
REW
OPEN/CLOSE
FF
ALARM
RESET
SPLIT
SEQUENCE
WARNING
ALARM
SPOT
HDD
LOCK
RETURN
SET
VIDEO
OUT
AUDIO
OUT
3
2
1
4
5
6
7
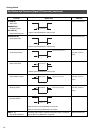
When the [TIMER/MODE (REC PATTERN)] setting is set
at “PROGRAM TIMER”
When the [TIMER/MODE (REC PATTERN)] setting is set
to other than “PROGRAM TIMER”
1
2
3
4
5
6
7