


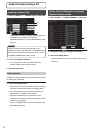
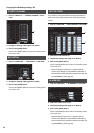
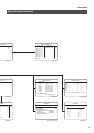
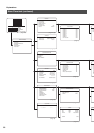
Changing VR-509 Settings Using a PC
84
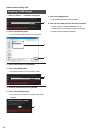
1. Click on “DISPLAY” → “COVERT CHANNEL” in that
order.
2. Change the settings. (See page 27 for details)
3. Click on the [SAVE] button.
(Click on the [RESET] button to return to the setting values
on the main unit.)
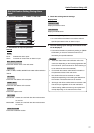
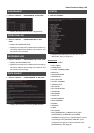
1. Click on “FUNCTION” → “REC DETAIL” in that order.
2. Change the settings. (See page 30 for details)
3. Click on the [SAVE] button.
(Click on the [RESET] button to return to the setting values
on the main unit.)
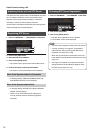
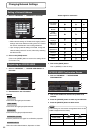
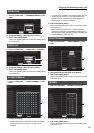
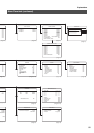
It is possible to change the default recording parameters for
each mode on the same screen as the setup mode selection
screen.
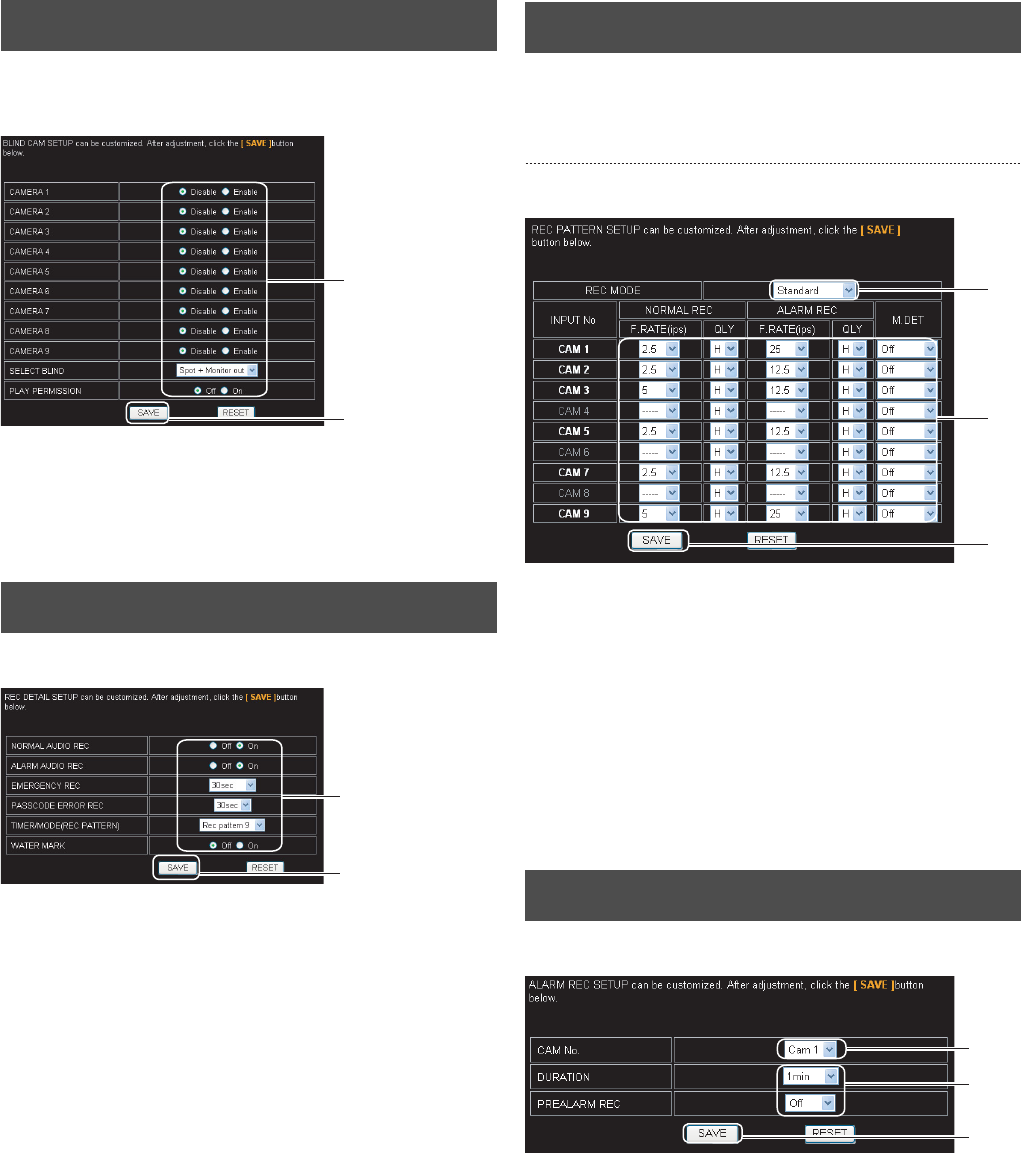
1. Click on “FUNCTION” → “REC PATTERN” in that order.
2. Select the mode to be set up.
3. Change the settings. (See page 31 for details)
4. Click on the [SAVE] button.
(Click on the [RESET] button to return to the setting values
on the main unit.)
* When the display is grayed out, it indicates that the
camera input settings for the [INTRODUCTION SET-1]
that correspond to the grayed out cameras have been set
to [DISCONNECT]. (See page 20)
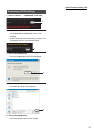
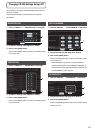
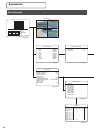
1. Click on “FUNCTION” → “ALARM REC” in that order.
2. Select the camera to be set up.
3. Change the settings. (See page 31 for details)
4. Click on the [SAVE] button.
(Click on the [RESET] button to return to the setting values
on the main unit.)
* When the display is grayed out, it indicates that the
camera input settings for the [INTRODUCTION SET-1]
that correspond to the grayed out cameras have been set
to [DISCONNECT]. (See page 20)
COVERT CHANNEL
REC DETAIL
2.
3.
2.
3.
REC PATTERN
ALARM REC
2.
3.
4.
2.
3.
4.