


23
Viewing Live Camera Images
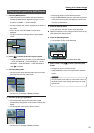
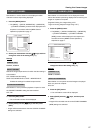
1. Press the [MENU] button.
• Opens the menus in accordance with the instructions
provided in MENU Screen Operations (page 17) in the
sequence of “MENU” → “LIVE PICTURE”.
• The layout pattern that is set is displayed at the center of
the screen.
• First of all, the 4 DIV PATTERN A screen will be
displayed.
* The layout cannot be changed when in the playback
mode.
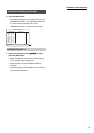
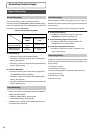
2. Press [W/X] to select the division layout required.
• Changes sequentially in the order of 4 DIV PATTERN A
→ 4 DIV PATTERN B → 4 DIV PATTERN C → 6 DIV
PATTERN → 9 DIV PATTERN → 4 DIV PATTERN A
when [X] is pressed.
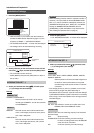
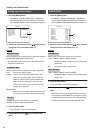
3. Press the [SET] button.
• The sub-screen will be displayed within the blue border
at the top left-hand side of the screen.
* The above is an example of QUAD PICTURE.
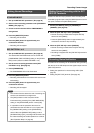
4. Press any of the [1] to [9] buttons.
• The camera input that corresponds to the number
pressed will be displayed as a sub-screen inside the blue
border.
• The blue border moves to the next sub-screen.
* The above is an example of QUAD PICTURE.
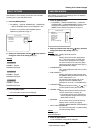
• Press the [0] button to select the black screen.
• Press the [SEQUENCE] button to return the blue border
to the previous sub-screen and display the screen as it
was prior to amendment.
5. Press the [SPLIT] button.
• The split-screen selection screen will be displayed.
Repeat procedures 2 to 5 to change the 6 DIV, 9 DIV or any
other split-screen display layouts.
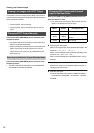
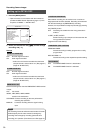
6. Press the [RETURN] button.
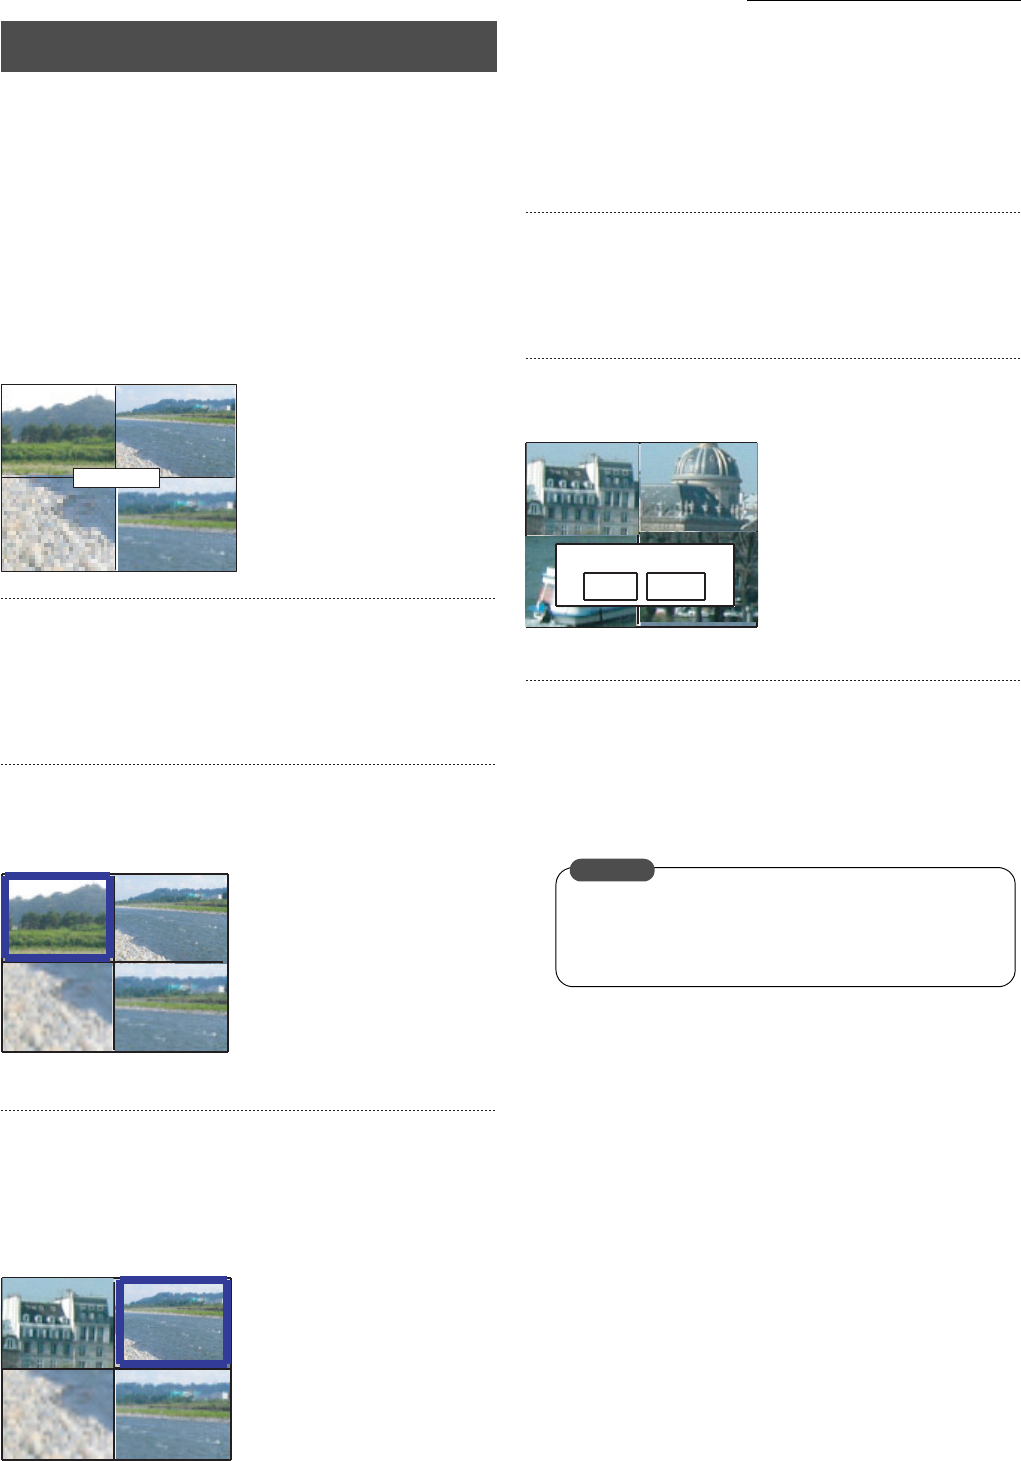
• A confirmation screen will be displayed.
* The above is an example of QUAD PICTURE.
7. Select “SAVE” with [W/X], and then press the [SET]
button.
• Changes the layout of the split screen.
* Press [CANCEL] to return to the split-screen selection
screen.
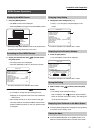
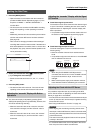
Changing the Layout of the Split Screens
4DIVISION-A
A SET CONTENT WAS CHANGED.
DO YOU UPDATE THIS CONTENT?
SAVE
CANCEL
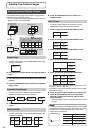
It is not possible to set 4 DIV A, 4 DIV B and 4 DIV C at
the same location when setting up the layout for 4 DIV
split screens.
CAUTION