


45
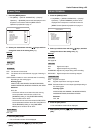
Playing Back Recorded Images
Images can be viewed in an enlarged mode.
Only single-screen displays can be enlarged.
* Enlarged displays are not possible when live images are
being displayed.
1. Start playback (See page 40 “Playing Back Images”)
2. Press buttons [1] to [9] to select the camera input that
is to be enlarged.
3. Press the [PLAY/PAUSE] button.
• Playback will be paused.
* It is possible to enlarge images during playback.
4. Press the [1] to [9] buttons (the button pressed in 2.)
for approximately two consecutive seconds.
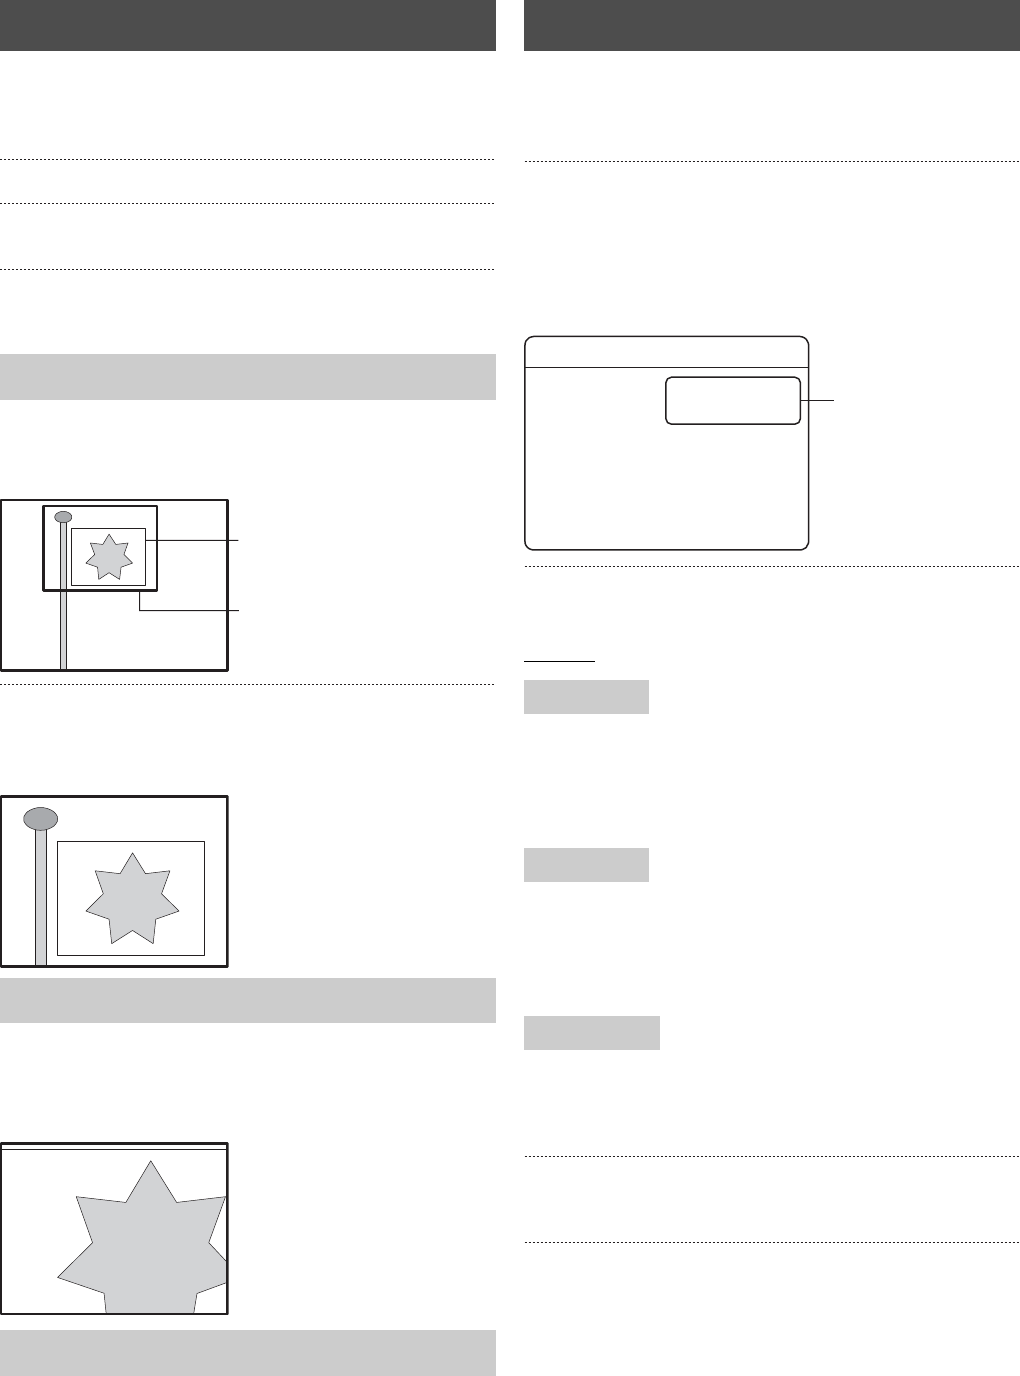
• The range of enlargement will be displayed on the screen.
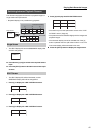
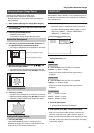
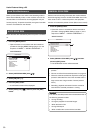
5. Move the range of enlargement with [S/T/W/X], and
then press the [SET] button.
• The selected area will be displayed at double the size.
•
Adjust the area being displayed with [
S
/
T
/
W
/
X
] if necessary.
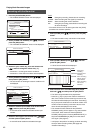
6. Press the [+] button.
• The area will be displayed at four times the normal size.
•
Adjust the area being displayed with [
S
/
T
/
W
/
X
] if necessary.
• Press the [–] button to return to the double-size display.
7. Press the [RETURN].
* If the [EVENT SEARCH] screen or the setup menu is
displayed, the image zoom function will be ended and the
image will return to its normal recorded size.
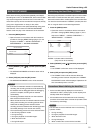
Sets whether to link the AUDIO 1 or 2 to a specified input or not.
Or sets the input audio that was not specified for the AUDIO 1
link or AUDIO 2 link.
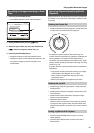
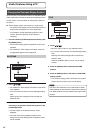
1. Press the [MENU] button.
• Opens the menus in accordance with the instructions
provided in Changing MENU Settings (page 17) in the
sequence of “MENU” → “DETAIL OPERATION” →
“MONITOR” → “AUDIO OUT”.
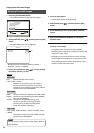
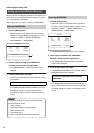
2. Select your desired item with [S/T], and change the
setting value with [–/+].
Settings
z (APPOINTMENT OFF):The link is not specified.
CAMERA 1-9: AUDIO 1 output.
* Audio sound will be output when the single screen is
displayed.
z (APPOINTMENT OFF):The link is not specified.
CAMERA 1-9: AUDIO 2 output.
* Audio sound will be output when the single screen is
displayed.
OFF: AUDIO not output.
AUDIO1: AUDIO 1 is output.
AUDIO2: AUDIO 2 is output.
3. Press the [SET] button.
• A confirmation screen will be displayed.
4. Select [SAVE] with [W/X], and then press [SET].
* Audio sound will not be output when the frame rate per
second is set at 0.08 or 0.2. (See F.RATE on page 31)
* There are cases where the audio sound may break up when
parts that contain many alarms are played back, and during
multi-screen playback.
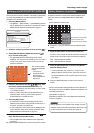
Enlarging Images (Image Zoom)
Double-Size Enlargement
Four-Fold Enlargement
Ending the Enlarged Display
Green (x4 enlargement range)
Red (x2 enlargement range)
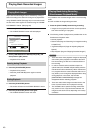
AUDIO OUT
AUDIO 1LINK
AUDIO 2LINK
OTHER AUDIO
AUDIO OUT
AUDIO 1 LINK
AUDIO 2 LINK
OTHER AUDIO
(APPOINTMENT OFF)
(APPOINTMENT OFF)
AUDIO 1
2.