15
ENGLISH
•
••••••••••••••••••••••••••••••••••••••••••••••••••••••••••••••••••••••••••••••••••••••••••••••••••••••••••••••••••••
Basic Operations
4. Set the month, year, hour, 10 minutes digit, minute digit, 10
seconds digit and second digit in a similar fashion.
• The sub-item “OFF” will start flashing.
<TIME DATE SEARCH>
17-05-2000 21:25:40
EXECUTE OFF
5. Turn the JOG dial to select “ON”.
<TIME DATE SEARCH>
17-05-2000 21:25:40
EXECUTE ON
Turn the SHUTTLE RING
> > to EXECUTE.
6. Turn the SHUTTLE ring to the right to execute.
• The time date search will start and pause the playback
display at the specified time point (or the nearest point from
the specified time).
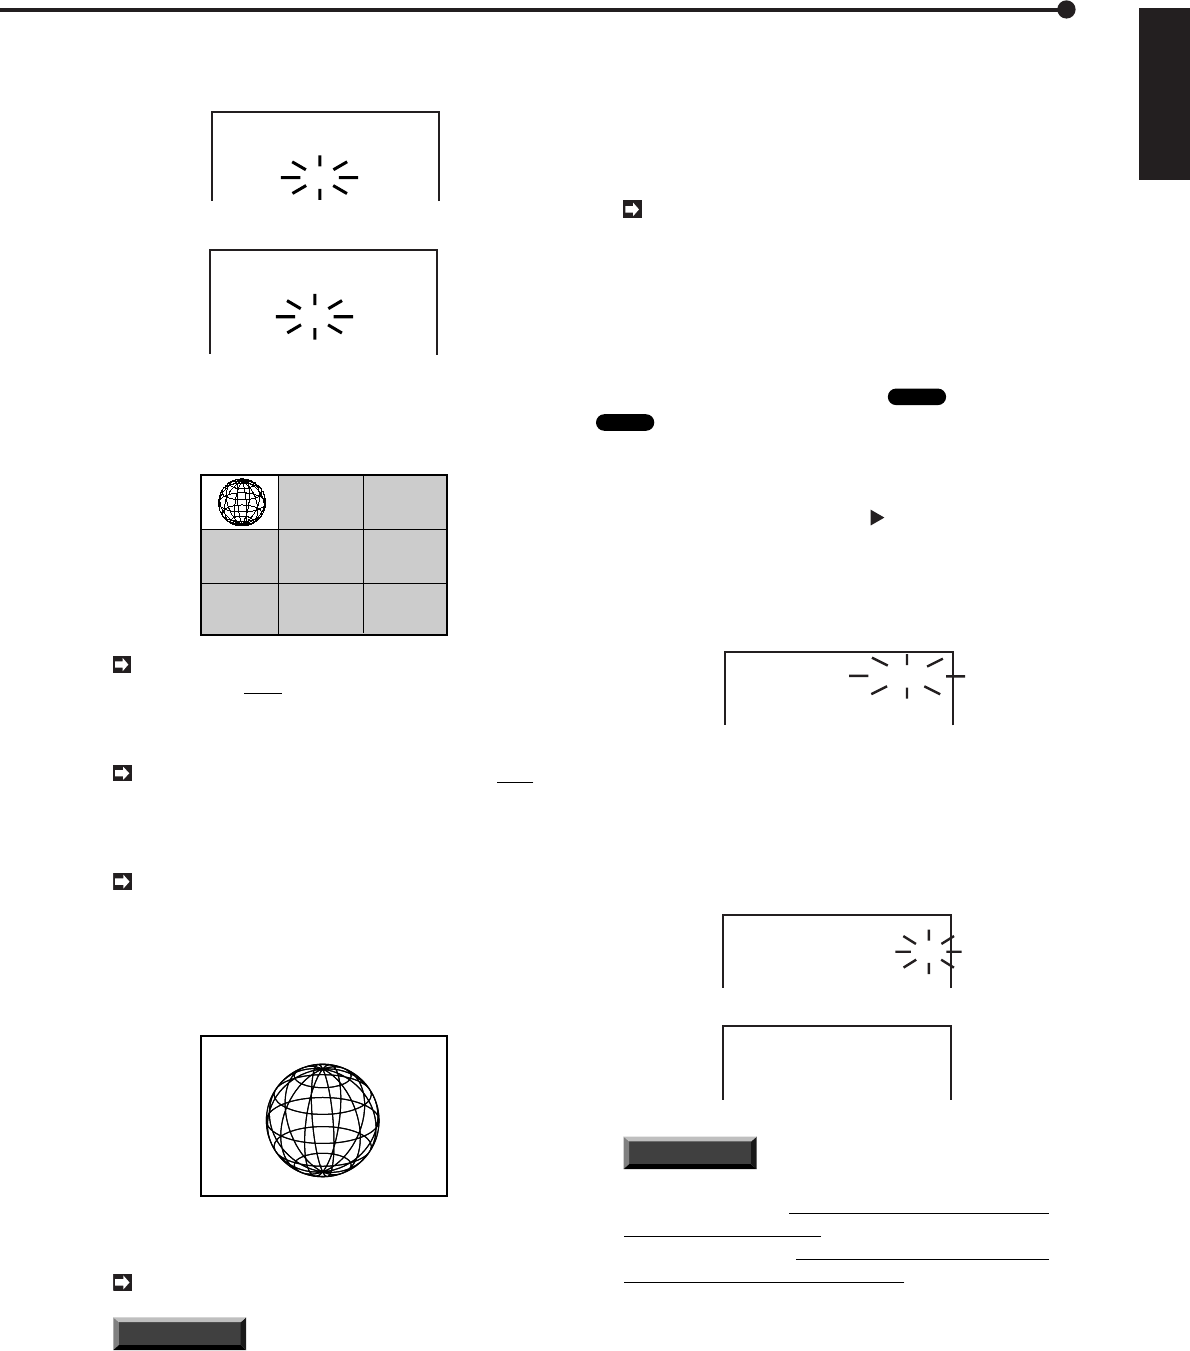
• The searched image will be displayed in SPLIT 9 screen.
1
56
7
89
4
17-05-2000 21:25:40
If there is no recording or no data which is re-
corded on the
date you have set, the time date
search will not be activated and the year number
will start flashing again.
If there is no data that is recorded on the time
you have set, the image which is recorded on the
nearest time from the time you have set will be dis-
played on the paused screen.
The time date search function may not work cor-
rectly depending on the condition of the recording.
7. To change the search image from SPLIT 9 screen to the
single screen, select the camera number by pressing the
CAMERA NUMBER button on the front of this unit.
• The selected image will be shown on the Single screen mode.
17-05-2000
21:25:40 C1
8. To play back the searched image.
• Press either the PLAY button or the PAUSE button.
Refer to page 49 for details on Various playback.
INFORMATION
Press the SEARCH button to clear
the <TIME DATE SEARCH> menu.
9. Press the STOP button to stop plasyback and still frame
mode.
• Press the SEARCH button, the display will revert to its
original state.
■ Copying the data from HDD to a copy device
or an archive device
This unit can copy (all backup) the data which is recorded
on hard disk drive to an archive device media or a copy
device media. The following explains how to copy the data
manually.
Make sure that the peripheral recording device is
connected and set correctly before you start copy-
ing.
1. Turn on the power of the peripheral recording device
connected to the unit.
2. Turn on the power of the unit.
3. Insert a media of an archive device
Glossary
or a copy device
Glossary
.
4. Press the COPY button.
• The <COPY SELECTION> menu will appear.
5. Make sure that the cursor ( ) is next to the COPY
DIRECTION, and turn the SHUTTLE ring to the right.
• The sub-item will be different depending on the connected
devices.
• Use JOG dial to choose the desired device to copy to and
turn the SHUTTLE ring to the right to enter the selection.
<COPY SELECTION>
@COPY DIRECTION HDD}COPY
OVERWRITE OFF
TRANSFER PERIOD A/B
FROM:29-01-01 09:25:24
6. Turn the JOG dial to move the cursor to OVERWRITE and
turn the SHUTTLE ring to the right.
• The default setting is “OFF”. You have to select whether to
overwrite previous recorded data (ON) or copying from the
end of the recording exists on the media (OFF). Turn the JOG
dial to make the desired setting to flash, then turn the SHUTTLE
ring to the right to enter the selection.
<COPY SELECTION>
COPY DIRECTION HDD}COPY
@OVERWRITE OFF
TRANSFER PERIOD A/B
FROM:29-01-01 09:25:24
<COPY SELECTION>
COPY DIRECTION HDD}COPY
@OVERWRITE ON
TRANSFER PERIOD A/B
FROM:29-01-01 09:25:24
INFORMATION
The following sub-items can be set
for the overwrite copying:
• If you set to “ON”,
the copy will start from the very
beginning of the media.
• If you set to “OFF”, the copy will start from the end
of the recorded part of the media.


