


55
ENGLISH
•
••••••••••••••••••••••••••••••••••••••••••••••••••••••••••••••••••••••••••••••••••••••••••••••••••••••••••••••••••••••••••••
Operations
Making backups (continued)
■ Timer Backup
Timer Backup is a method for using the timer to perform
the one-touch backup described on page 53. The timer
can be used to archive data in the main hard disk drive
which has not yet been backed up. The unit can archive
data even if it is currently in the process of Timer Record-
ing. Please check the settings for backup over-writing. (Re-
fer to page 30 for more details.)
Make sure to connect the archive device using
SCSI ID4.
Example: Use Program #5 in the Timer operational mode
P2 to make a backup everyday between 00:00 to 05:00.
(All data is backed up in one session.)
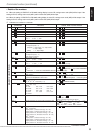
1. Press the SET UP button to display the <MENU SETTING>
menu.
2. Turn the JOG dial to move the cursor to TIMER PROGRAM.
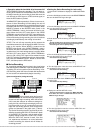
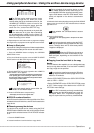
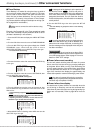
3. Turn the SHUTTLE ring to the right to display the <TIMER
PROGRAM> menu. Check that the cursor is next to
SELECTED PATTERN, turn the SHUTTLE ring to the right.
• The sub-item will start flashing.
<TIMER PROGRAM>
SELECTED PATTERN
@SETTING P1
SETTING P2
SETTING P3
P1
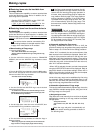
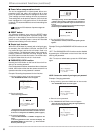
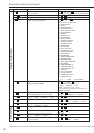
4. Turn the JOG dial to select “P2” and turn the SHUTTLE ring
to the right.
<TIMER PROGRAM>
SELECTED PATTERN
@SETTING P1
SETTING P2
SETTING P3
P2
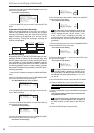
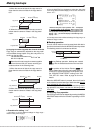
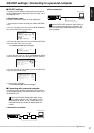
5. Turn the JOG dial to move the cursor to SETTING P2, then
turn the SHUTTLE ring to the right.
• The <TIMER PROGRAM> of P2 appears.
<TIMER PROGRAM> P2
DW START END MODE
@ SAT 19:30 22:30 A– 25F
2 TUE 10:00 11:00 B–12.5F
3 SPL 10:00 17:00 B– 1F
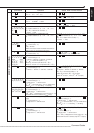
6. Turn the JOG dial to move the cursor to Program #5, then
turn the SHUTTLE ring clockwise to move the cursor to the
DW column.
• Group the backup program to the largest available program
number.
• Use the JOG dial to select “DW” and turn the SHUTTLE ring
clockwise to complete this setting.
• Repeating the above procedure, use the JOG dial and
SHUTTLE ring to set start time and end time.
<TIMER PROGRAM> P2
DW START END MODE
1 SAT 19:30 22:30 A– 25F
2 TUE 10:00 11:00 B–12.5F
3 SPL 10:00 17:00 B– 1F
4 WED 07:00 08:00 B– 1F
@ ––– ––:–– ––:–– ––––––
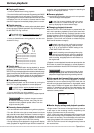
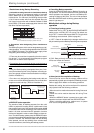
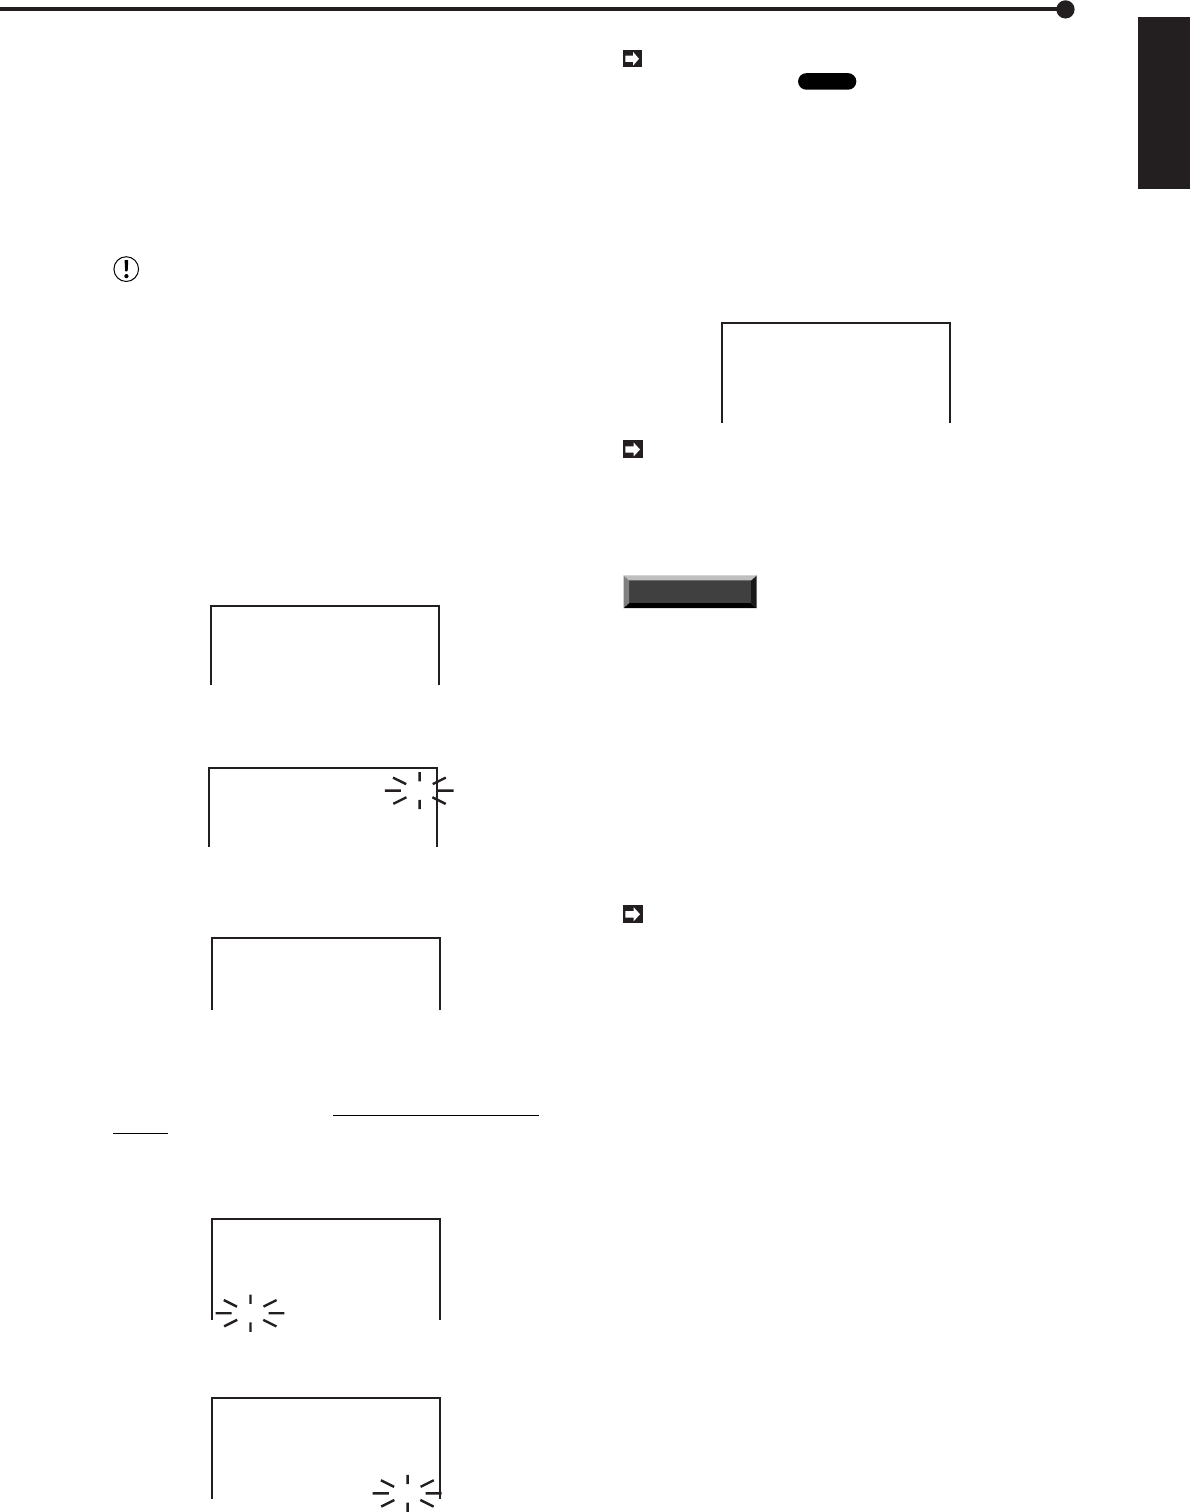
7. When MODE column is flashing, select “ARC” then turn the
SHUTTLE ring to the right.
<TIMER PROGRAM> P2
DW START END MODE
1 SAT 19:30 22:30 A– 25F
2 TUE 10:00 11:00 B–12.5F
3 SPL 10:00 17:00 B– 1F
4 WED 07:00 08:00 B– 1F
@ DAY 00:00 05:00 ––––––
The start point of the backup is at the position of
the Archive Pointer
Glossary
, and its end point is
where backup is terminated within the designated
time frame. When backup is completed within the
designated time frame, the unit saves the Archive
Pointer at this position, and will start the next backup
at this position.
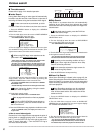
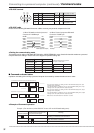
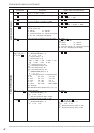
8. Turn the SHUTTLE ring to the left or press the SET UP
button.
• The Timer Backup is grouped as shown in the following
illustration.
<TIMER PROGRAM> P2
DW START END MODE
1 SAT 19:30 22:30 A– 25F
2 TUE 10:00 11:00 B–12.5F
3 SPL 10:00 17:00 B– 1F
4 WED 07:00 08:00 B– 1F
@ DAY 00:00 05:00 ARC
A recording operation warning is displayed when
hard drive data which has yet to be backed up is
about to be over-written. After that, a recording mal-
function message will be displayed when that point
has been exceeded.
INFORMATION
The unit can be set so that a CALL
OUT signal is emitted when the archive medium has
run out of storage space. Refer to page 27 for more
details on CALL OUT settings.
■ Power failure reset recording
The unit will restart recording after the event of a power
failure, even if the unit was running in recording mode prior
to the power failure. When running Timer Recording, the
unit will restart recording if the power failure ends before
the user-specified time frame. An “X” will appear on the
right of the monitor’s time display for approximately one
minute after operation resumes following a power failure.
In the case of a power failure during recording,
image quality may be partially degraded and search
functions may not operate normally.
■ Power failure time display
The start-times of power failures are recorded when the
unit is turning on electricity, and can be confirmed later.
(Start times of power failures occurring during backup op-
eration are not recorded.) Refer to page 28 for more de-
tails.
/ Other convenient functions