39
ENGLISH
••••••••••••••••••••••••••••••••••••••••••••••••••••••••••••••••••••••••••••••••••••••••••••••••••••••••••••••••••••••••••••
Operations
1. Display the < MENU SETTING> menu by pressing the
SET UP button.
2. Turn the JOG dial to move the cursor to MPX FUNCTIONS
and turn the SHUTTLE ring to the right.
• The <MPX FUNCTIONS> menu will appear.
3. Check that the cursor is next to CAMERA USAGE then
turn the SHUTTLE ring to the right.
• The sub-item will start flashing.
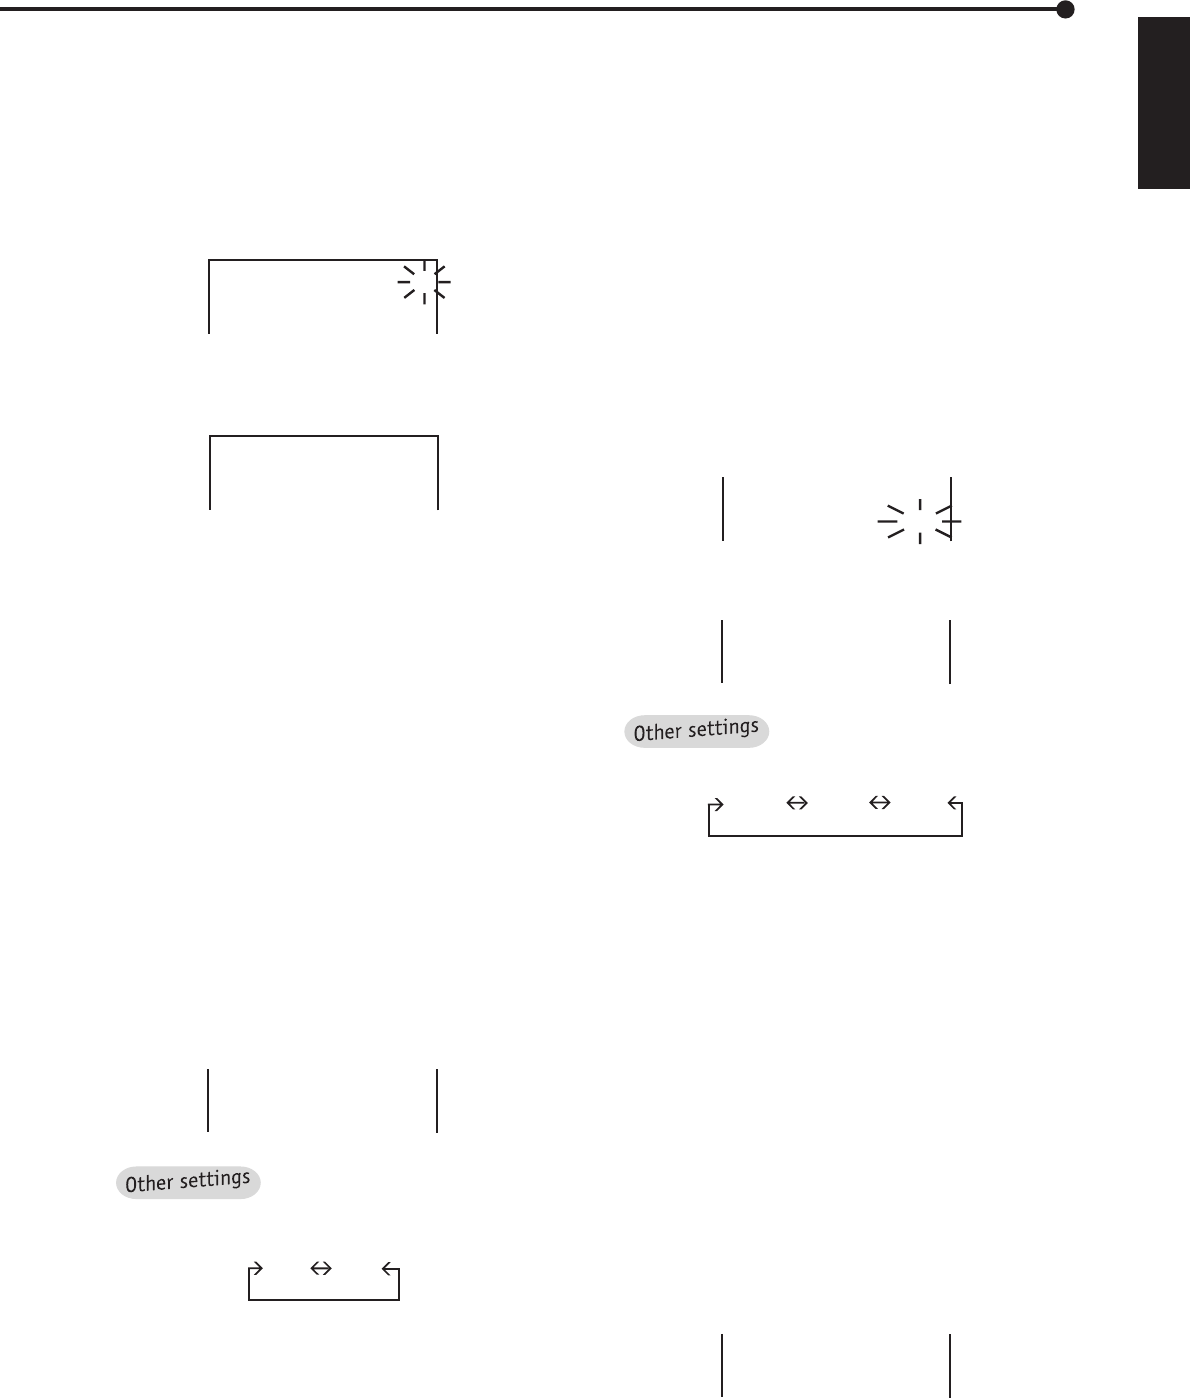
<MPX FUNCTIONS>
@CAMERA USAGE
CAMERA SETTING
SPLIT SCREEN SETTING
A
4. Turn the JOG dial to flash “B” and turn the SHUTTLE ring
to the right to fix setting.
• The sub-item will stop flashing.
<MPX FUNCTIONS>
@CAMERA USAGE
CAMERA SETTING
SPLIT SCREEN SETTING
B
5. Turn the SHUTTLE ring to the left or press the SET UP
button.
♦ Setting of Alarm recording camera
This is the setting for the camera to start shooting when
ALARM IN terminal is grounded (alarm recording signal is
input). This setting is only effective during alarm recording.
After alarm recording, operations return to their prior settings.
Example: Setting the ALARM REC CH. to “ALL” (the de-
fault setting is “SEP.”).
1. Press the SET UP button to display the <MENU SETTING>
menu.
2. Turn the JOG dial to move the cursor to MPX FUNCTIONS
then turn the SHUTTLE ring to the right.
• The <MPX FUNCTIONS> menu will appear.
3. Turn the JOG dial to move the cursor to ALARM REC CH.
then turn the SHUTTLE ring to the right to fix setting.
• The sub-item will start flashing.
4. Turn the JOG dial to display “ALL”, and turn the SHUTTLE
ring to the right to fix setting.
• The sub-item will stop flashing.
SEQUENTIAL
@ALARM REC CH.
CH.TITLE
ALL
CH.NO
By turning the JOG dial, the sub
-item of ALARM REC CH. will be changed as fol-
lows:
SEP. ALL
“SEP.”: The alarm recording will start only with the
camera which received the alarm signal. If several
cameras received alarm input at once, all of those
cameras will start alarm recording.
“ALL”: The alarm recording will start with all cam-
eras set to be operated on the <CAMERA SET-
TING> menu when ALARM IN terminal is grounded.
5. Turn the SHUTTLE ring to the left or press the SET UP
button.
♦ Displaying the title
You chose whether to display the channel title (TITLE on
the <CAMERA SETTING > menu) or CH number on screen.
Example: Display TITLE on screen (the default setting is
“CH.NO”).
1. Press the SET UP button to display the <MENU SETTING>
menu.
2. Turn the JOG dial to move the cursor to MPX FUNCTIONS
then turn the SHUTTLE ring to the right.
• The <MPX FUNCTIONS> menu will appear.
3. Turn the JOG dial to move the cursor to CH.TITLE then
turn the SHUTTLE ring to the right.
• The sub-item will start flashing.
SEQUENTIAL
ALARM REC CH. SEP.
@CH.TITLE CH.NO
4. Check that the “CH.NO” is flashing. Turn the SHUTTLE
ring to the right to finish setting.
SEQUENTIAL
ALARM REC CH. SEP.
@CH.TITLE TITLE
By turning the JOG dial, the sub-
item of CH. TITLE will be changed as follows:
CH.NO NONE TITLE
5. Turn the SHUTTLE ring to the left or press the SET UP
button.
♦ Split screen settings
By using the Multiplexer functions of this unit, you can view
camera pictures in SPLIT 4 and SPLIT 9 on your monitor. You
can also arrange the order of camera pictures as you want.
♦ SPLIT 9 setting
Example: Displaying desired camera pictures with desired
layout in SPLIT 9.
1. Press the SET UP button to display the <MENU SETTING>
menu.
2. Turn the JOG dial to move the cursor to MPX FUNCTIONS
and turn the SHUTTLE ring to the right.
• The <MPX FUNCTIONS> menu will appear.
3. Turn the JOG dial to move the cursor to SPLIT SCREEN
SETTING then turn the SHUTTLE ring to the right.
• The <SPLIT SCREEN SETTING> menu will appear.
CAMERA SETTING
@SPLIT SCREEN SETTING
SPLIT P.GRADE SHARP
4. Make sure that the cursor is next to “SPLIT 9”. Turn the
SHUTTLE ring to the right.


