12CLEARVU10
SVAT ELECTRONICS
now you can see
THINGS TO CONSIDER BEFORE INSTALLATION
For best performance, follow these simple guidelines:
• Camera(s)shouldbeinstalledbetween8and13feetabovetheareatobemonitored.
• Tomaximizeviewingarea,ensuretherearenoobstructionsinthecamera’sview.
• Ensurethatthesunshadeispositionedtoavoidglareandpositioncamerasawayfromdirectsunlight.
• Eachcameracomeswith60feetofextensionwire.Pleasemakesureyoumountthecamerasnomorethan60feetfromtheDVR.
• TheDVRshouldbeplacedonaat,stablesurface.Adequateventilationmustbeprovided,sodonotblockanyoftheairventsonthe
back of the DVR.
• Werecommendusingasurgeprotectedpowerbarand/oranUninterruptedPowerSupply(UPS)topowertheDVRandcameras.
CAMERA INSTALLATION
MOUNTING
1. Decide if the camera will be wall-mounted or sit on a desk/tabletop. The camera can be
adjusted for either mounting scenario by rotating the camera to the required position.
2. Screw each mounting bracket into each camera’s mounting hole, turning it clockwise.
3. Mount each camera in the desired location, no more than 60 feet from the DVR (unless you
have purchased additional wiring).
4. Adjust cameras to the desired viewing angles.
WIRING
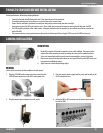
Follow these instructions for the installation of each camera:
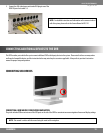
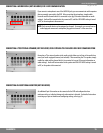
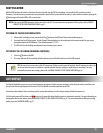
2. Plug the camera’s power supply into the power jack located on the
60 ft. video/power wire.
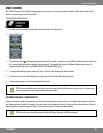
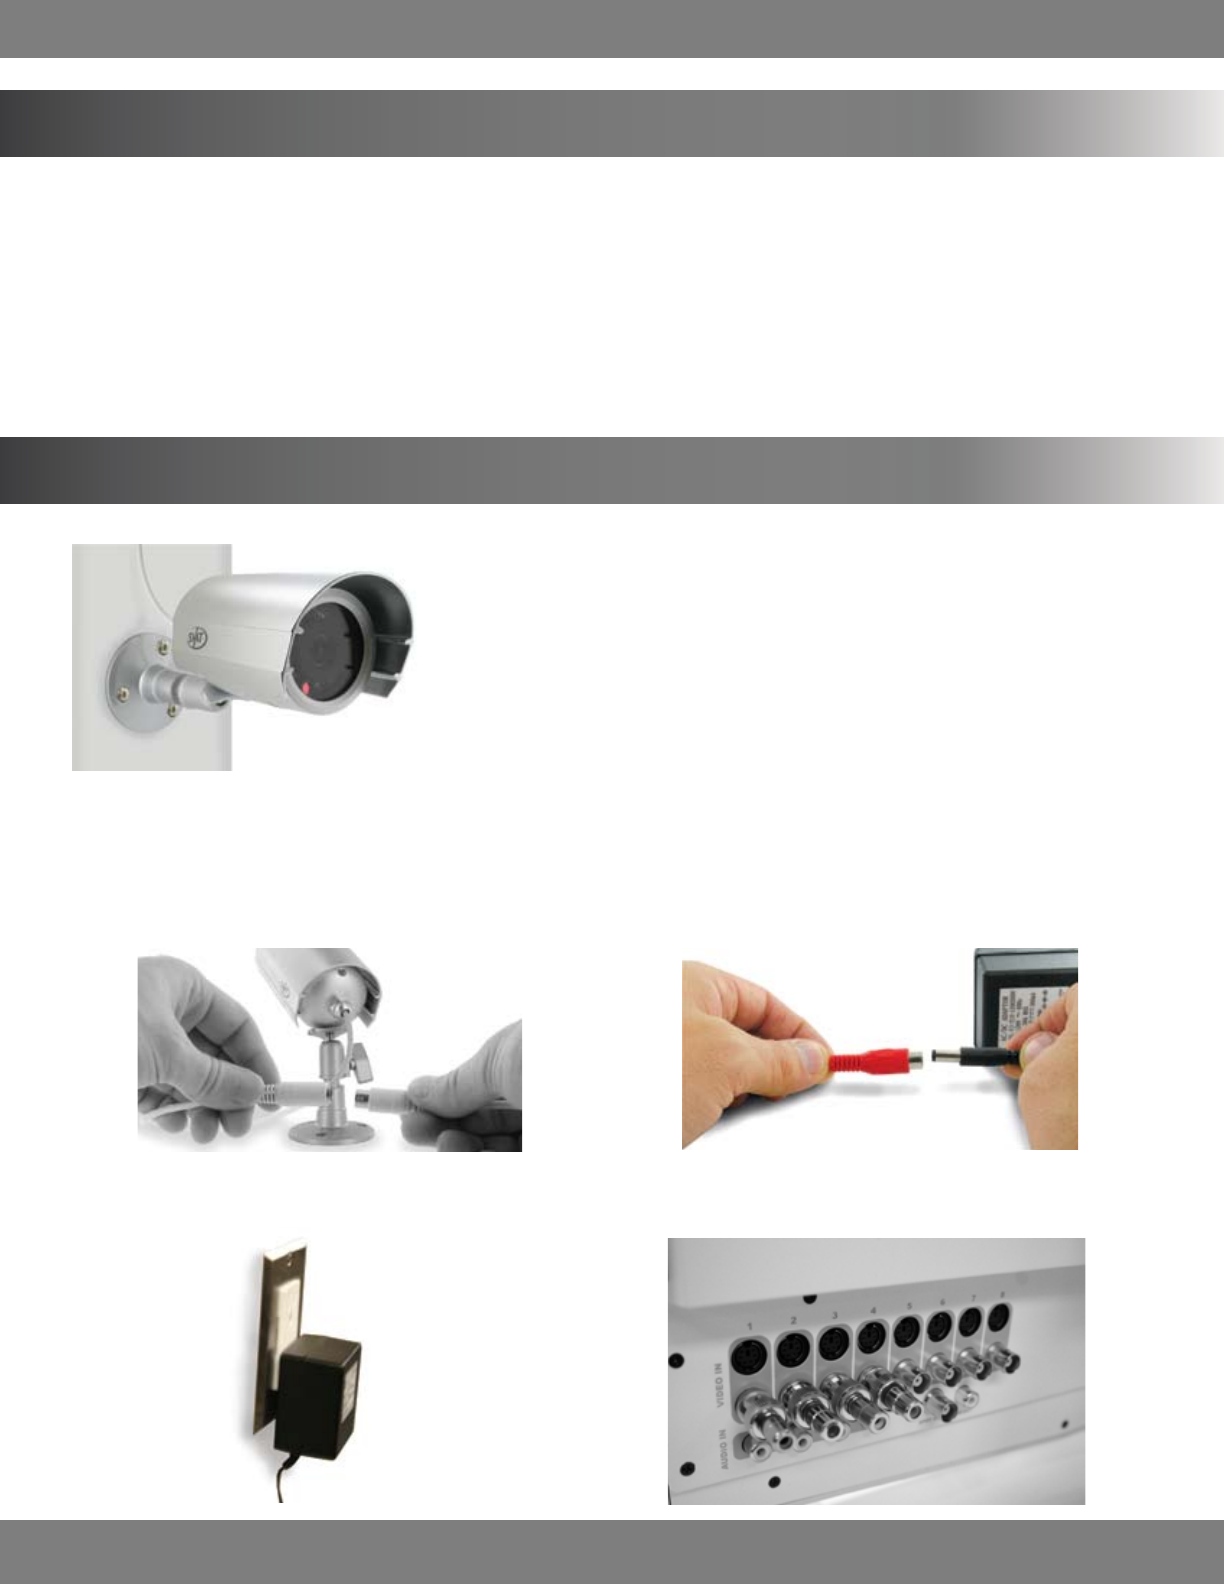
3. Plug the camera’s power adapter into an AC outlet. 4. Attach the BNC to RCA connectors to the camera inputs on the
back of the DVR.
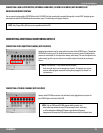
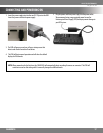
1. Plug the 4 PIN DIN female connection on the camera into the
4 PIN DIN male connection on the 60 ft. video/power wire.


