


71CLEARVU10
SVAT ELECTRONICS
now you can see
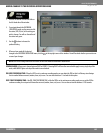
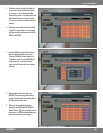
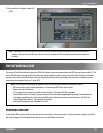
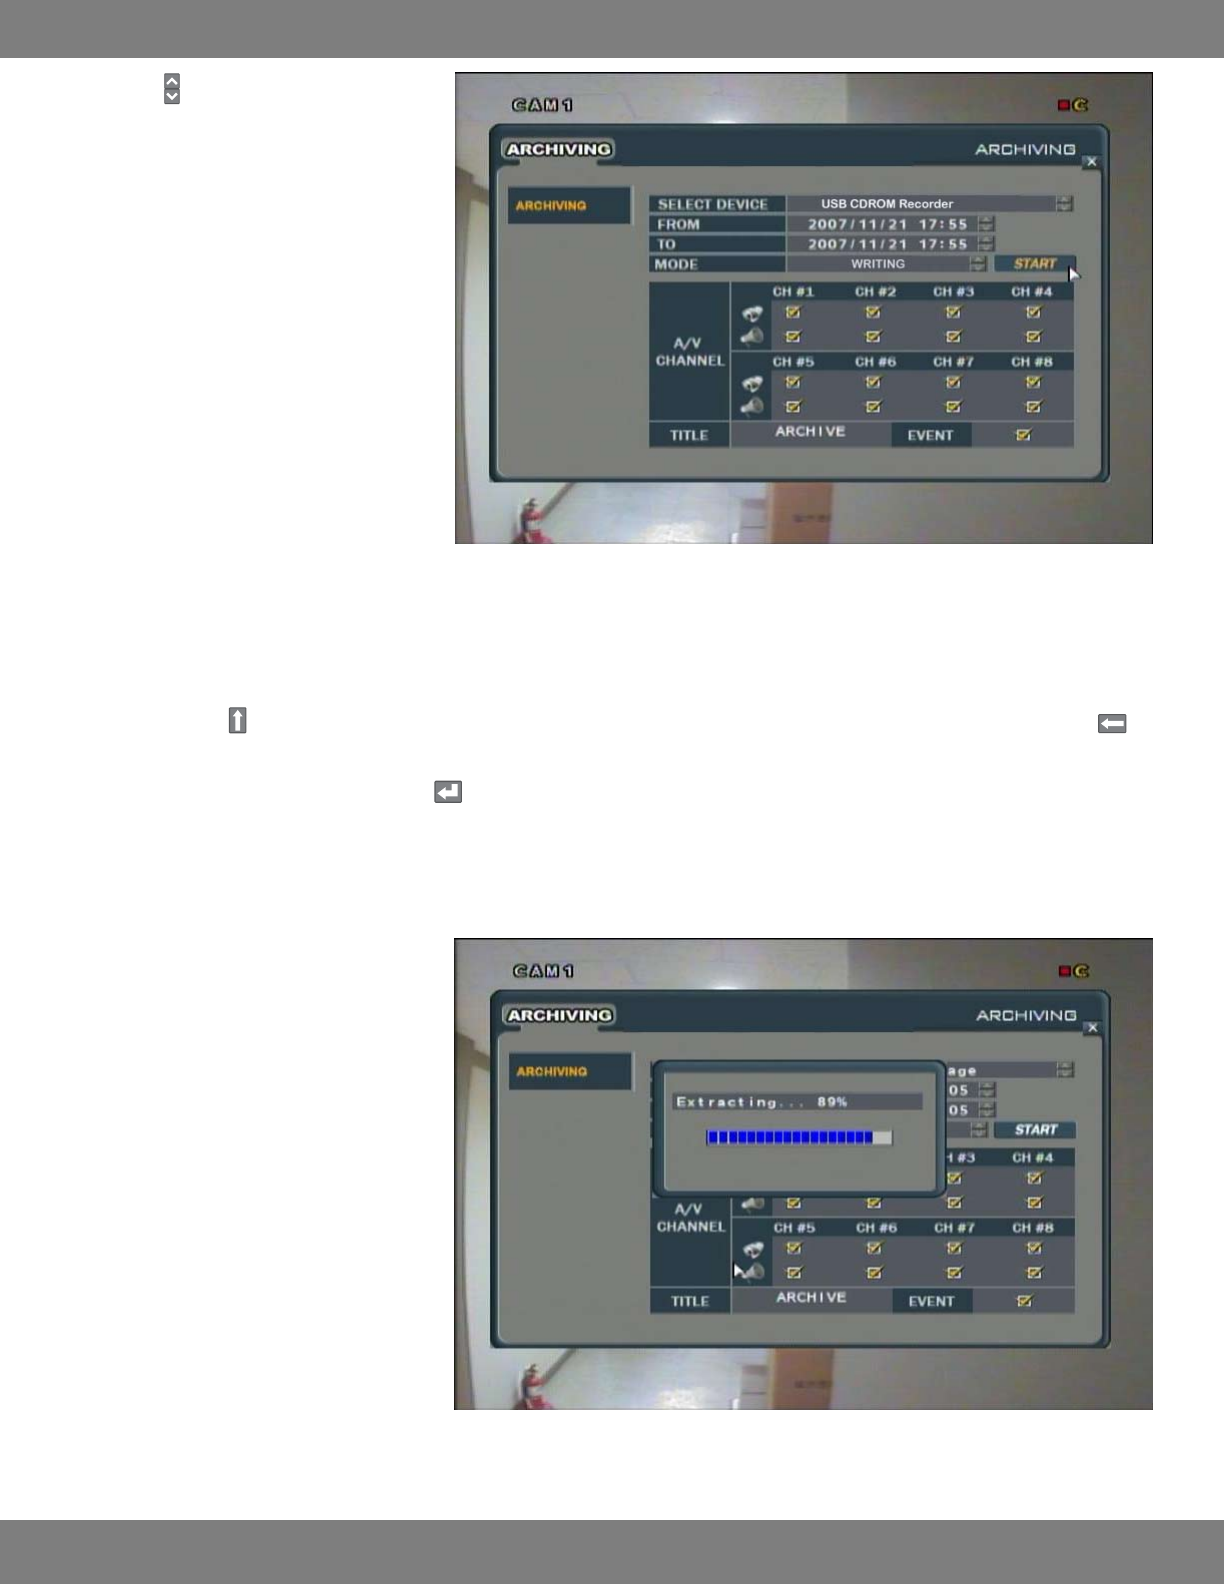
5. Use the arrows to select the date and time
in the FROM and TO elds. All video footage
within the start and end period will be
written to the external device.
6. Under MODE, choose ERASING& WRITING to
copy the data to the backup device and then
delete the footage from the DVR’s hard drive,
or choose WRITING to copy the data to the
backup device and leave the footage on the
DVR’s hard drive.
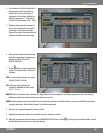
7. You can check and uncheck the A/V Channel
boxes accordingly. Any checked boxes that
are lined up with a camera icon indicate that
video will be archived. Any checked boxes
that are lined up with a speaker icon indicate
that audio will be archived. Please note that
audio can only be archived if audio equipped
cameras (not included) are properly
connected to the DVR.
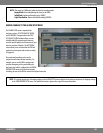
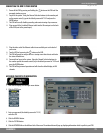
8. If needed, You can change the TITLE of the archive. Double click the title and the onscreen keyboard will pop up, allowing you input each letter
individually. The
button allows you to move between capital letters and lowercase and accesses the character menu for periods. The
button can be used to delete letters.
9. When you have nished entering a title, click to exit the onscreen keyboard.
10. Checking the box next to the EVENT title will have the DVR attach a text le which lists all events which occurred during the period which is
archived.
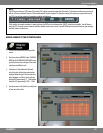
11. After you have adjusted all the desired settings, press the START button.
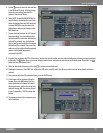
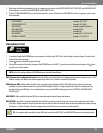
12. A drive report will be displayed, listing the
amount of space (in MB) needed, the start
and end times for each channel selected in
the previous menu, and lists the size of each
channel’s footage (MB), lists the log le and
itssize(ifapplicable).ClickOKtobeginthe
backup.
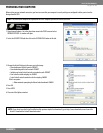
13. The footage is extracted to a temporary area
on the hard drive.